Update (11/2020):
This project is from 2015, but it was a fun, if very impractical, project that I still have the pictures from so I figured I’d polish up the page and leave it up. Fair warining, the pictures/text might not have survived the merge from squarespace in the correct order. I also found these pictures of the plans which are kinda fun:


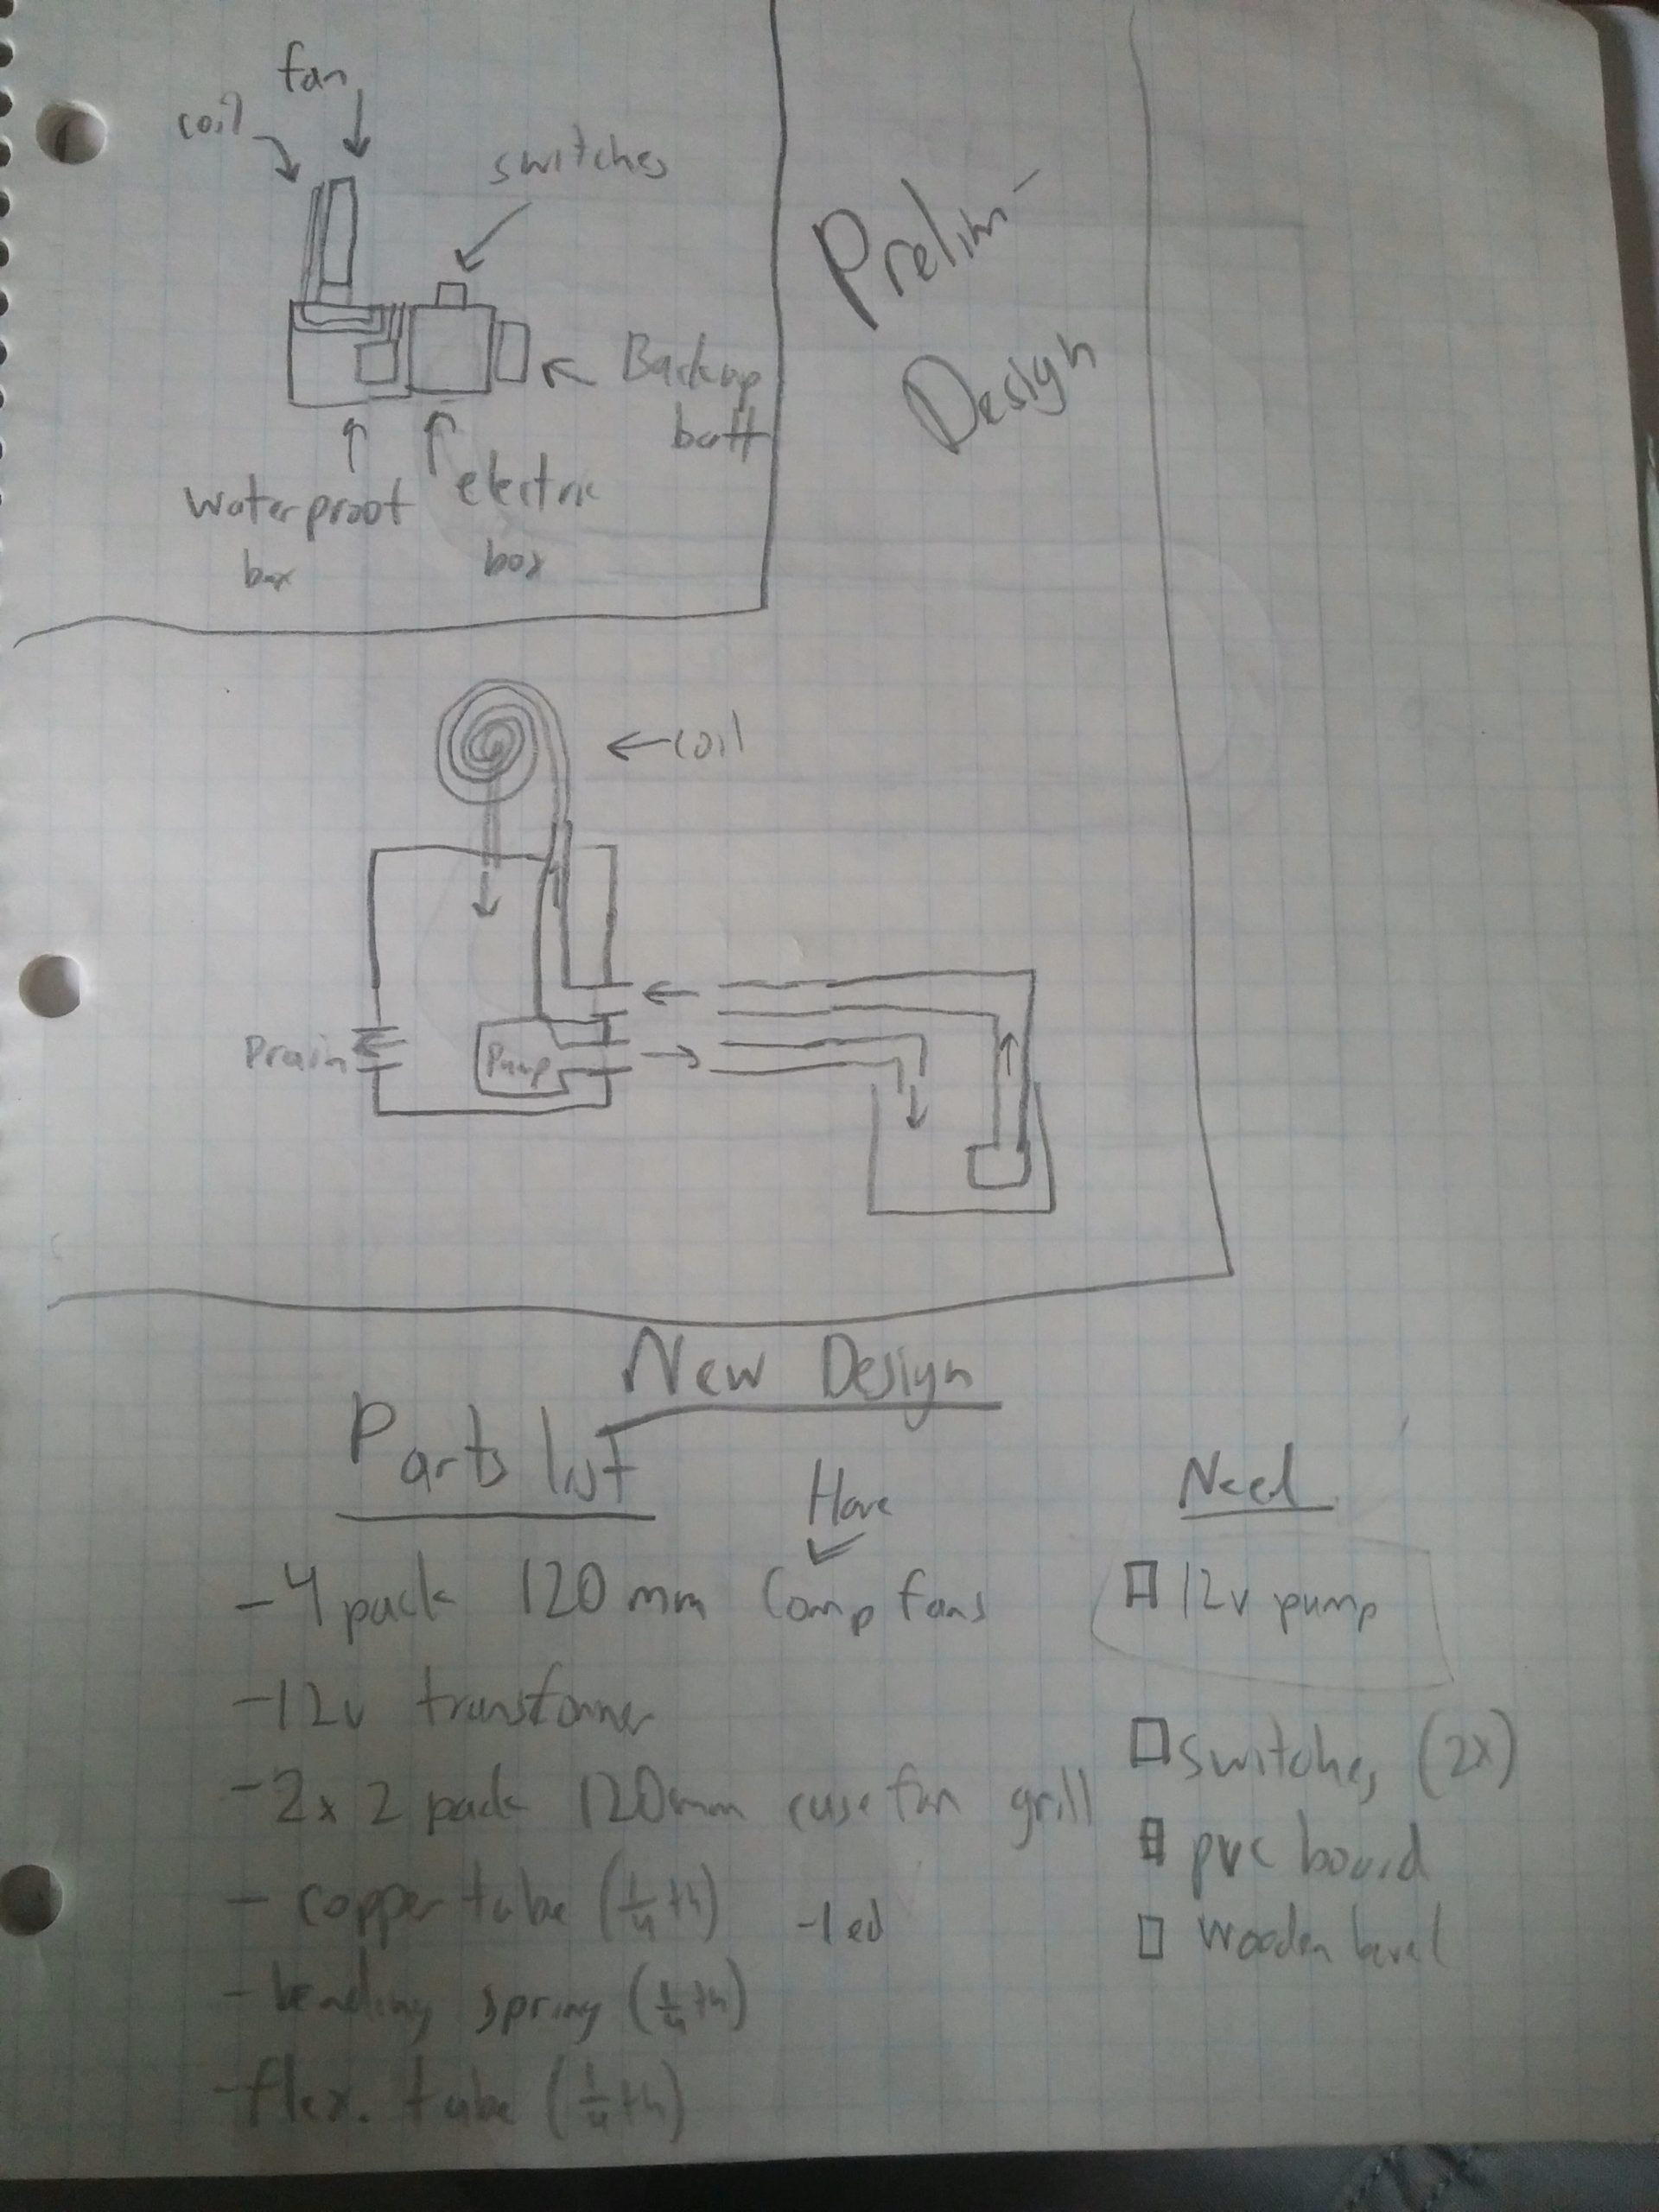

Motivation:
I was motivated to do this project when I came across this Instructable and wanted to build one of my very own. I took the basic concept and stepped it up a little by using higher voltage and more fans.
Parts:
- 4x 120mm 12v Cooling Fan
- 4x 120mm Fan grills
- 12v 1/4 in pump (the one I used was not submersible but this would work. I tried a 5v pump and it was not powerful enough)
- 1/4 in copper pipe
- 1/4 in rubber tube
- Male molex connector
- 1/4 in PVC board (foam board was considered but ruled out because it can get wet from the condensation on the coil)
- Assorted twist ties
- 12v power source (I used a solar panel but a little battery would work fine as well)
- Electrical Tape
The fans I used:
These are the fans I chose to use. I chose these because they were relatively cheap ($3-4 each) Amazon Link and they came in a four pack. The downside to these fans is that they don’t spin very quickly, which means that they don’t push the air fast, but they do push a good amount of air.


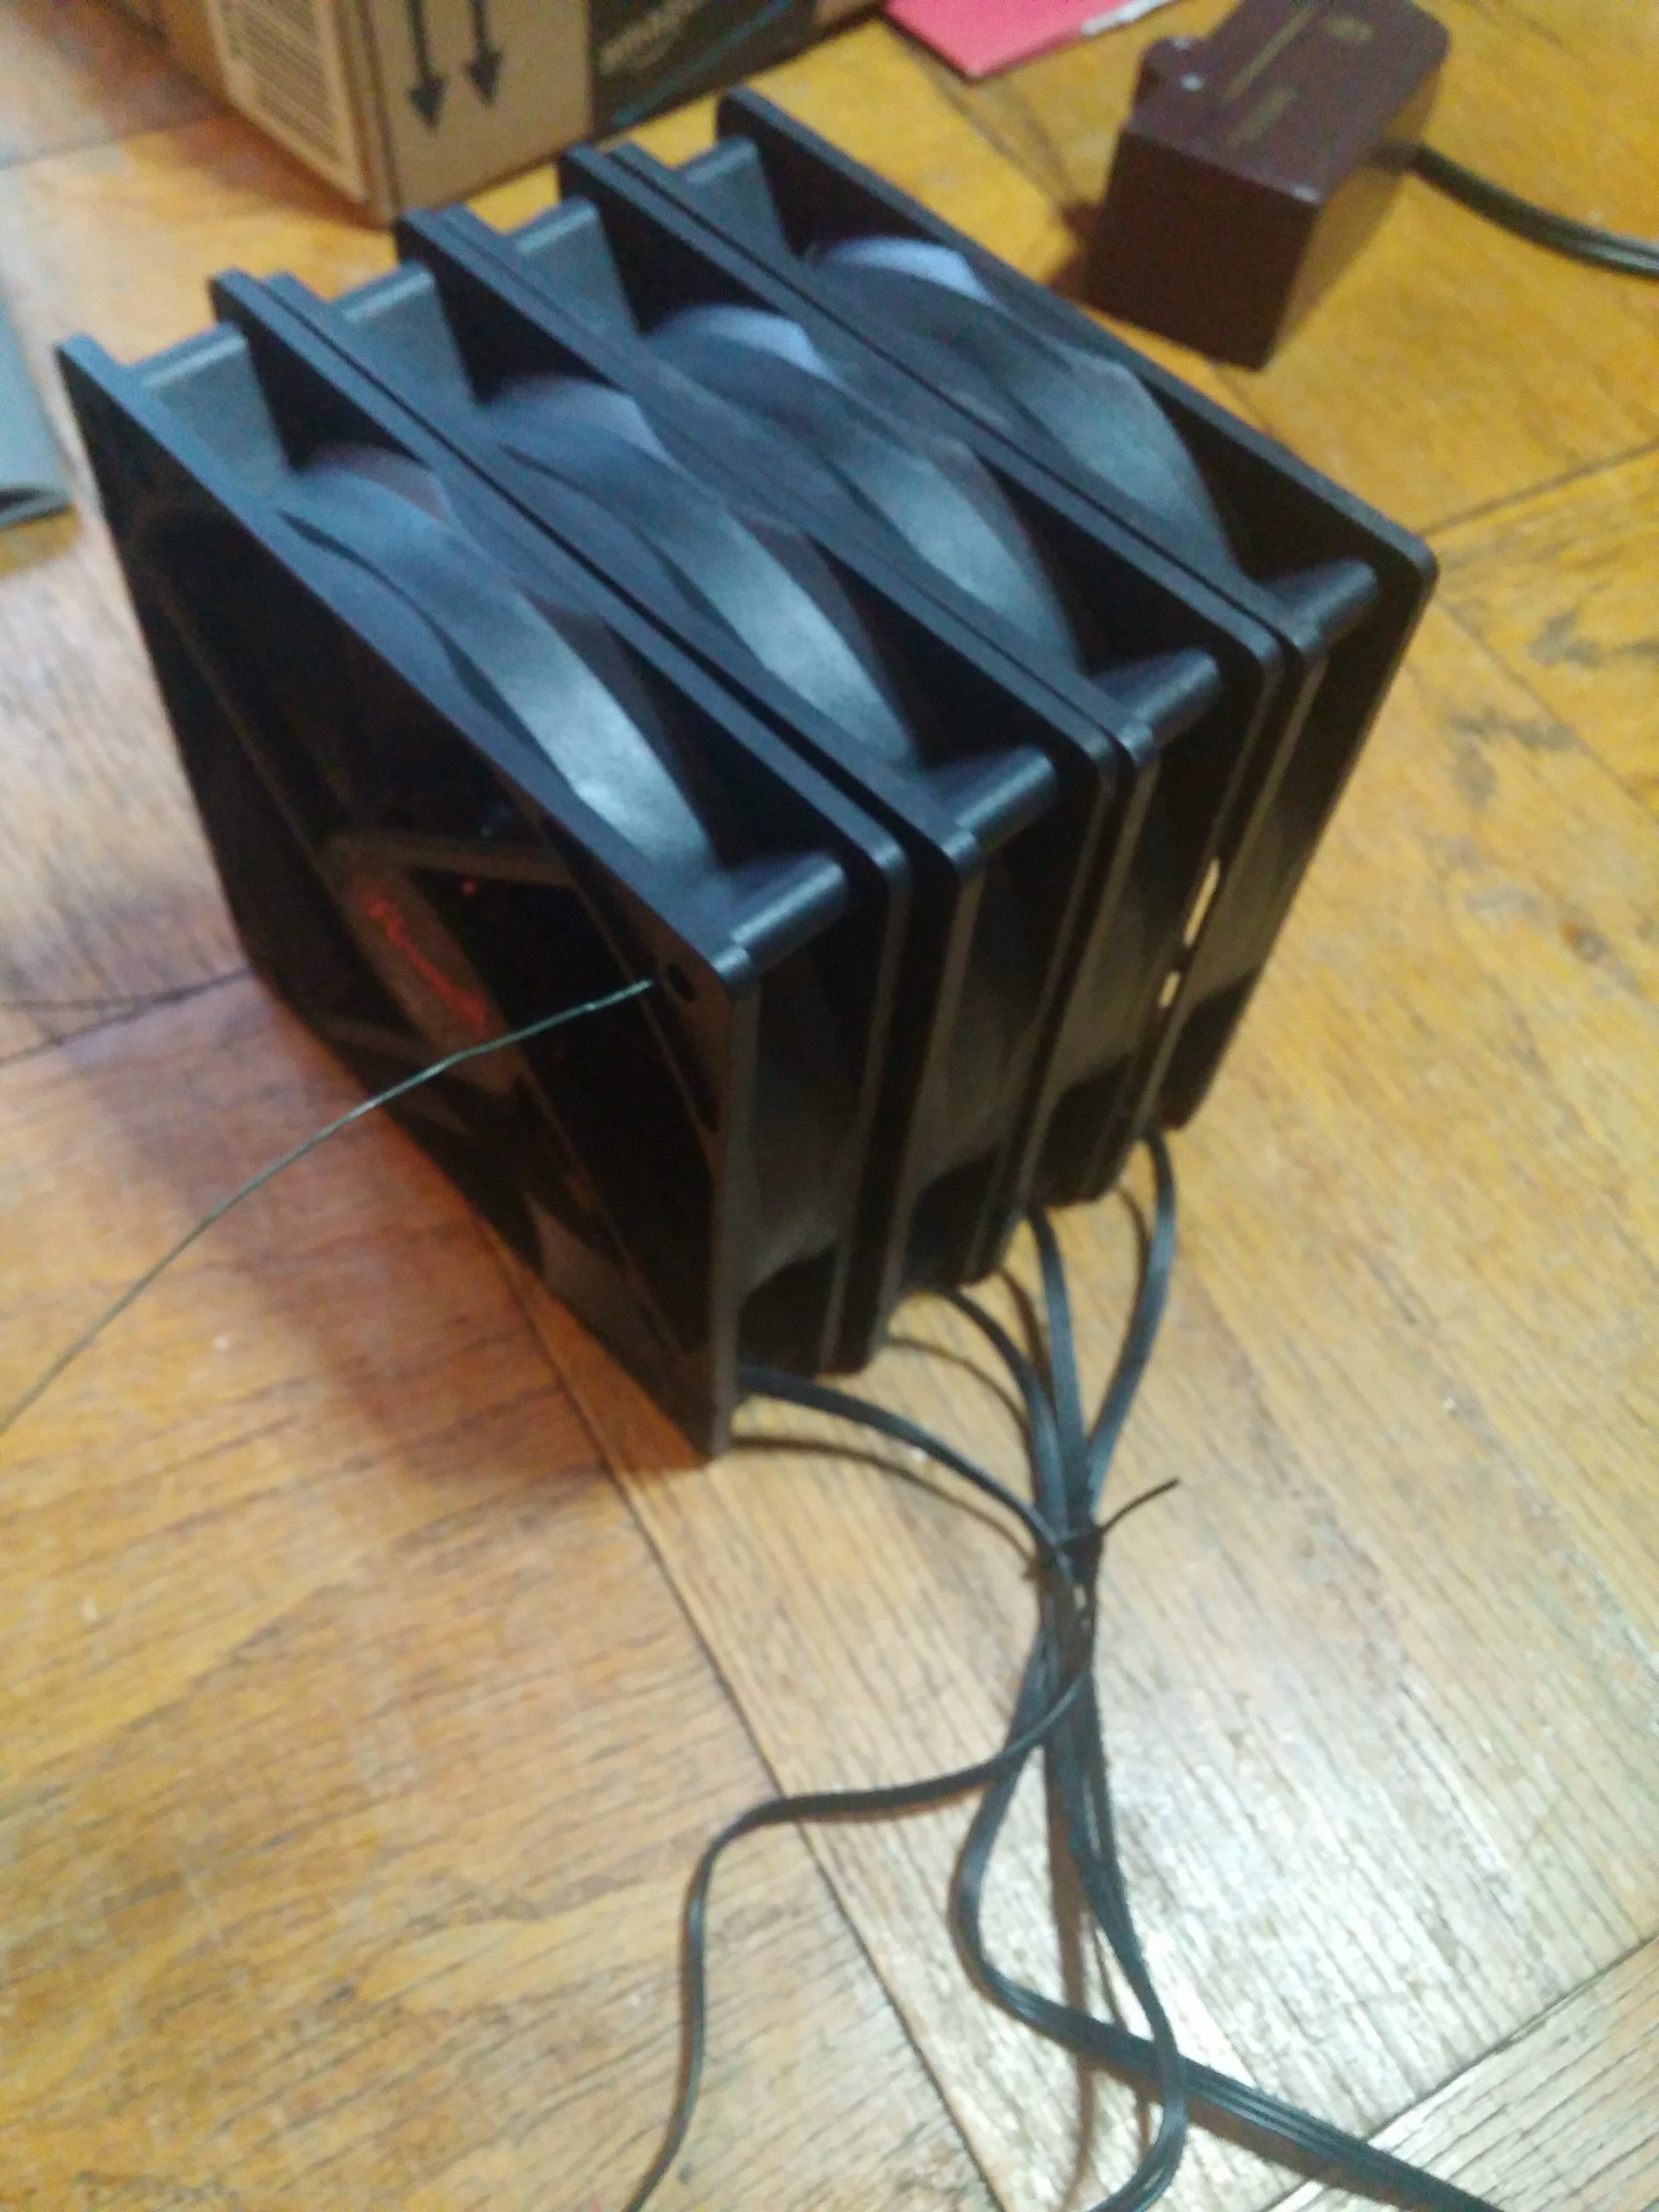
Fan Configuration v1:
This is my first configuration, Pushed the air faster, but the air was not very well directed and this was not the best use of all of the fans.
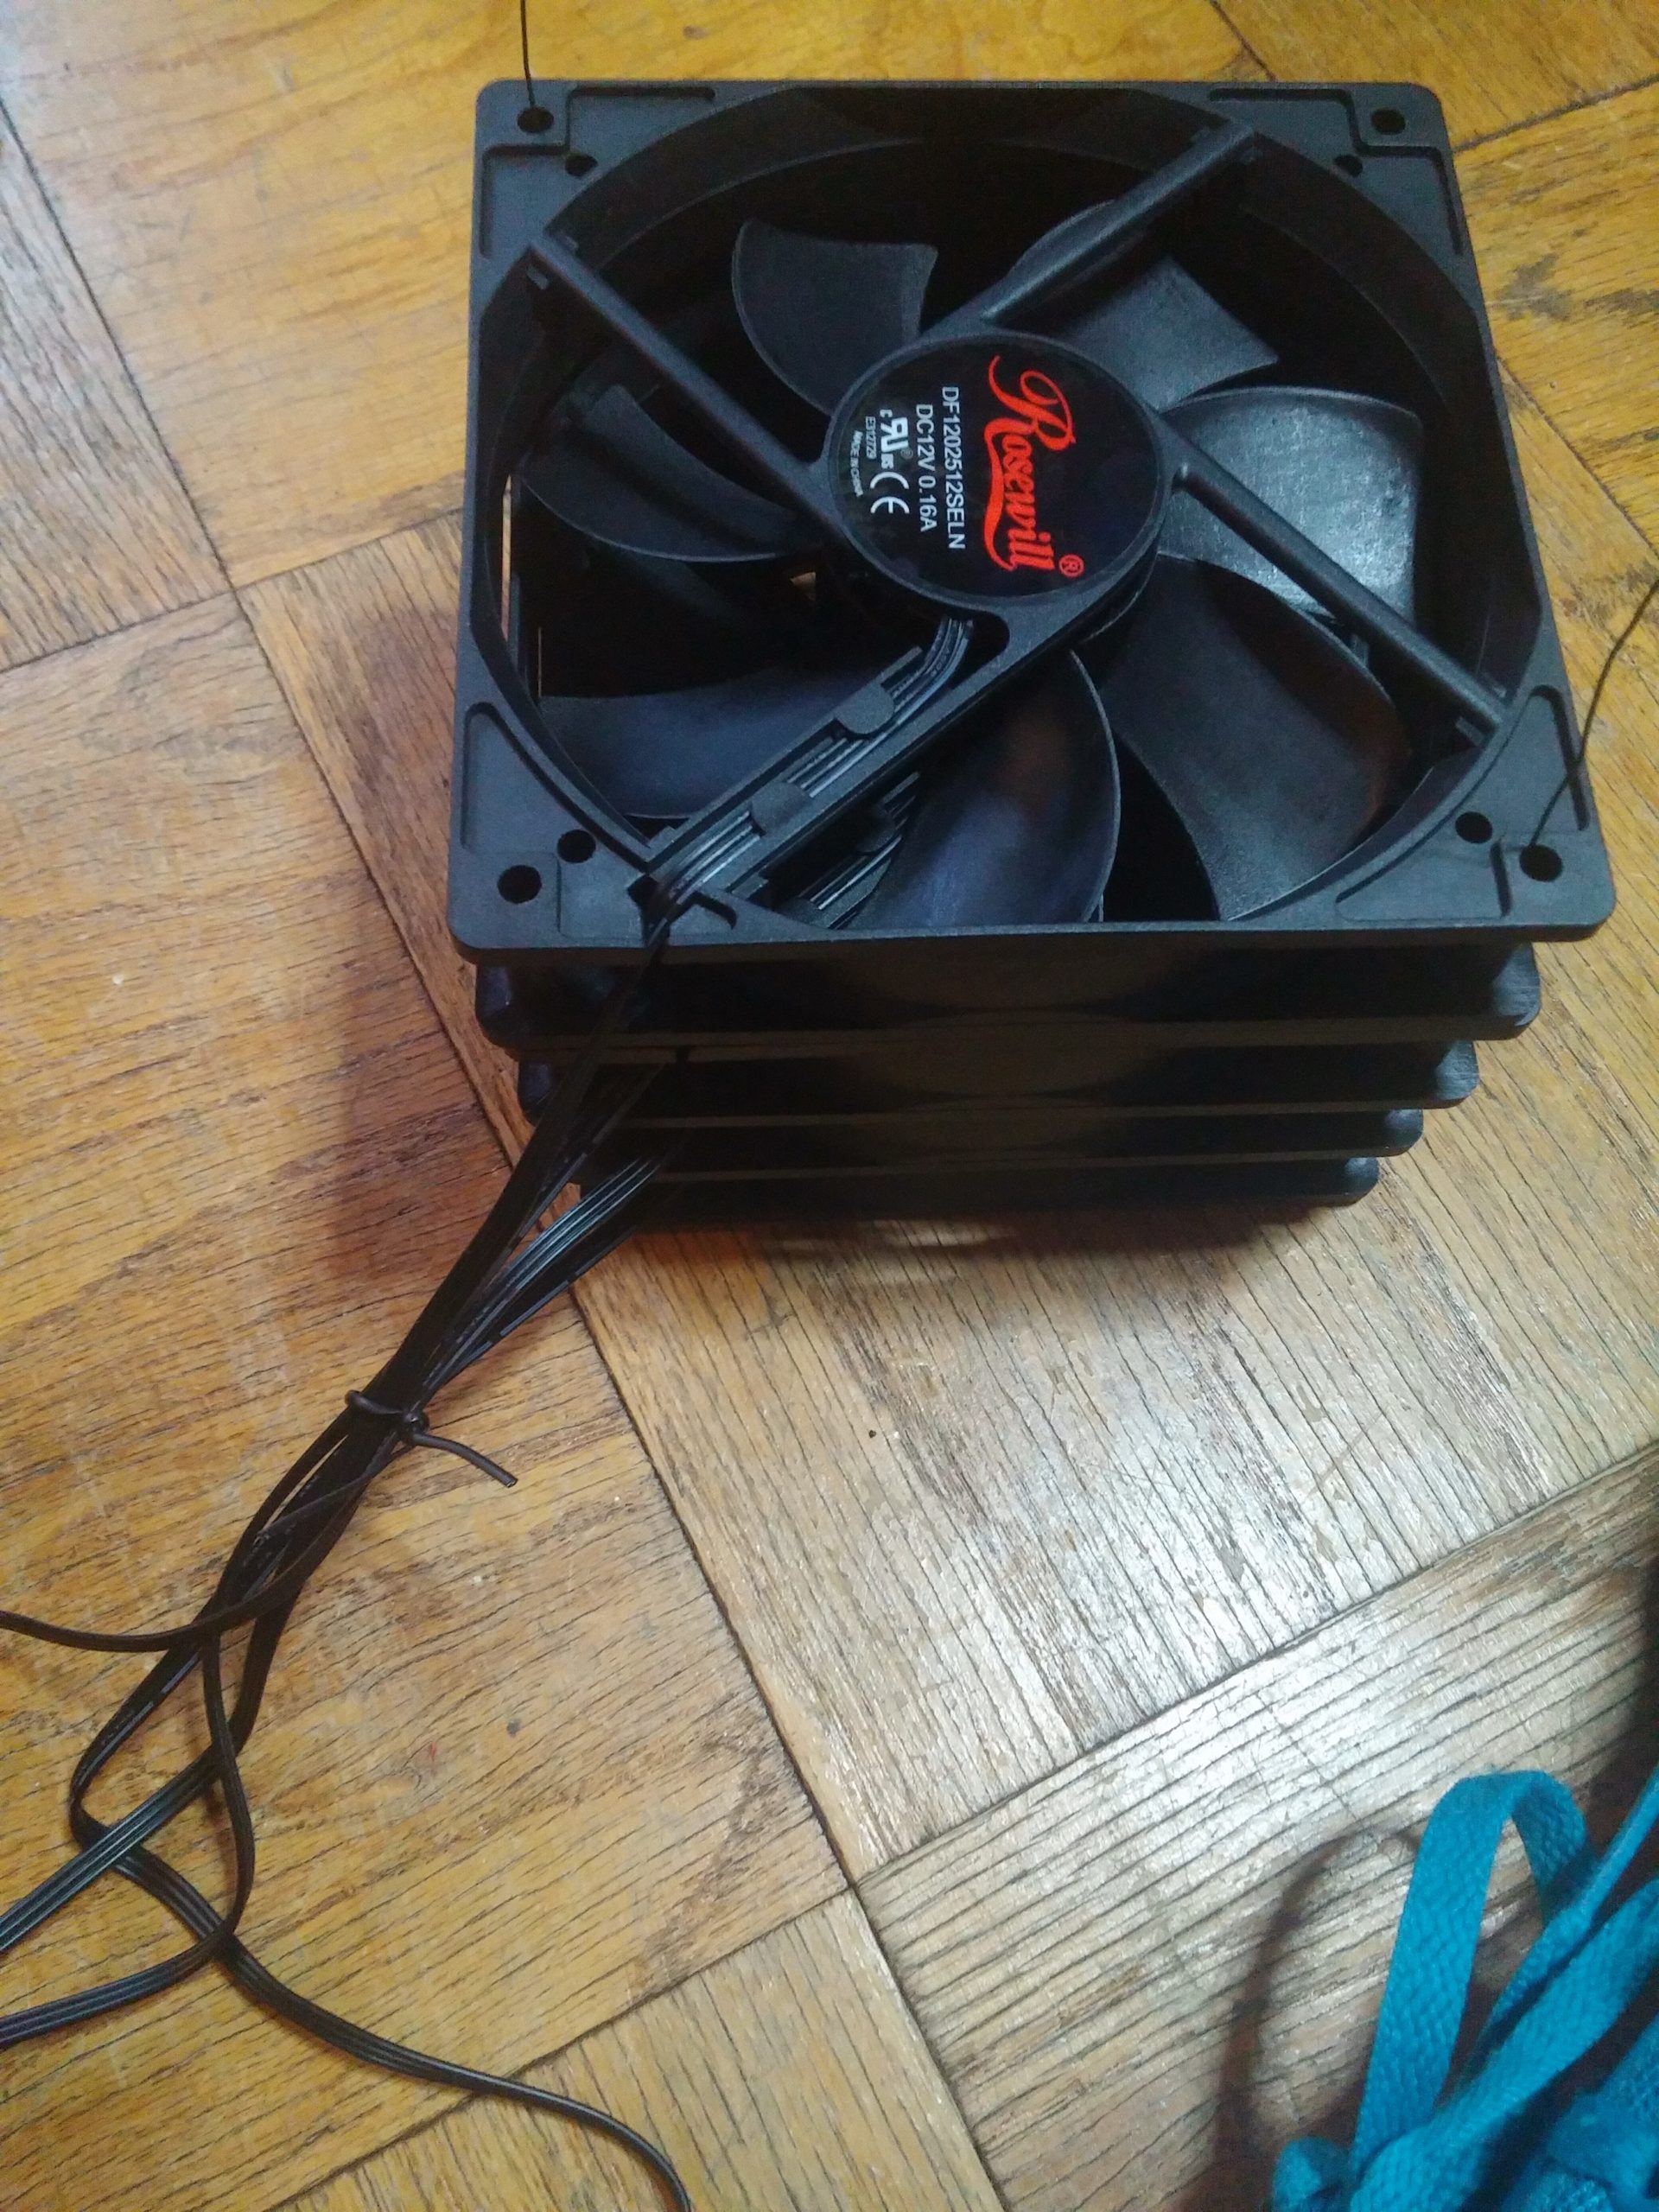
Fan Configuration v2:
After playing around a bit this is what I went with. It directed the air well and used all of the fans pretty efficiently. In testing I used some green craft wire, but opted for twist ties for the final assembly.
Another view of the fans from the direction the air comes out of.
Powering the Fans:
I did not want to cut off the molex connectors on the fans because I wanted to bee be able to use them for future projects, so I took a spare molex connector off of the internals for an IDE hard drive hot swap, shown here.
The molex connector spliced into the 12v pins on the male side.
The whole power plug assembly, messy but it works.

Cooling Coil:
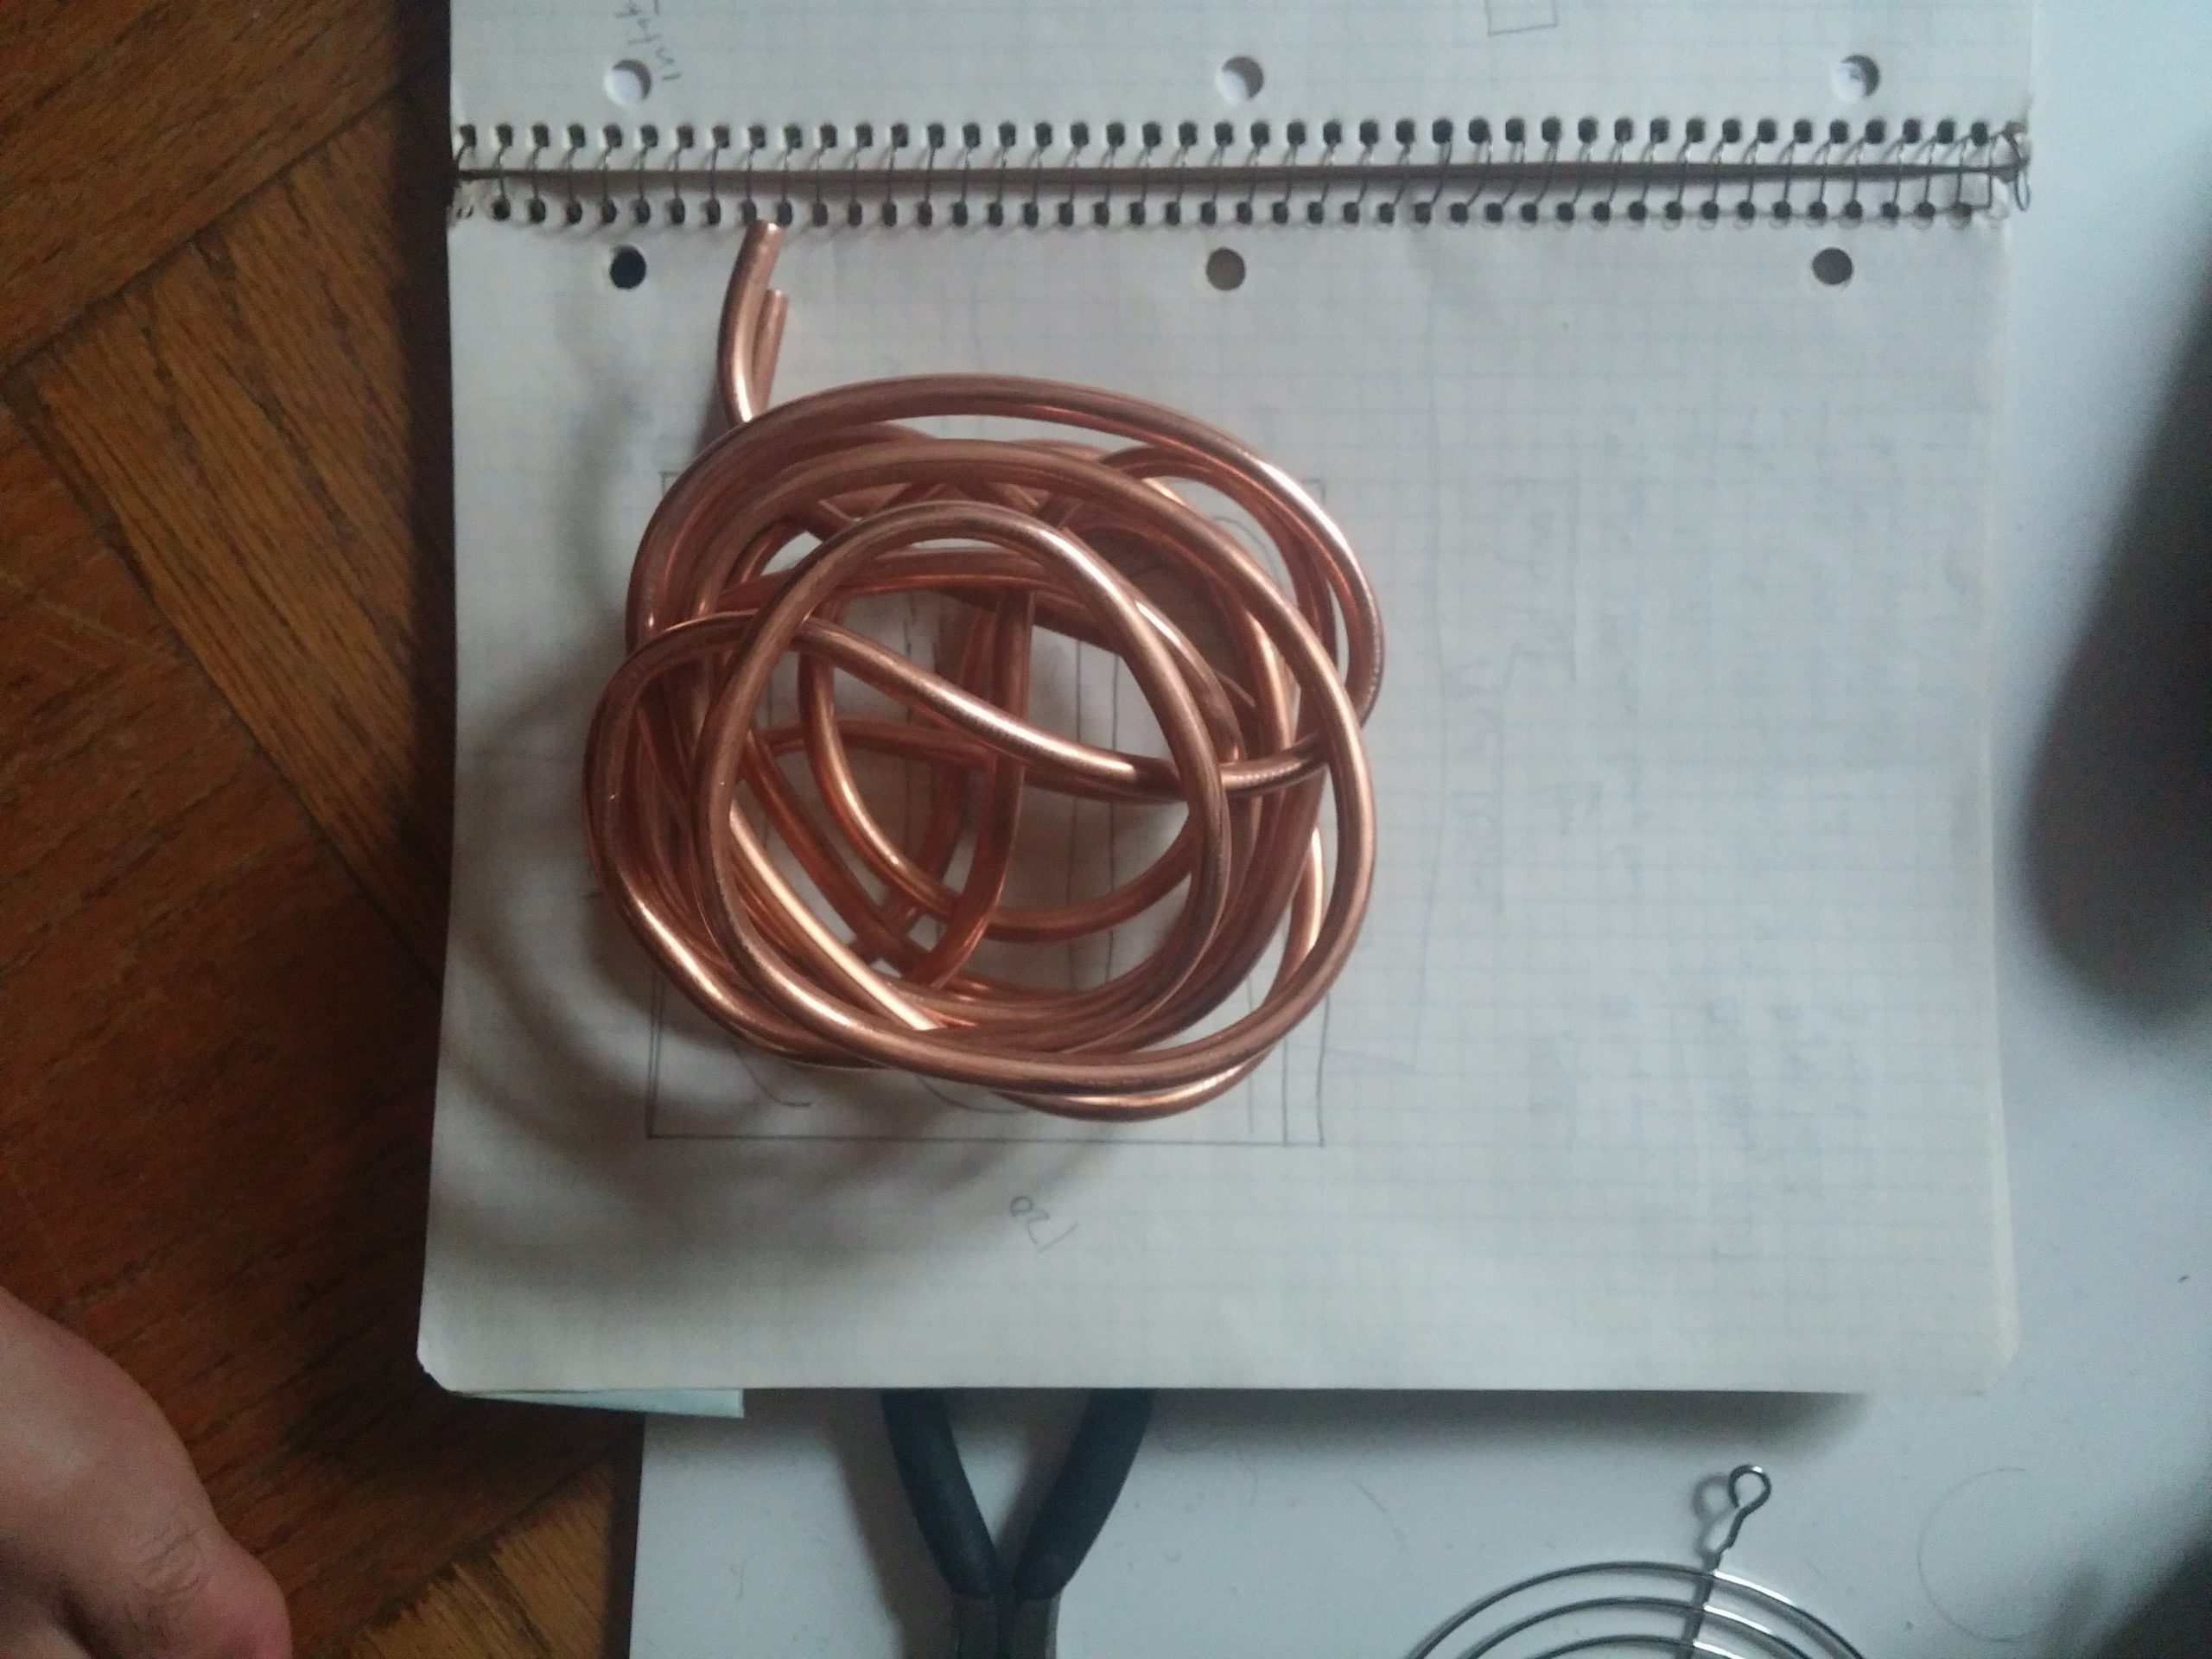
I used 1/4 inch copper pipe and a bending spring (which is essential) to bend the pipe in a somewhat random somewhat planned box with the in and out portions on the side. It lined up (mostly) with my design in my notebook which is good. I tried to cover as much of the hole as I could with the pipe but it became very hard to bend it in such tight radii.
Side view of the cooling coil.

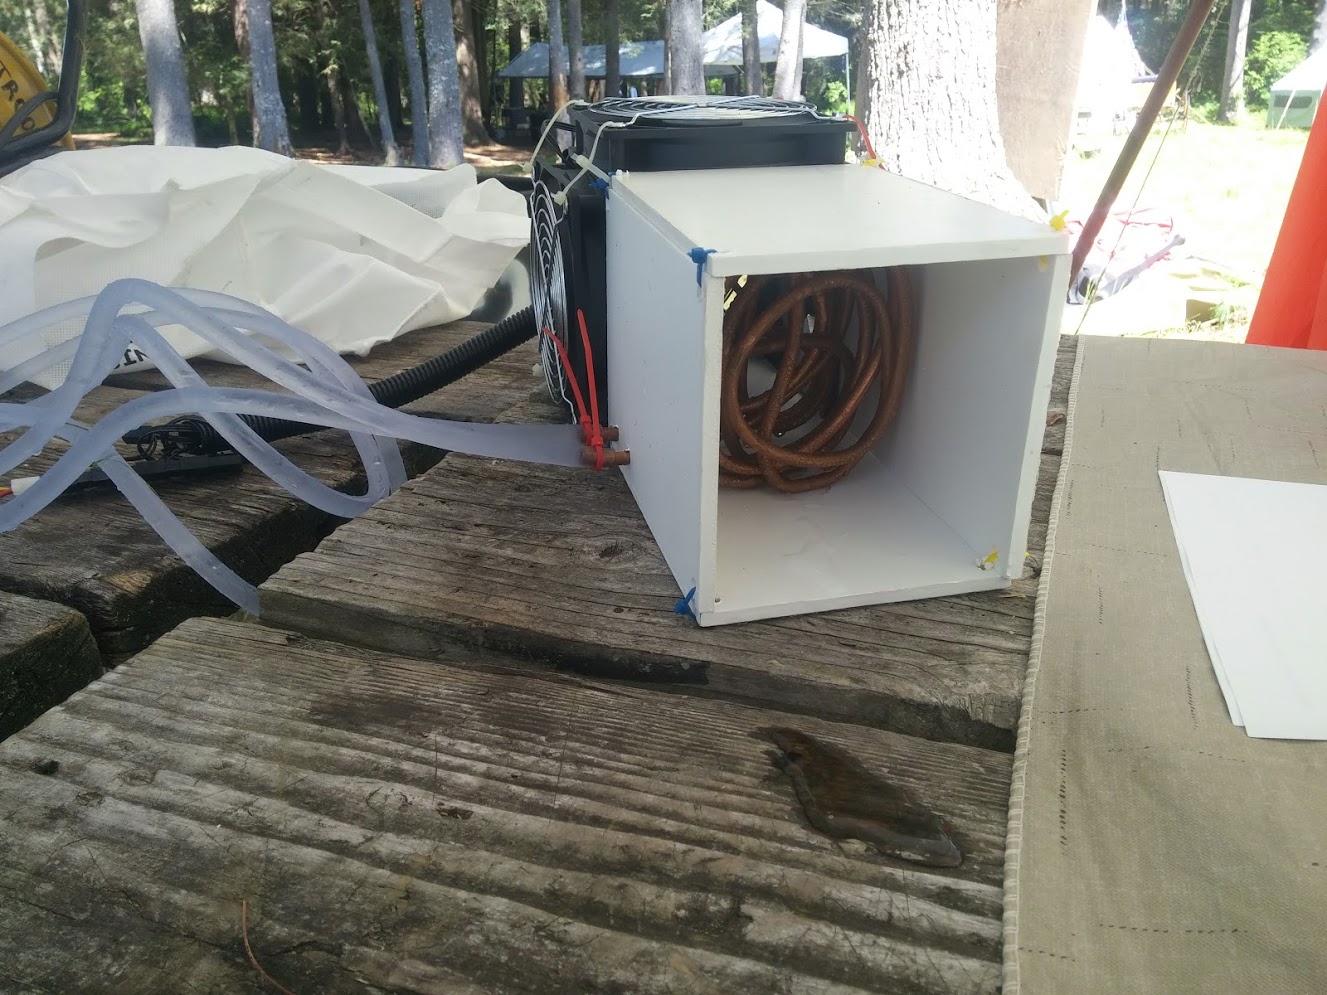
The cooling coil inside of the box. Perfect fit.

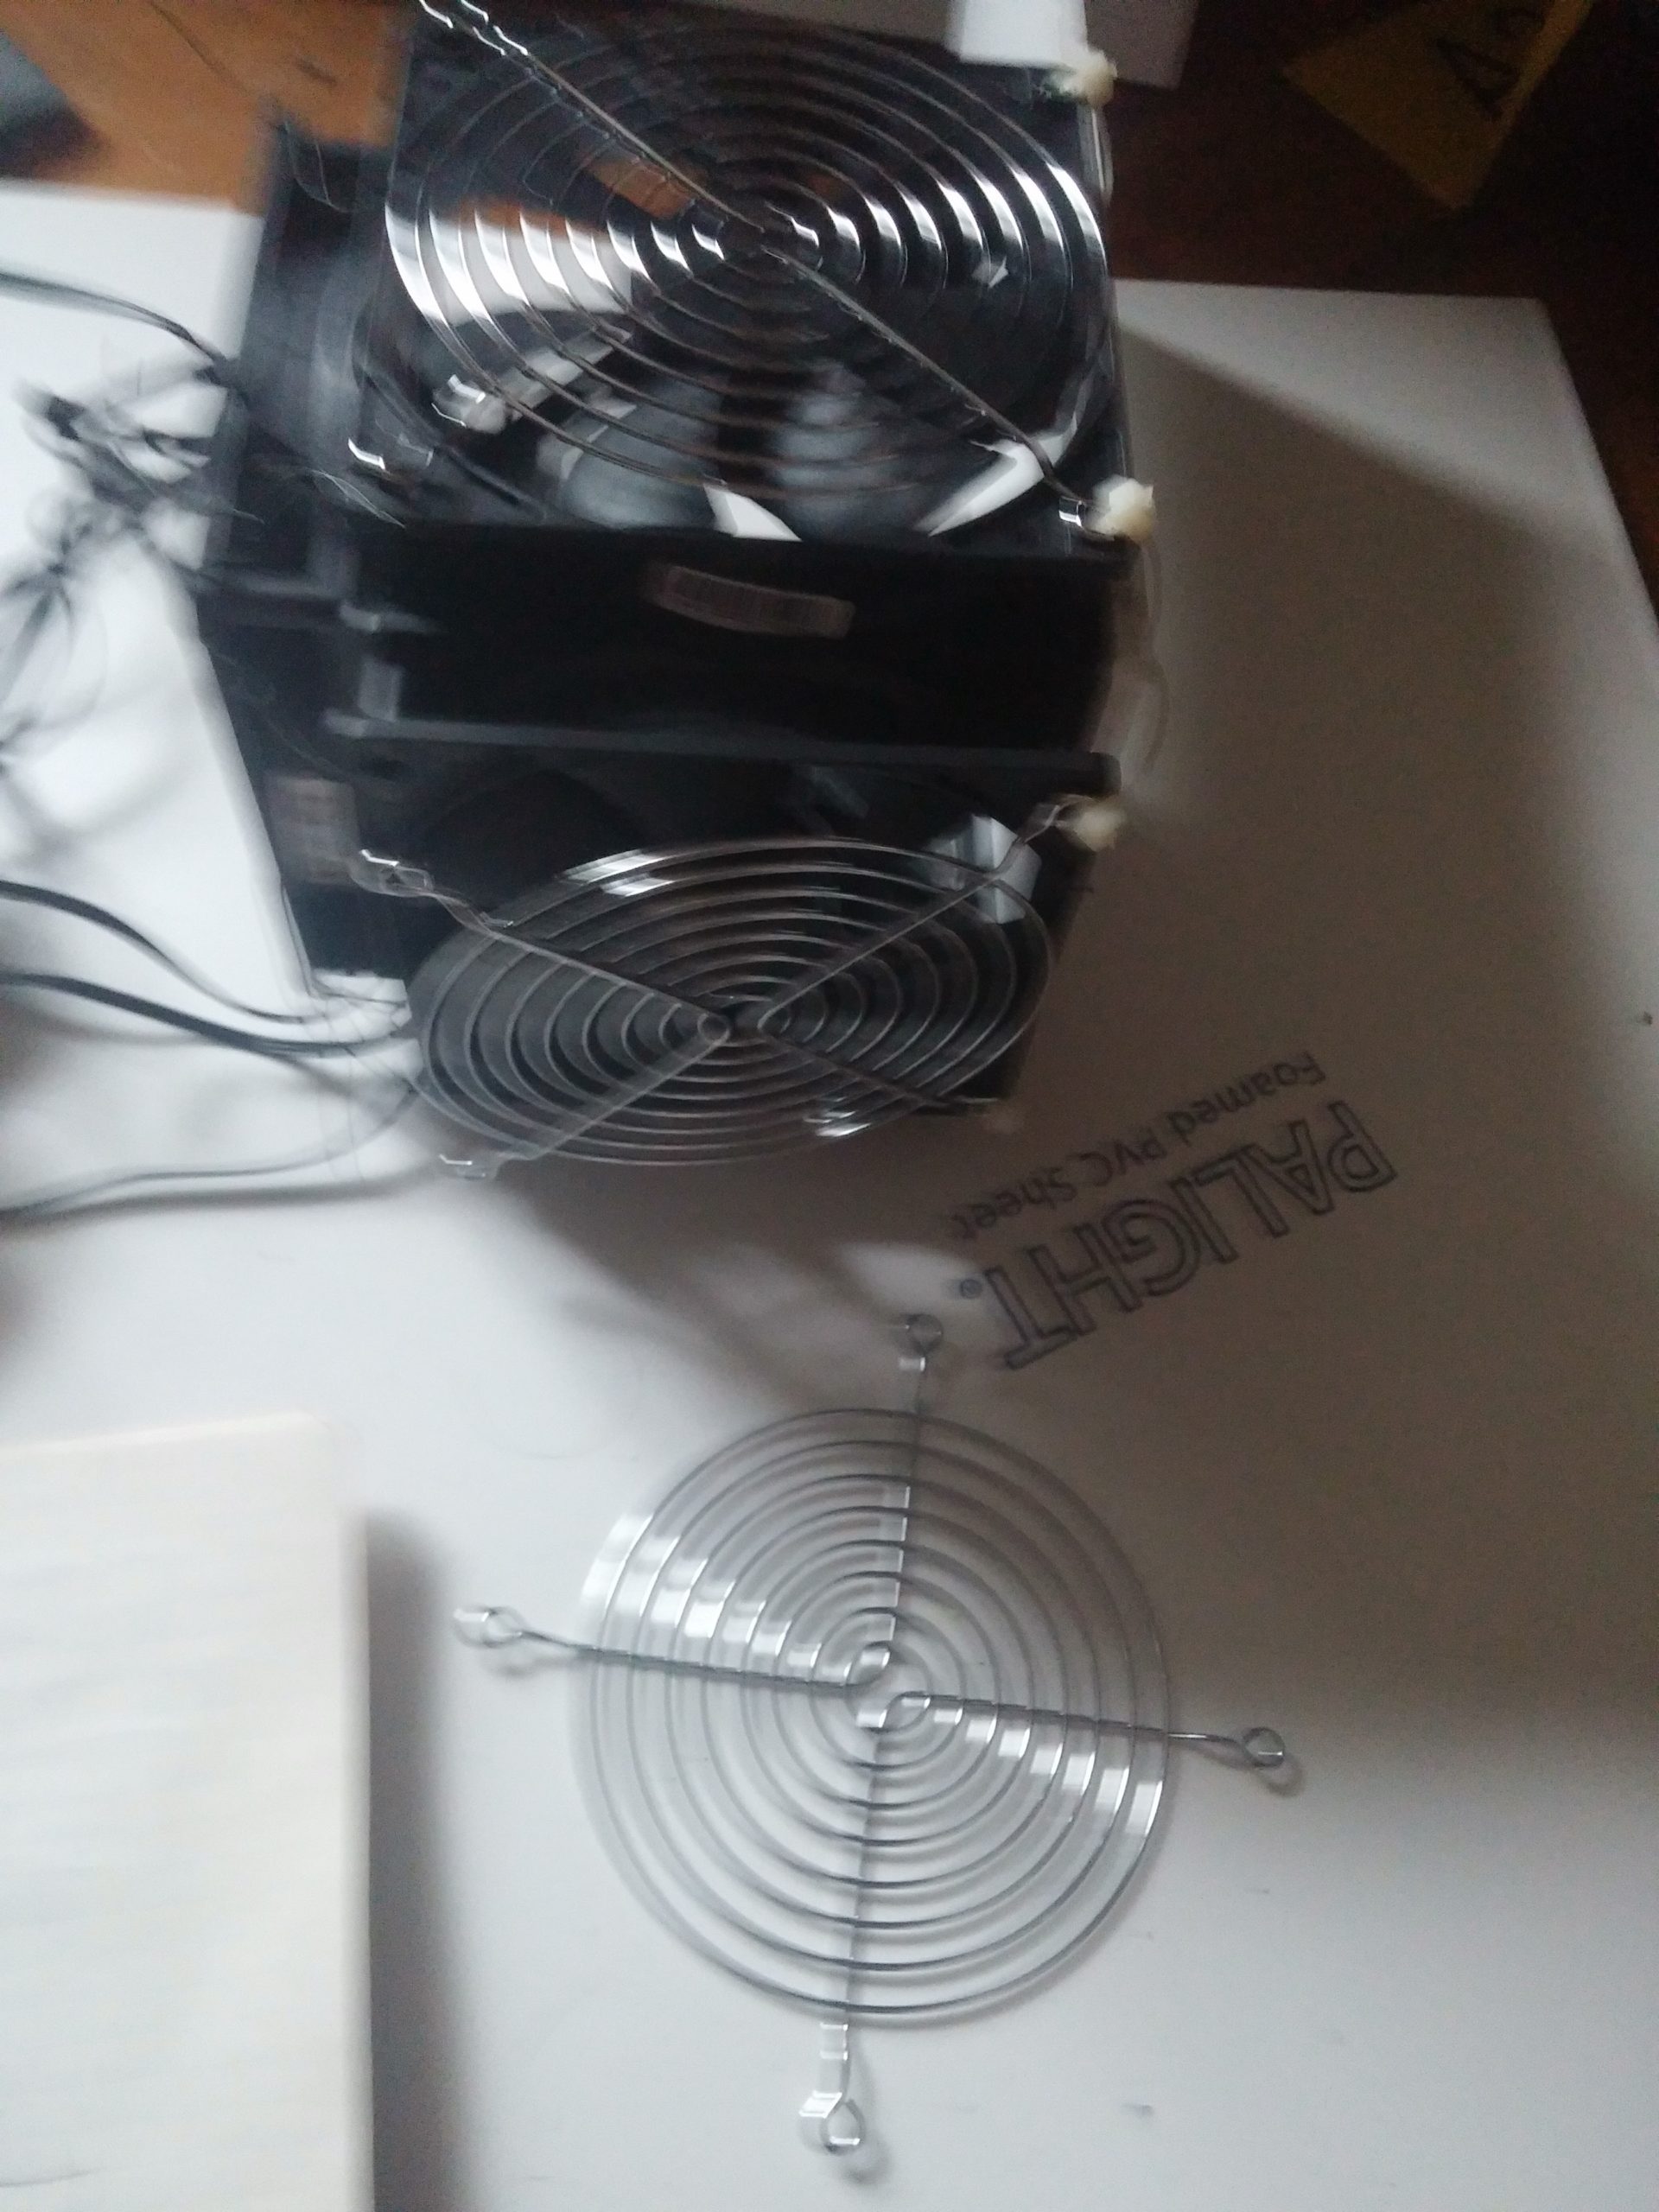
Fan grills:
I decided to put grills on the fans because they were cheap (link), they made it look better, and they made it harder for random stuff (like the wires) to get stuck in and stop the very weak fans. Here is a shaky picture of me putting them on. I used the twist ties to keep them in place as opposed to using screws.
Hooking it up:
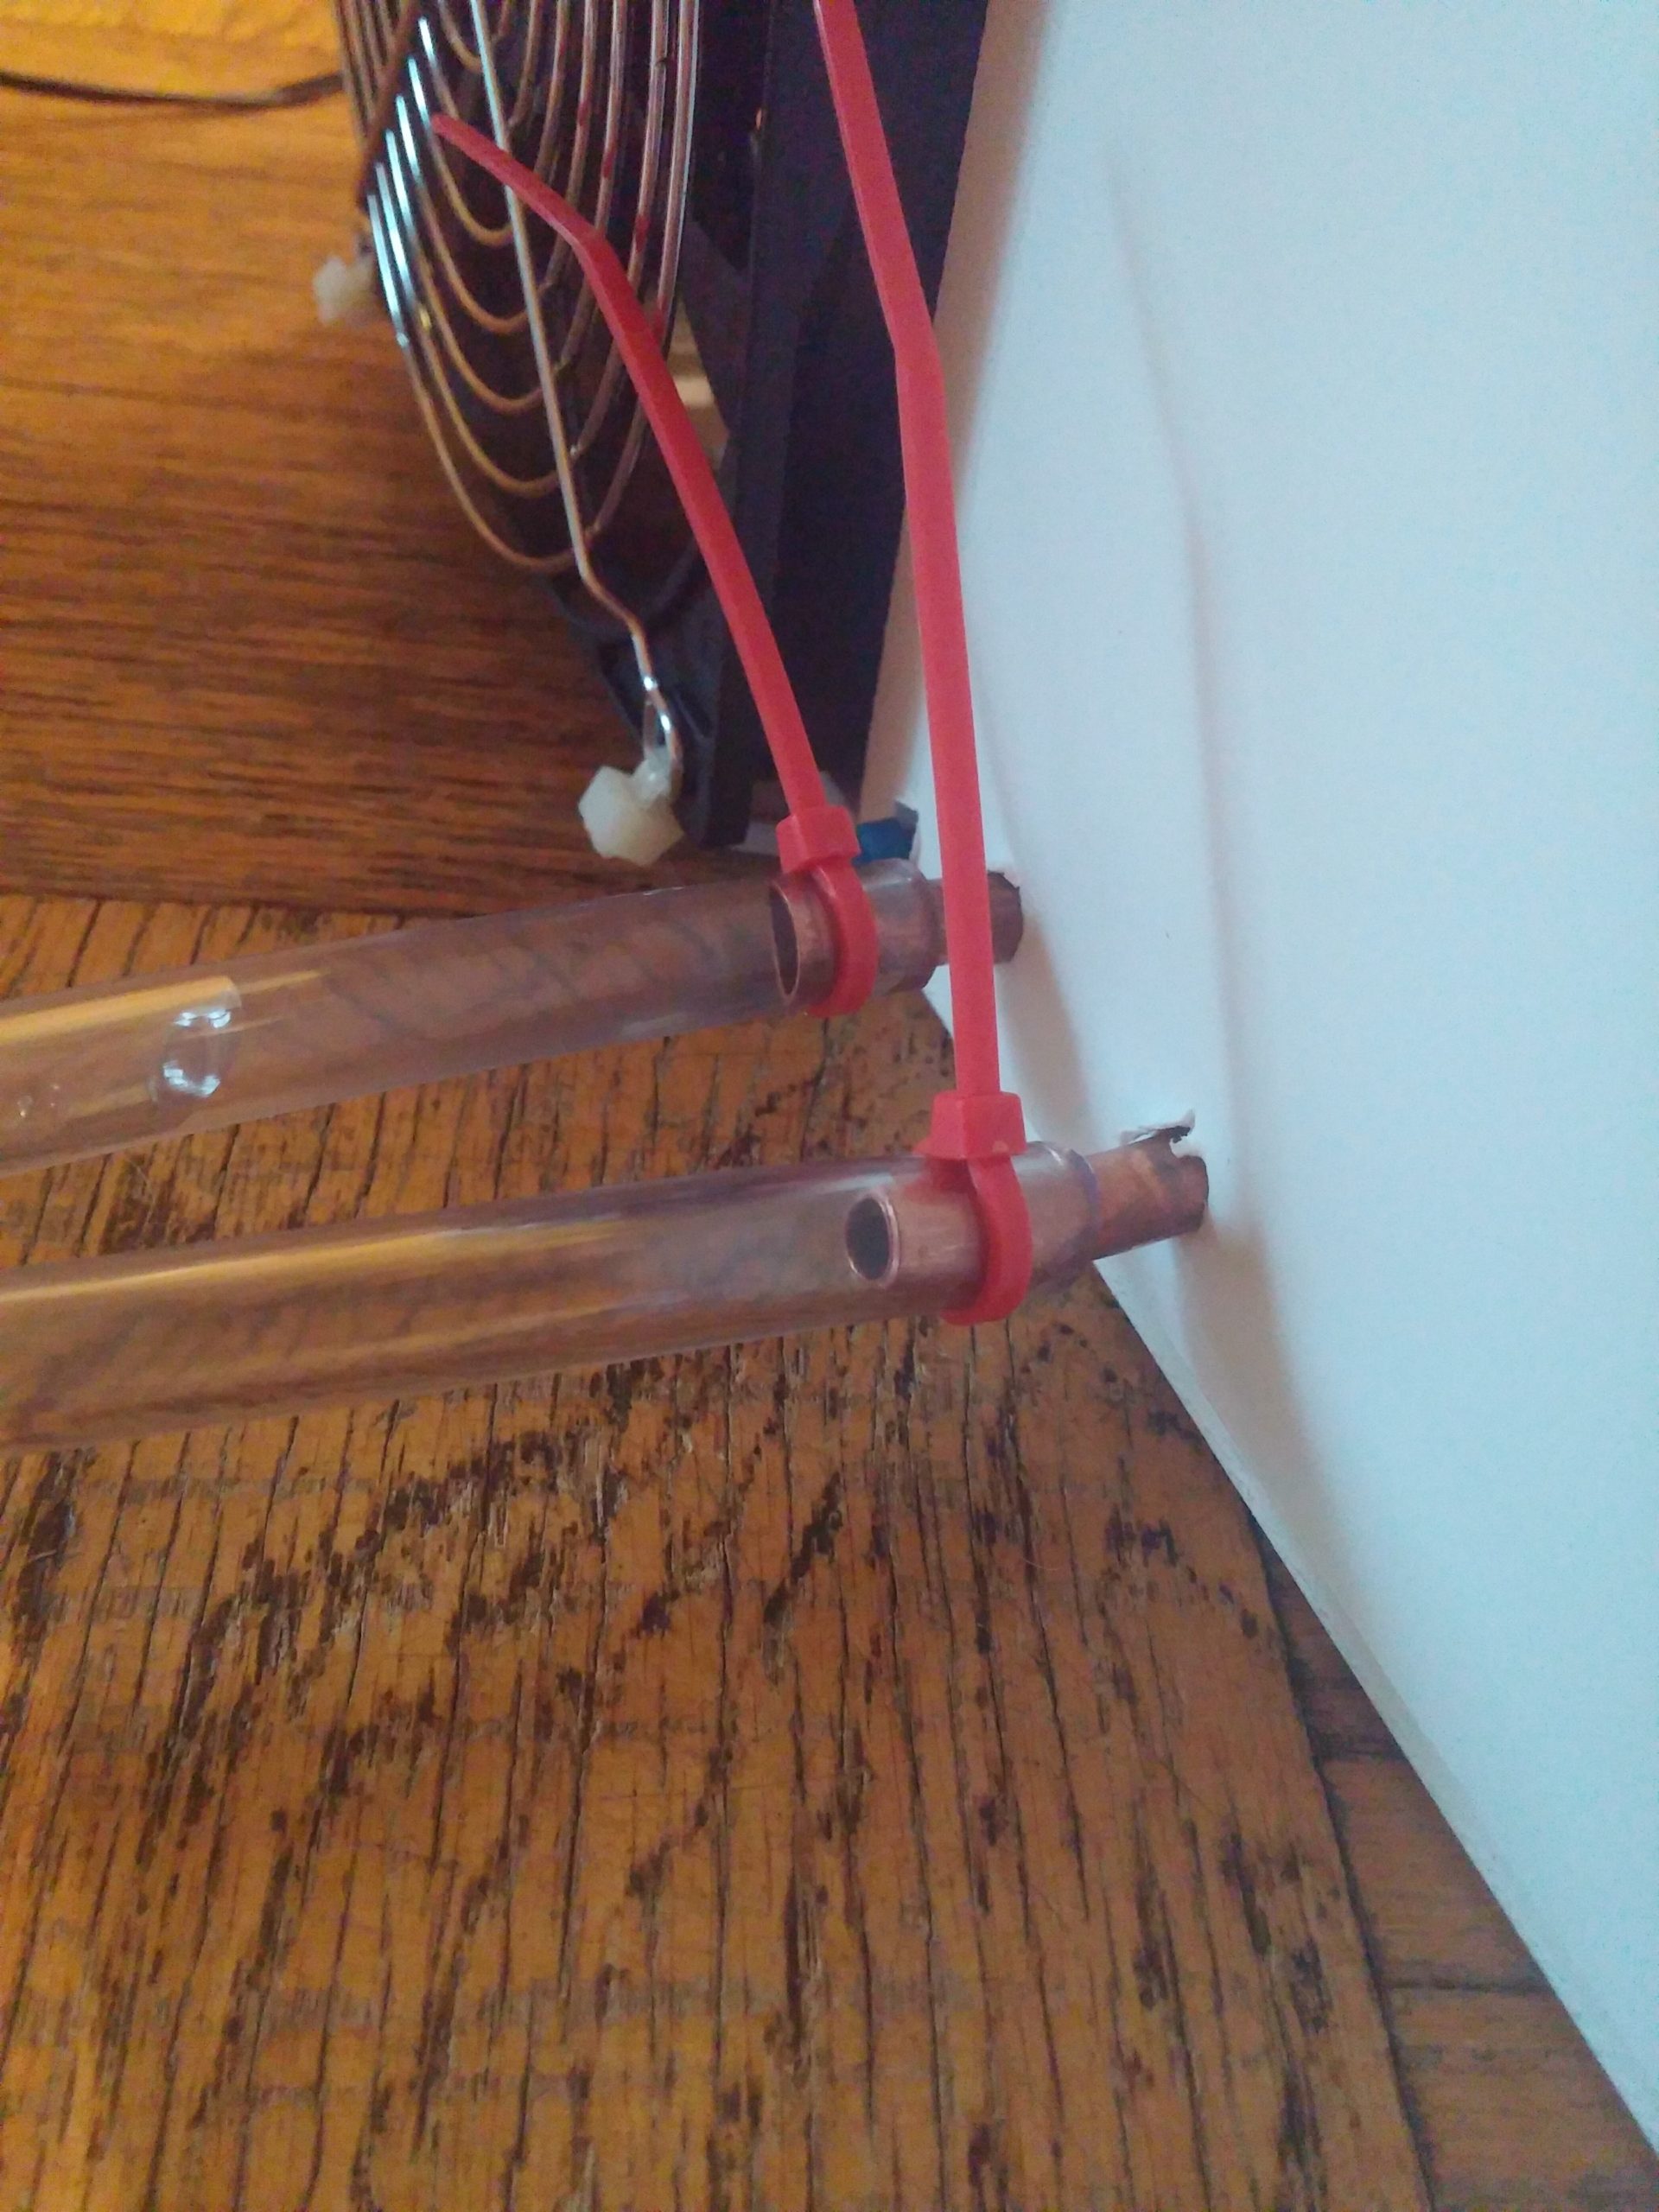
Twist ties were all that was needed to connect the 1/4 in rubber tube to the cooling coil. Did not leak at all.
Tools:
- 1/4 in bending spring
- Snips
- Wire stripper
- Xacto Blade or box cutter (for PVC board)
Not Shown:
Unfortunately I did to have pictures of the 12 v pump used to push the water or the assembly of the box to hold it all together but these two parts were essential in making it all work.
Finished product:
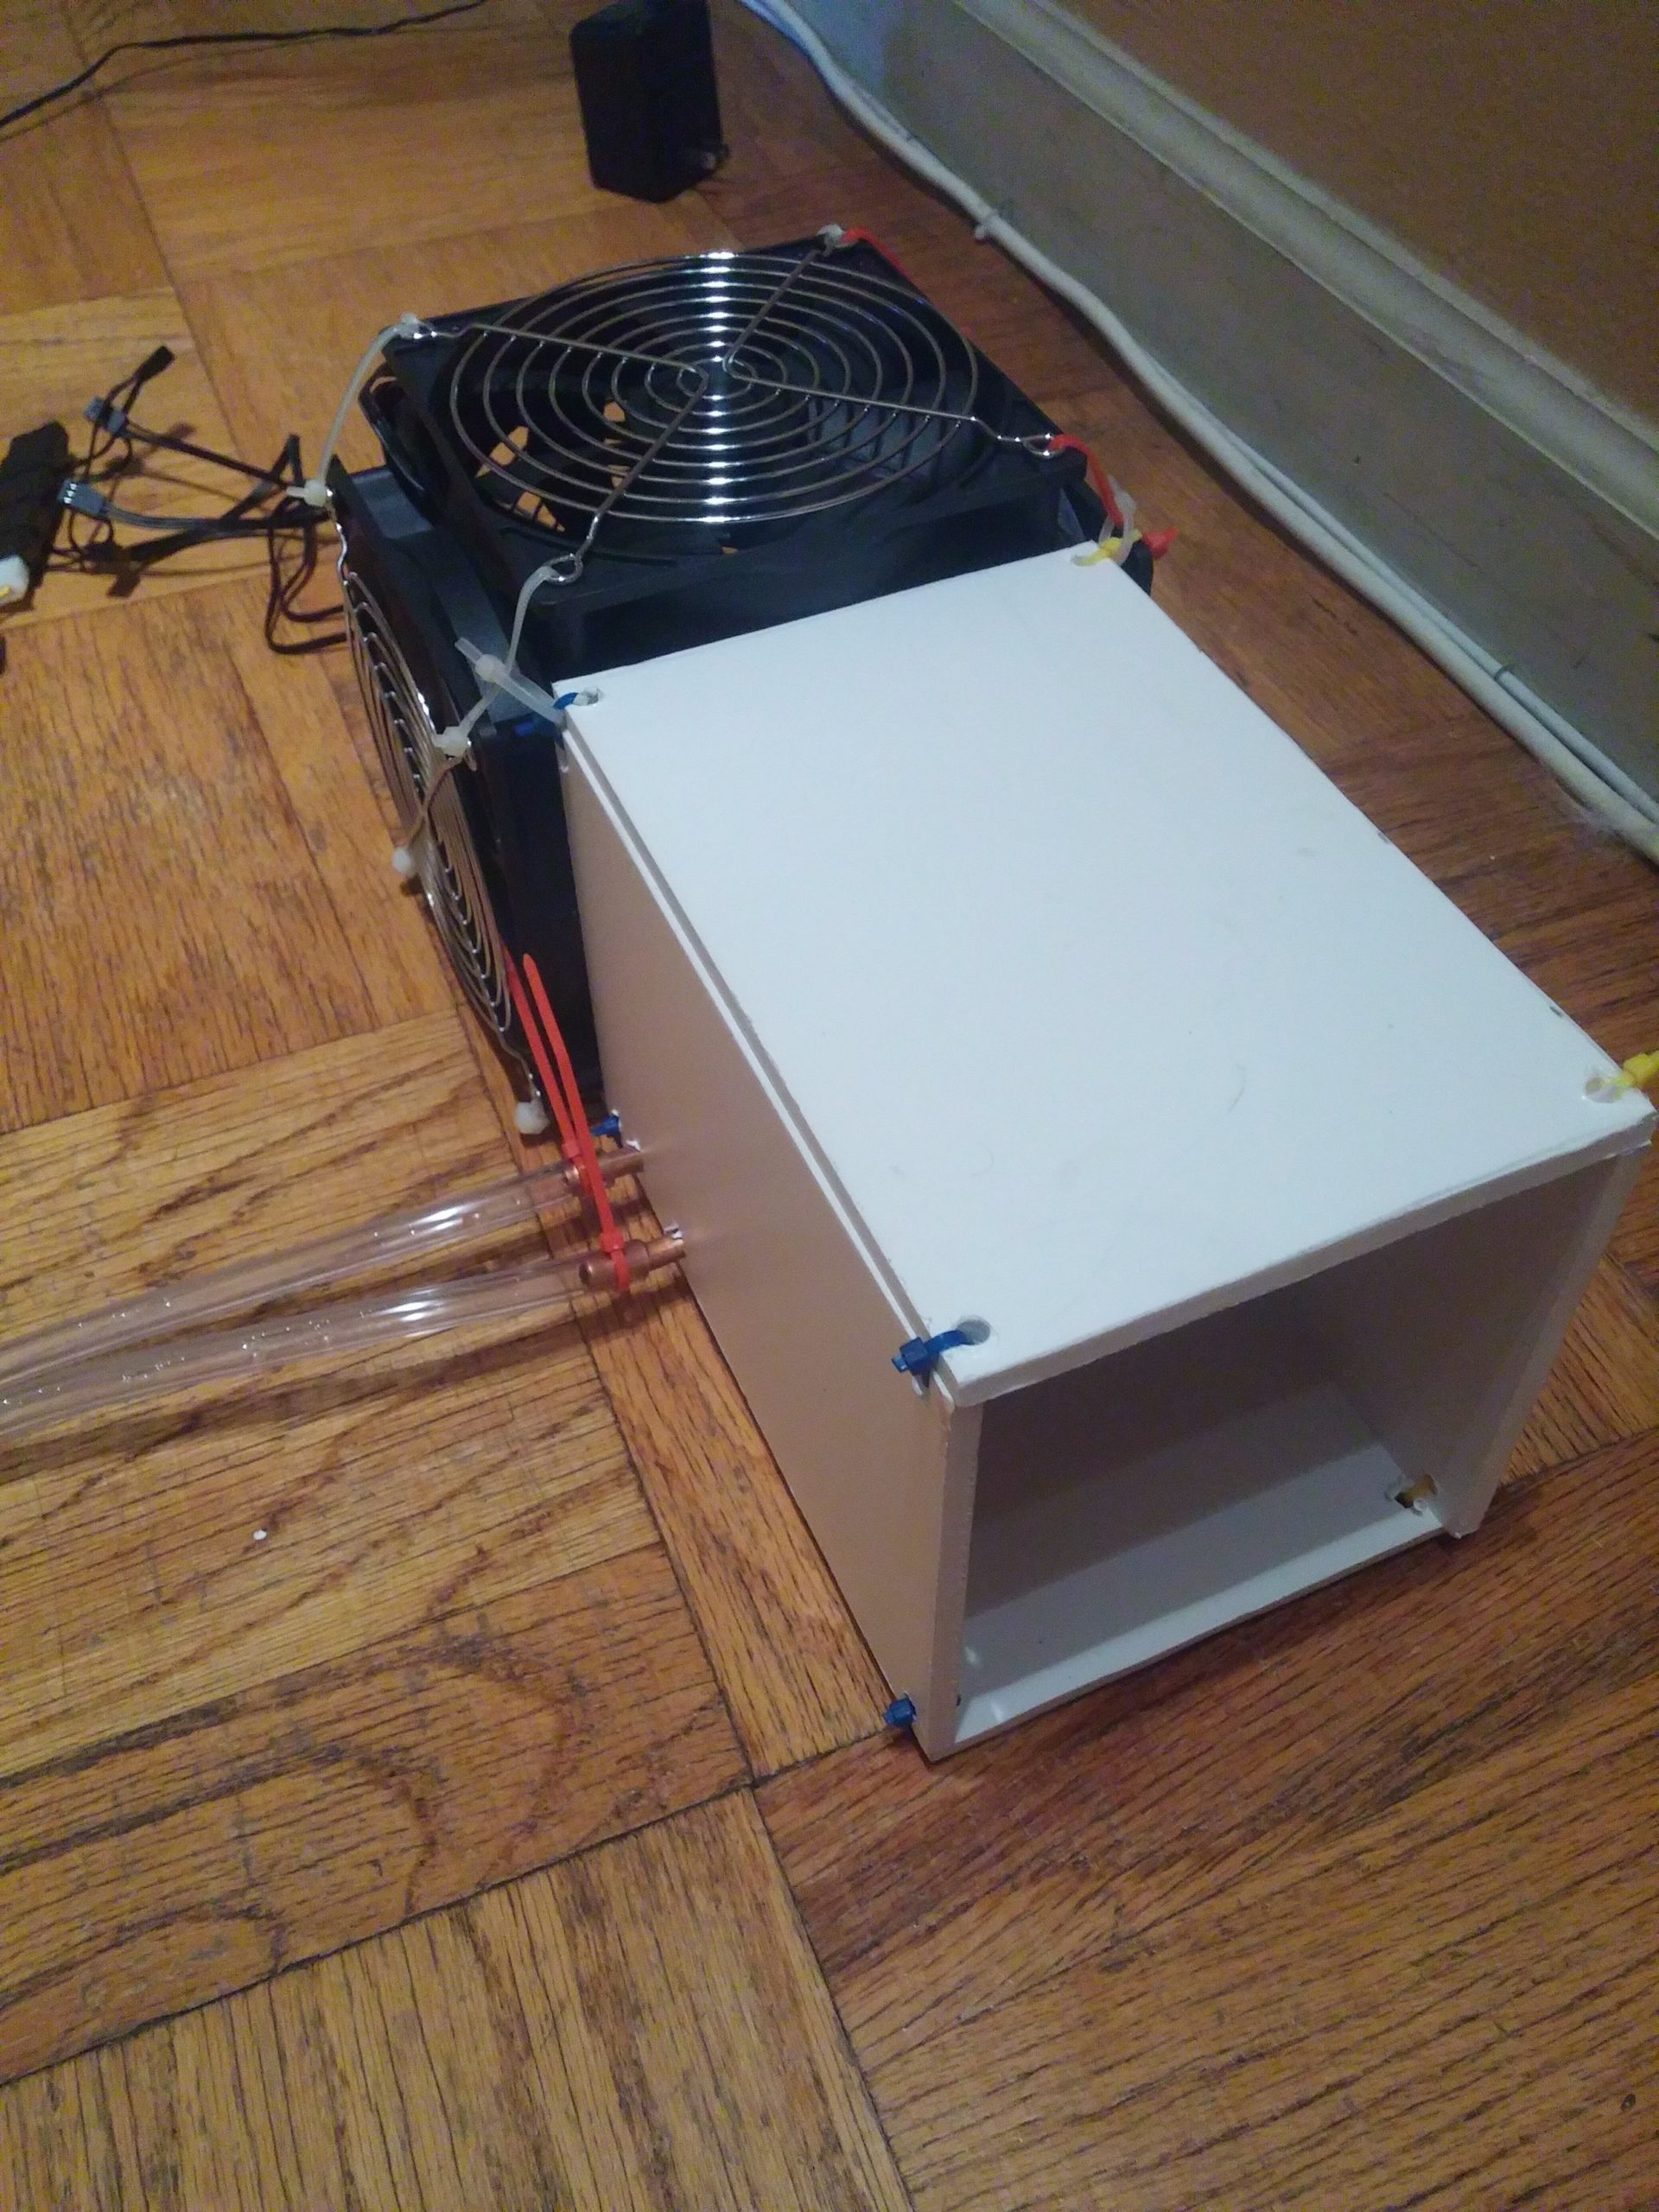
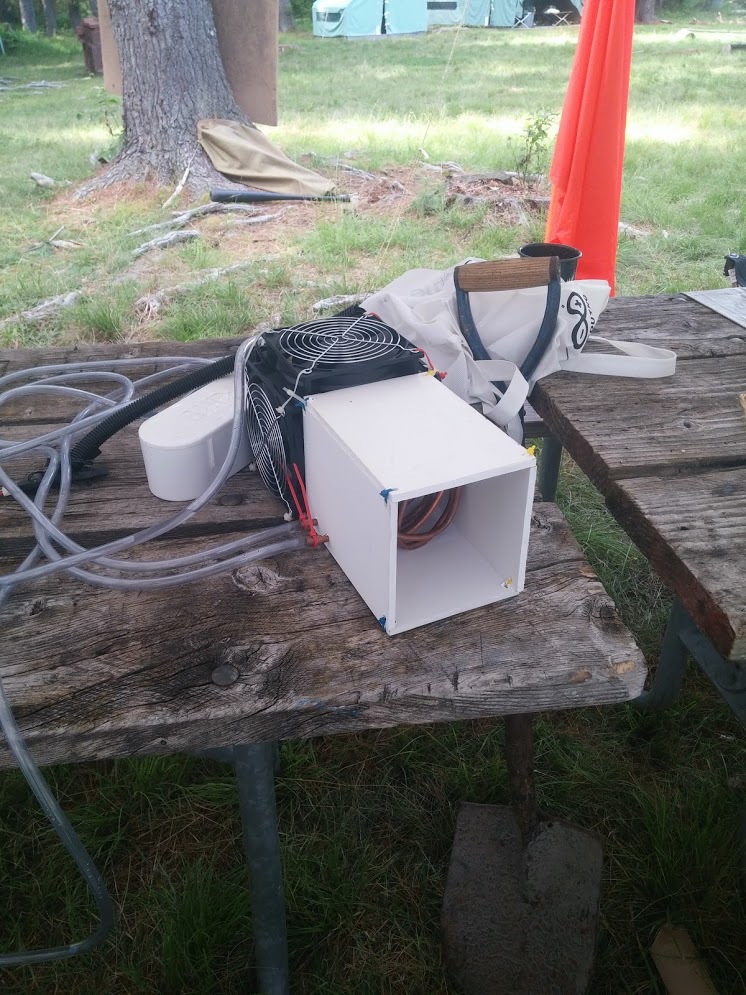
Below is the Air Conditioner at my home, then out at the camp site being powered by a 12v solar panel and a small igloo.
