Inspiration:
The idea of mounting a hammock on the roof rack of a car is far from a new idea. My inspiration for this specific type of mount comes from the TrailNest Rooftop Hammock Stand (they went out of business). My goal was to build a cheaper version of their product (their’s starts at >$500 and can go as high as $1200!) to specifically fit the roof rack of my car.
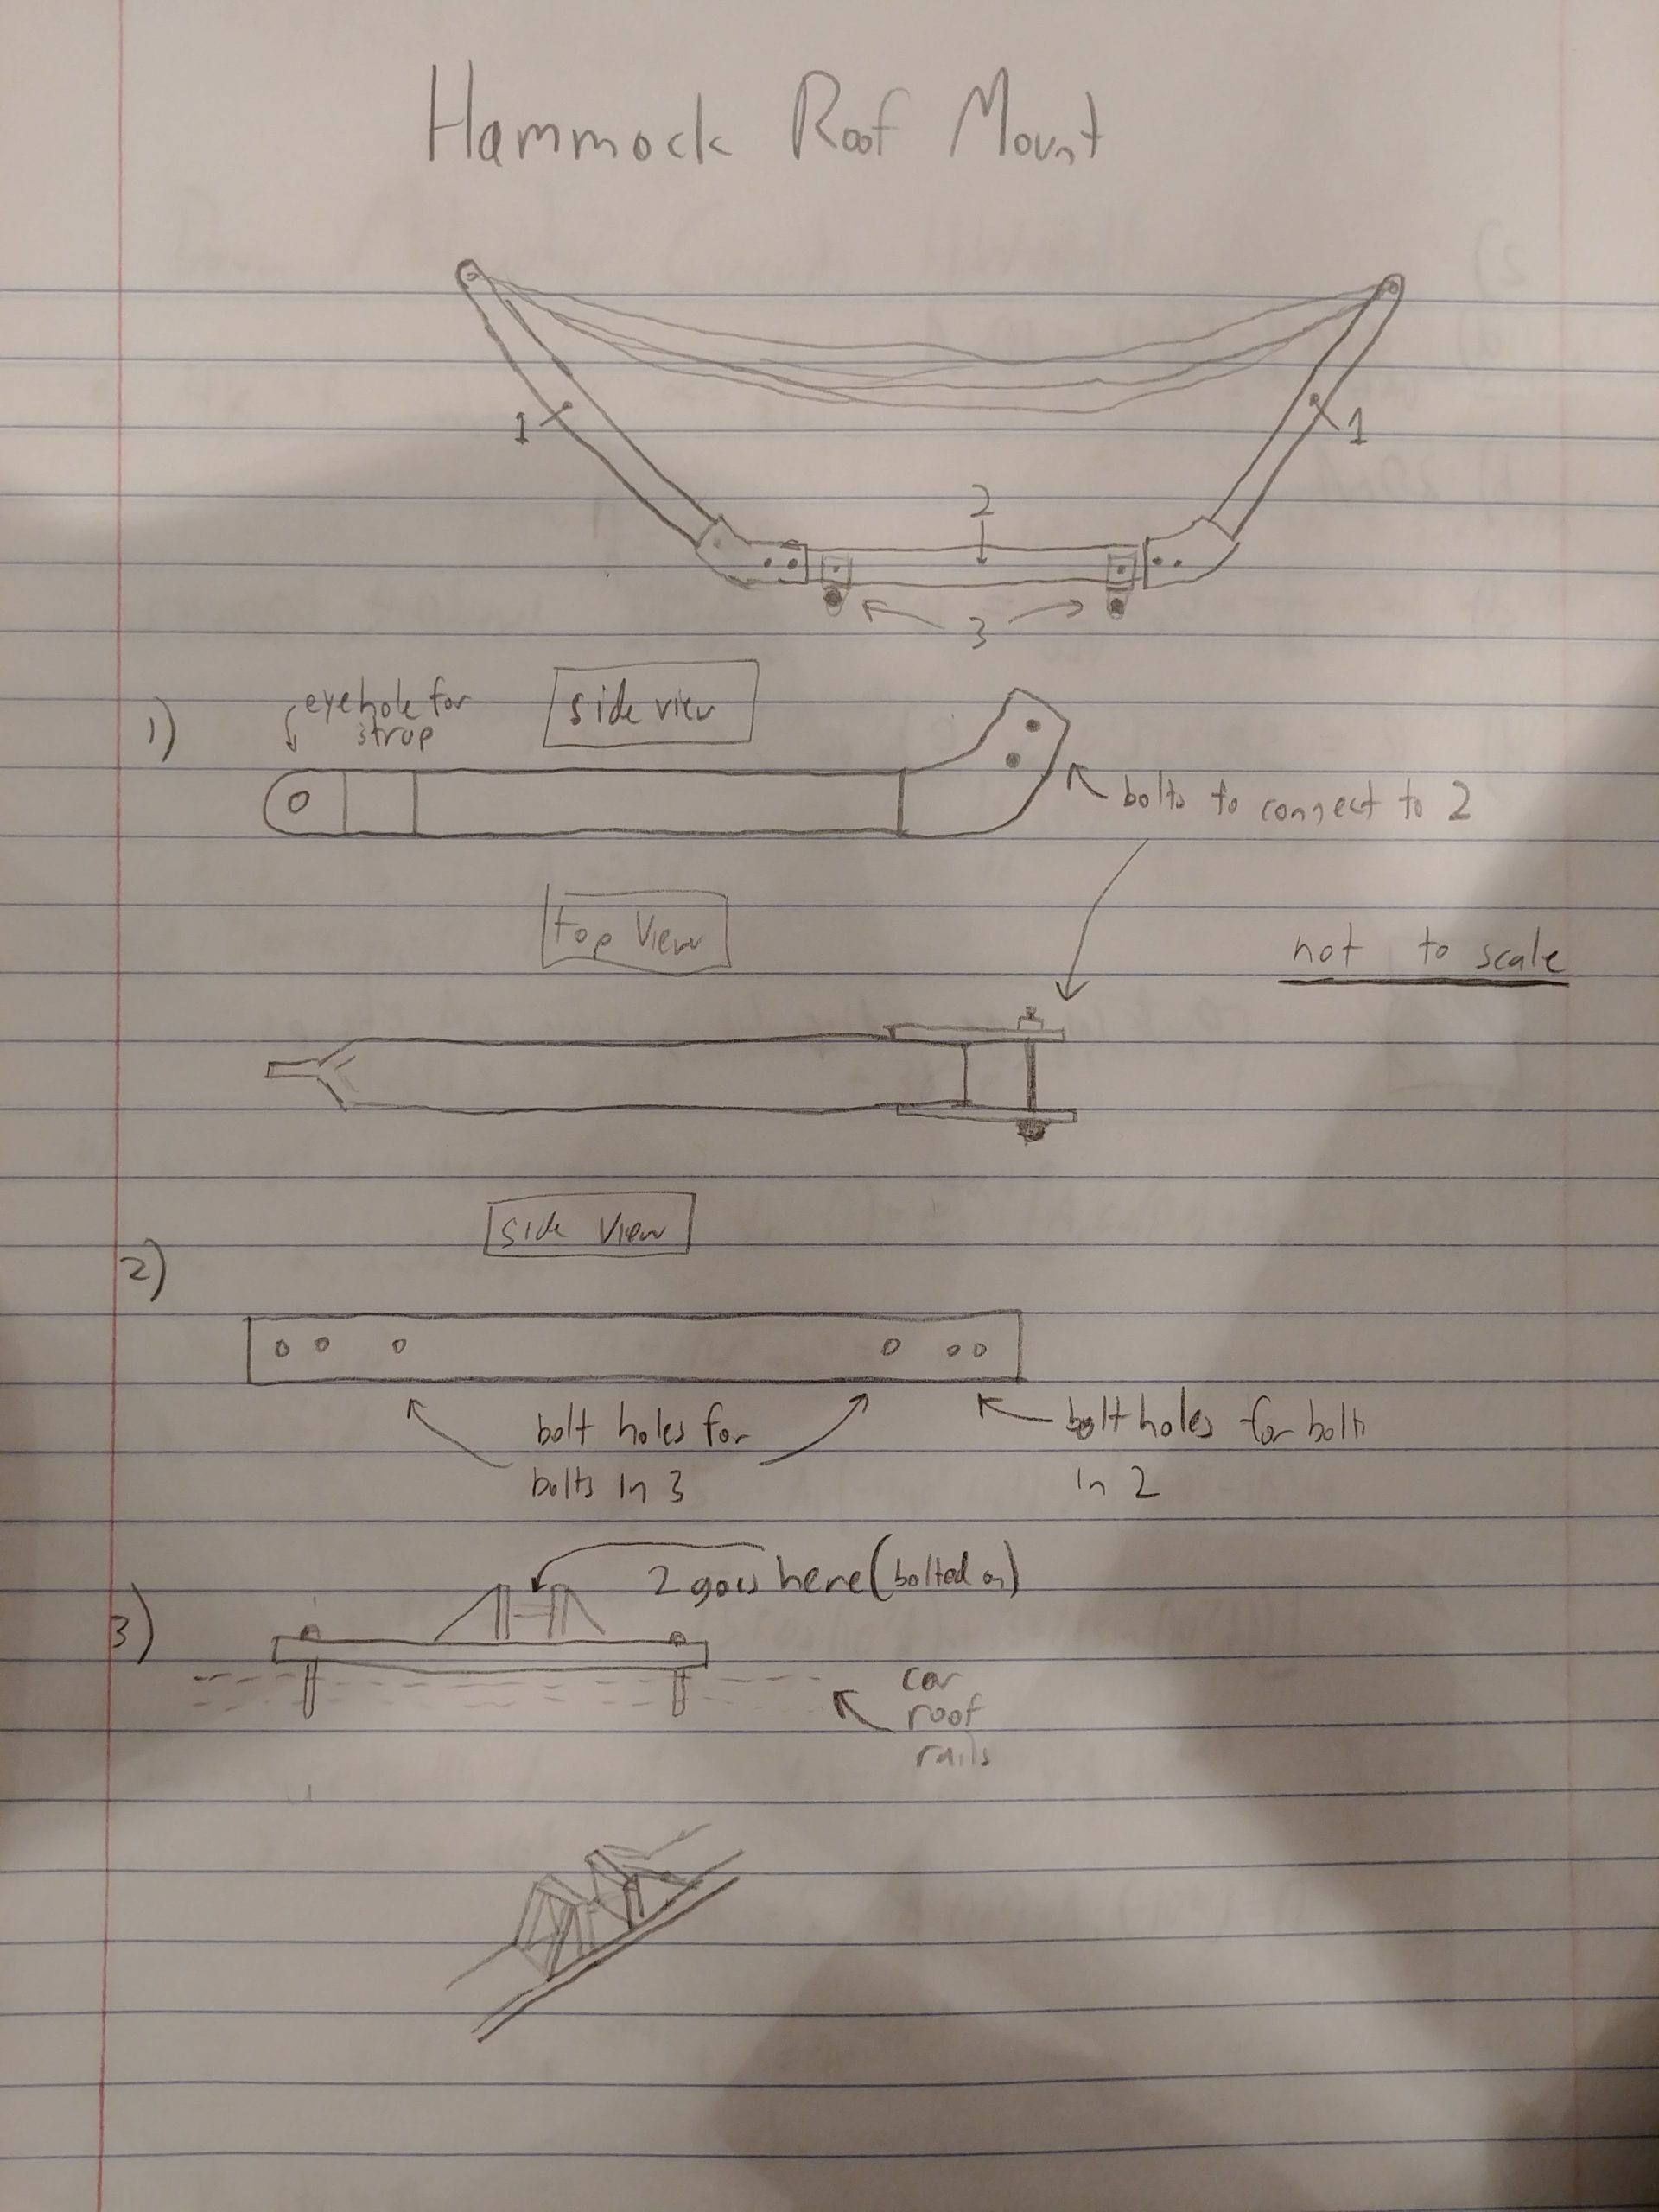
I went through a number of design iterations (shown below), starting with the idea of hinging arms like the trailnest, but ultimately settling for a bolt-together solution that maintains simplicity of design and construction. The final design’s main components are listed below. I was able to reduce the different types of stock to just square bar, angle stock, and sheet stock, which should reduce cost.
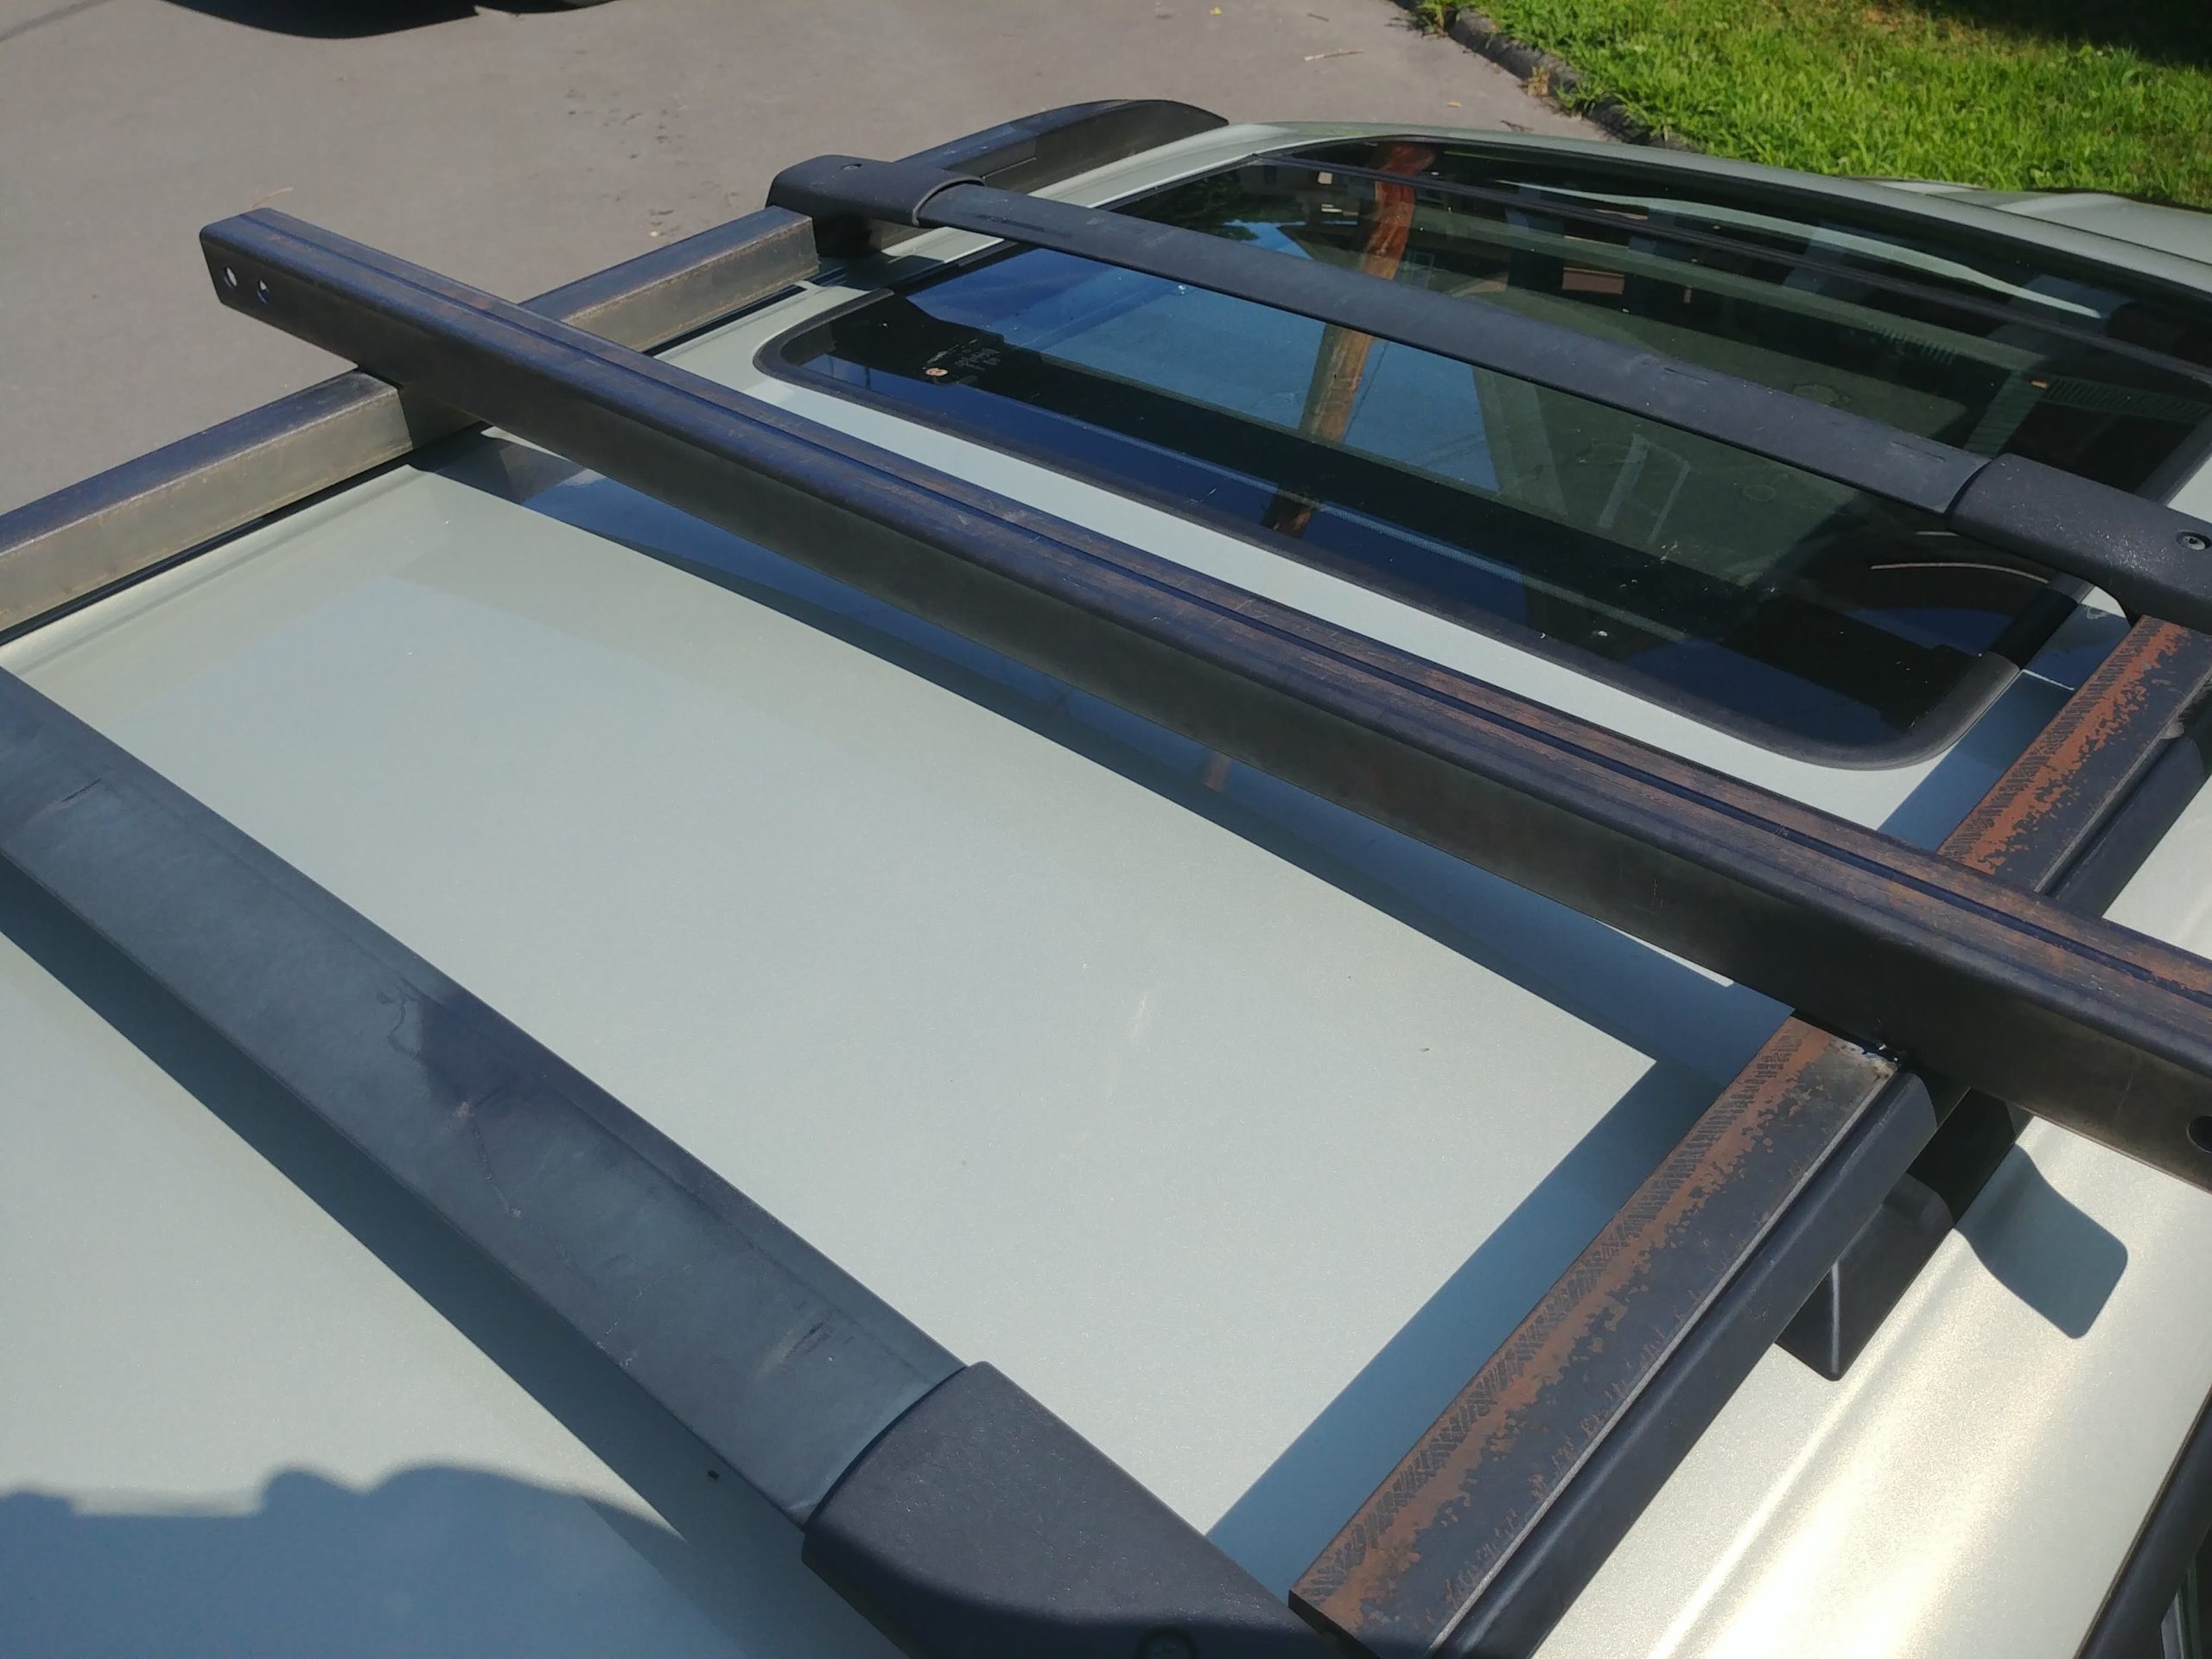
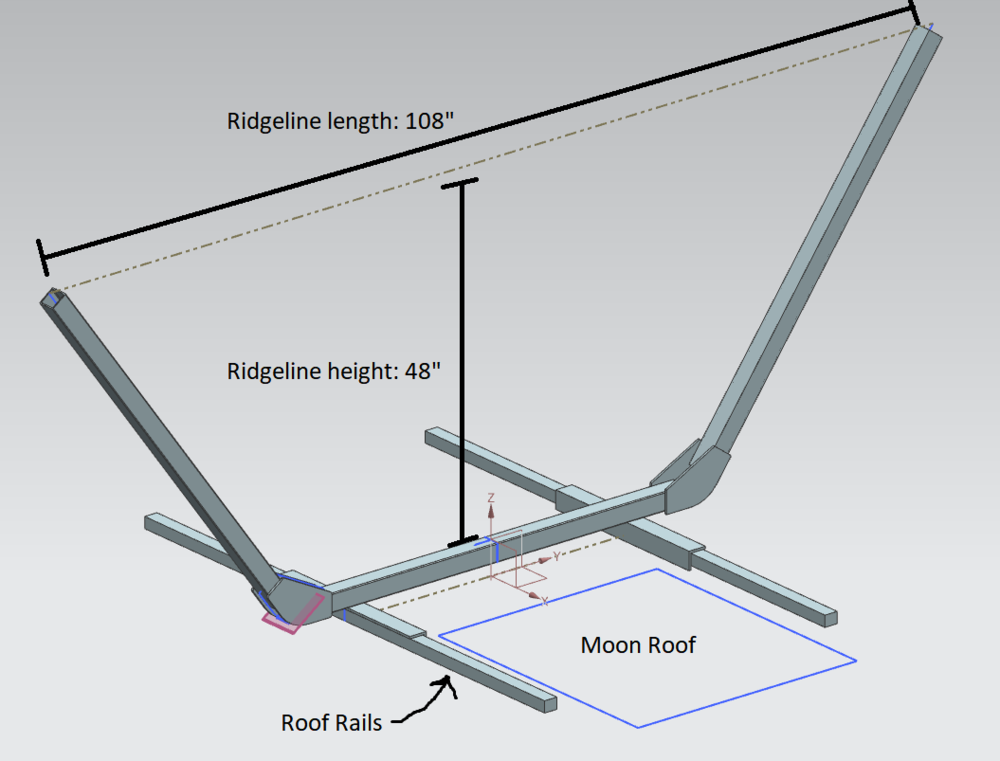
Measuring & CADing
I started the final design by measuring the dimensions of the car’s roof rails and starting my design based off that. From there I took some dimensions from the trailnest website, such as the ridgeline length (the length from the tip of one support to the other) and the ridgeline height (the height of the hammock above the bottom cross member). I had an idea for what kind of stock I wanted to use (square tube, angle, and sheet) so CADing it was just a matter of fighting with NX to get the result I wanted.
Construction:
After all of the materials were collected there was only a few simple steps for putting it all together. The steel plates were cut out using a CNC Abrasive water jet cutter and sanded on the belt sander to smooth out the edges. I drilled half inch clearance holes in the three main support sections for the bolts, and sanded their edges as well. The welding took the longest because the welder at school was broken, but after waiting for two months for it to get fixed I used it in it’s broken state (with minimal shielding gas) and the welds came out good enough. Below are pictures of the various construction processes.


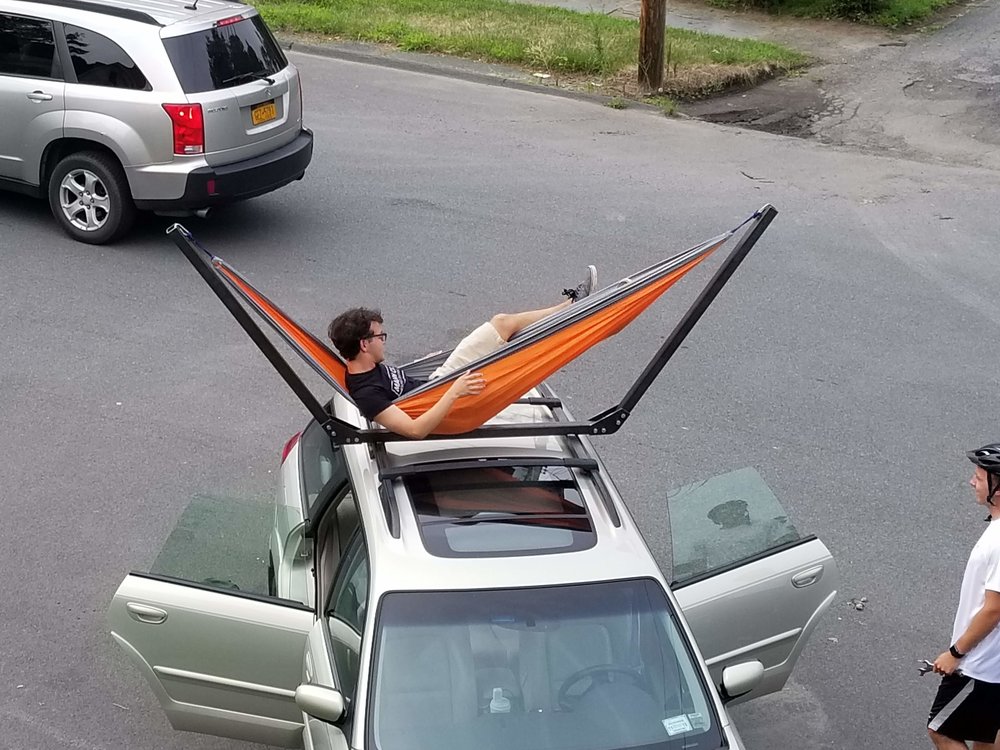
Final Product
It’s complete! Just in time for the end of the summer. The last finishing touch I put on it was painting everything black for aesthetics and rust prevention. When the weather gets warmer and it’s time to break it out again I’m going to put eye bolts on the ends of the uprights to make hooking up the hammock easier and to raise the hammock up a few inches. The biggest downside to the hammock mount in its current form is that it’s pretty cumbersome and heavy. It fits in my trunk folded up, but just barely and getting it onto the roof and hooked up is a two person job.