Motivation:
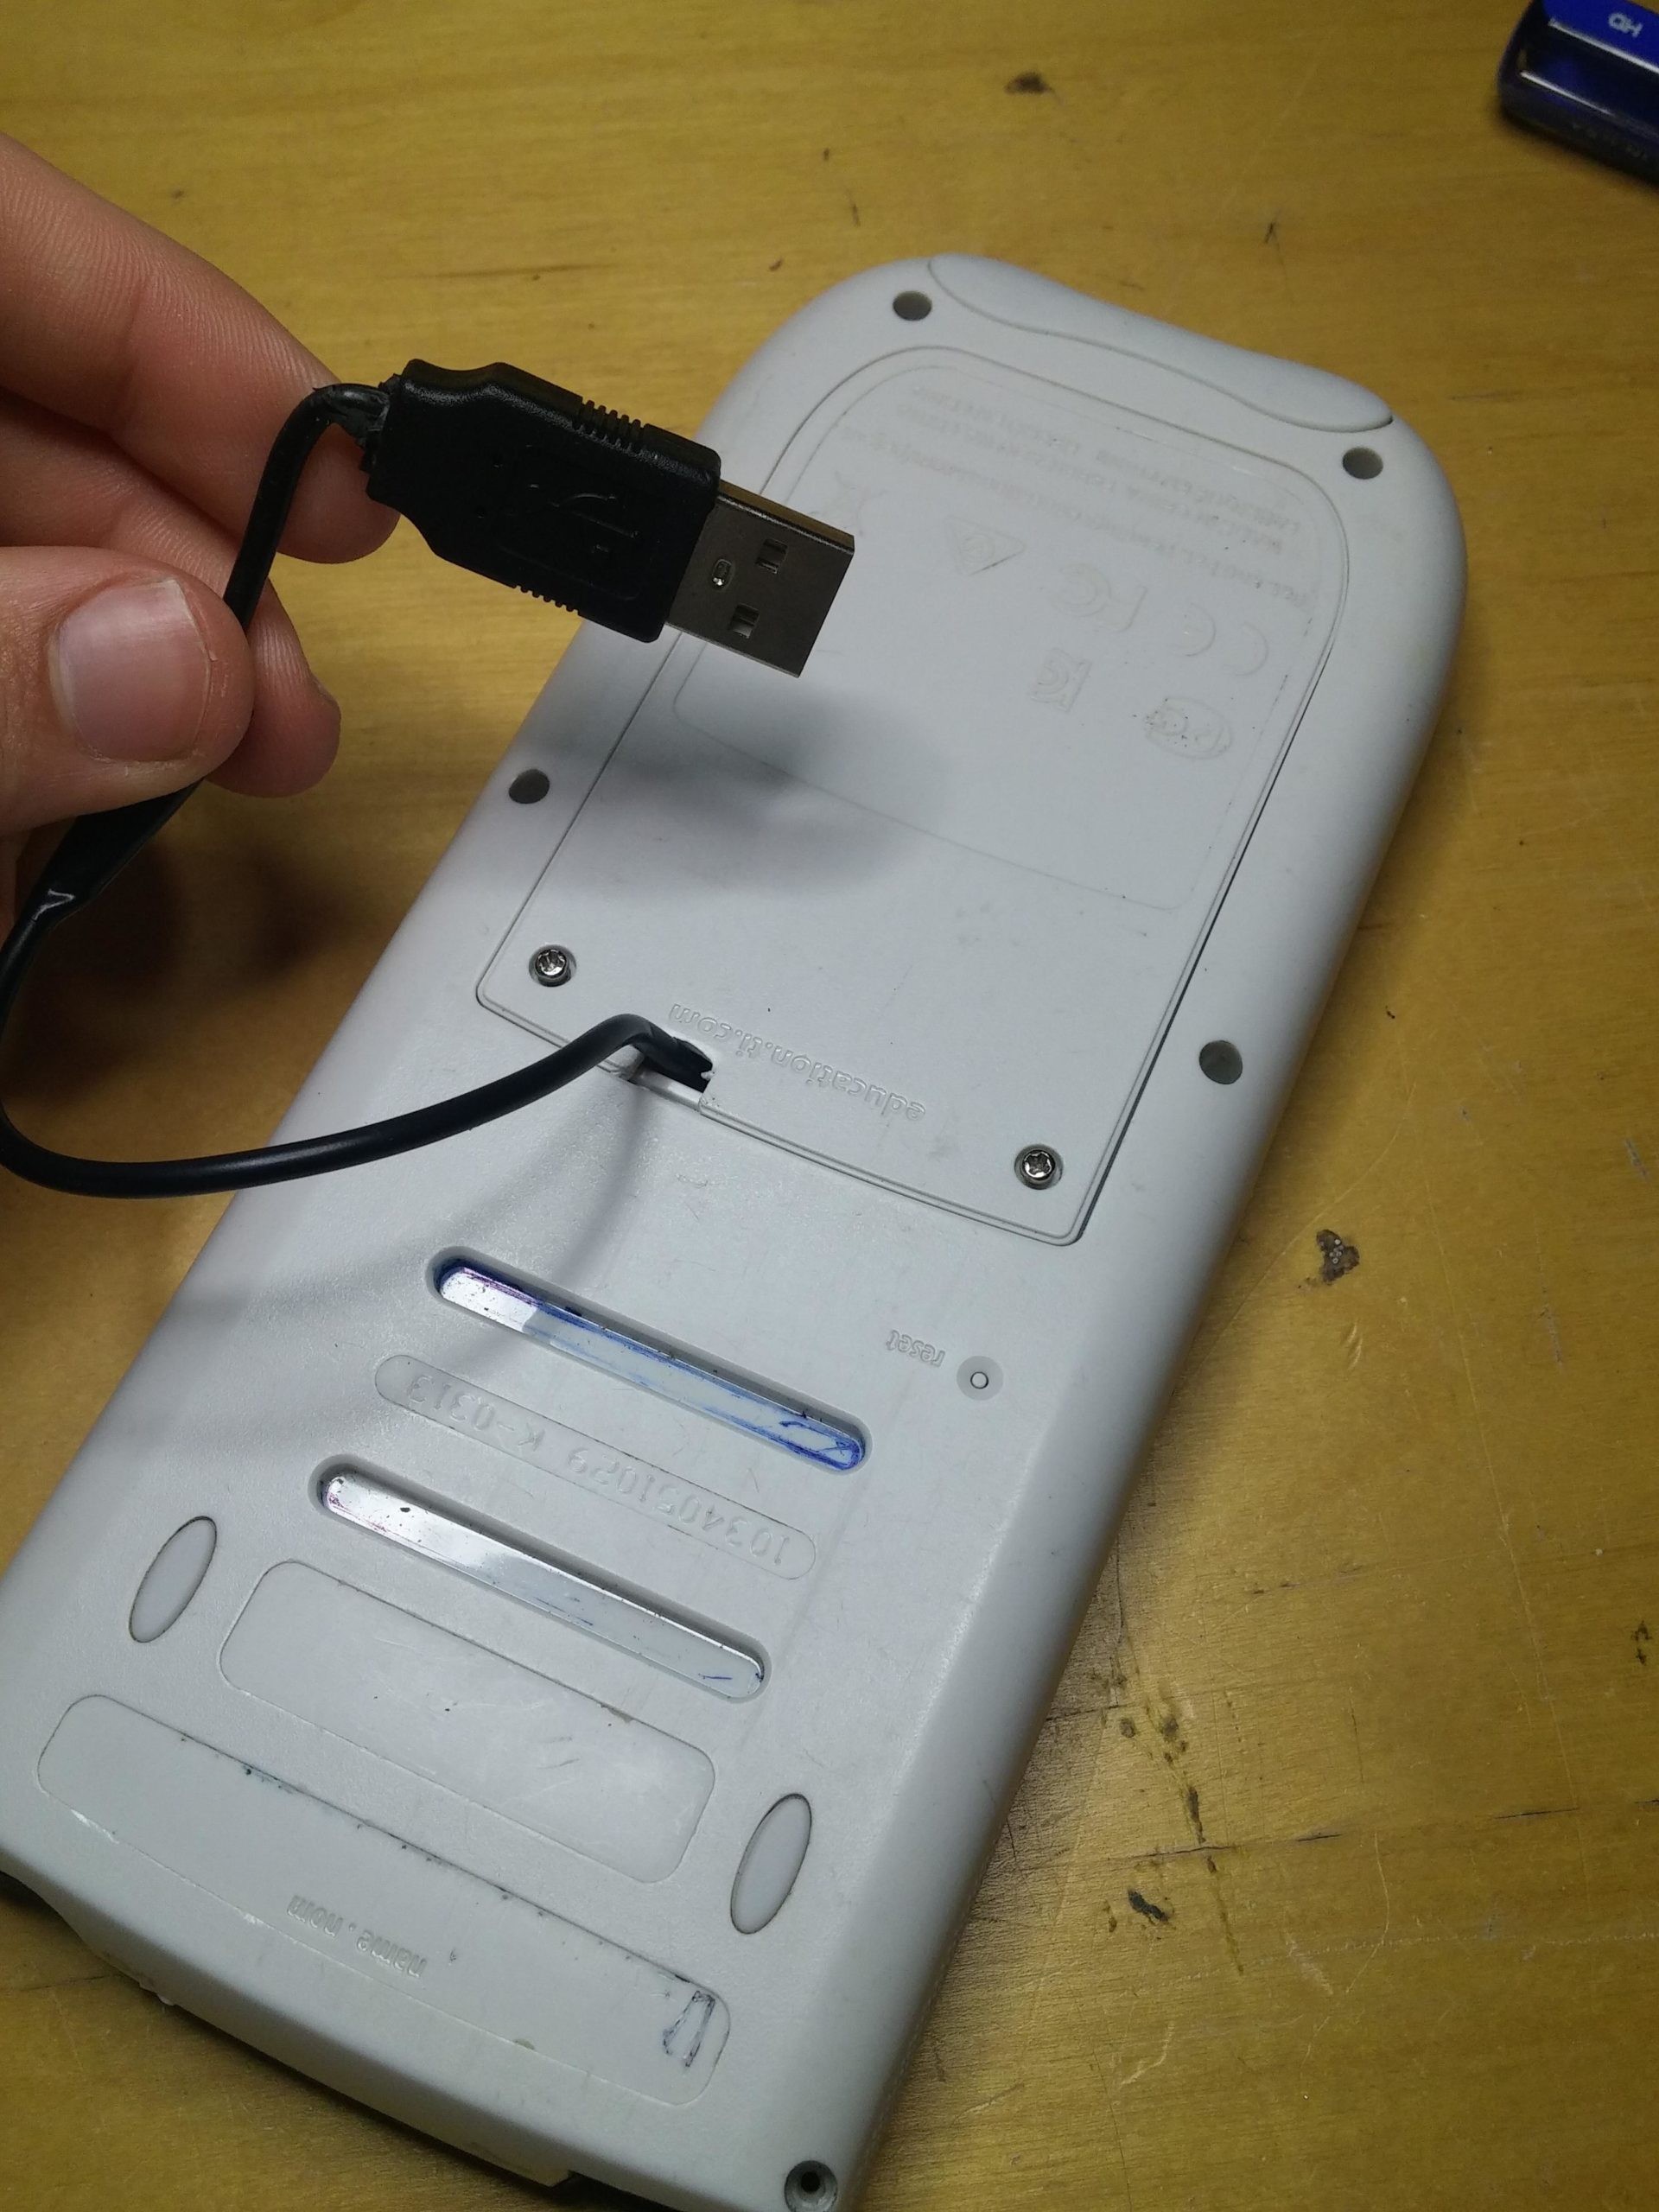
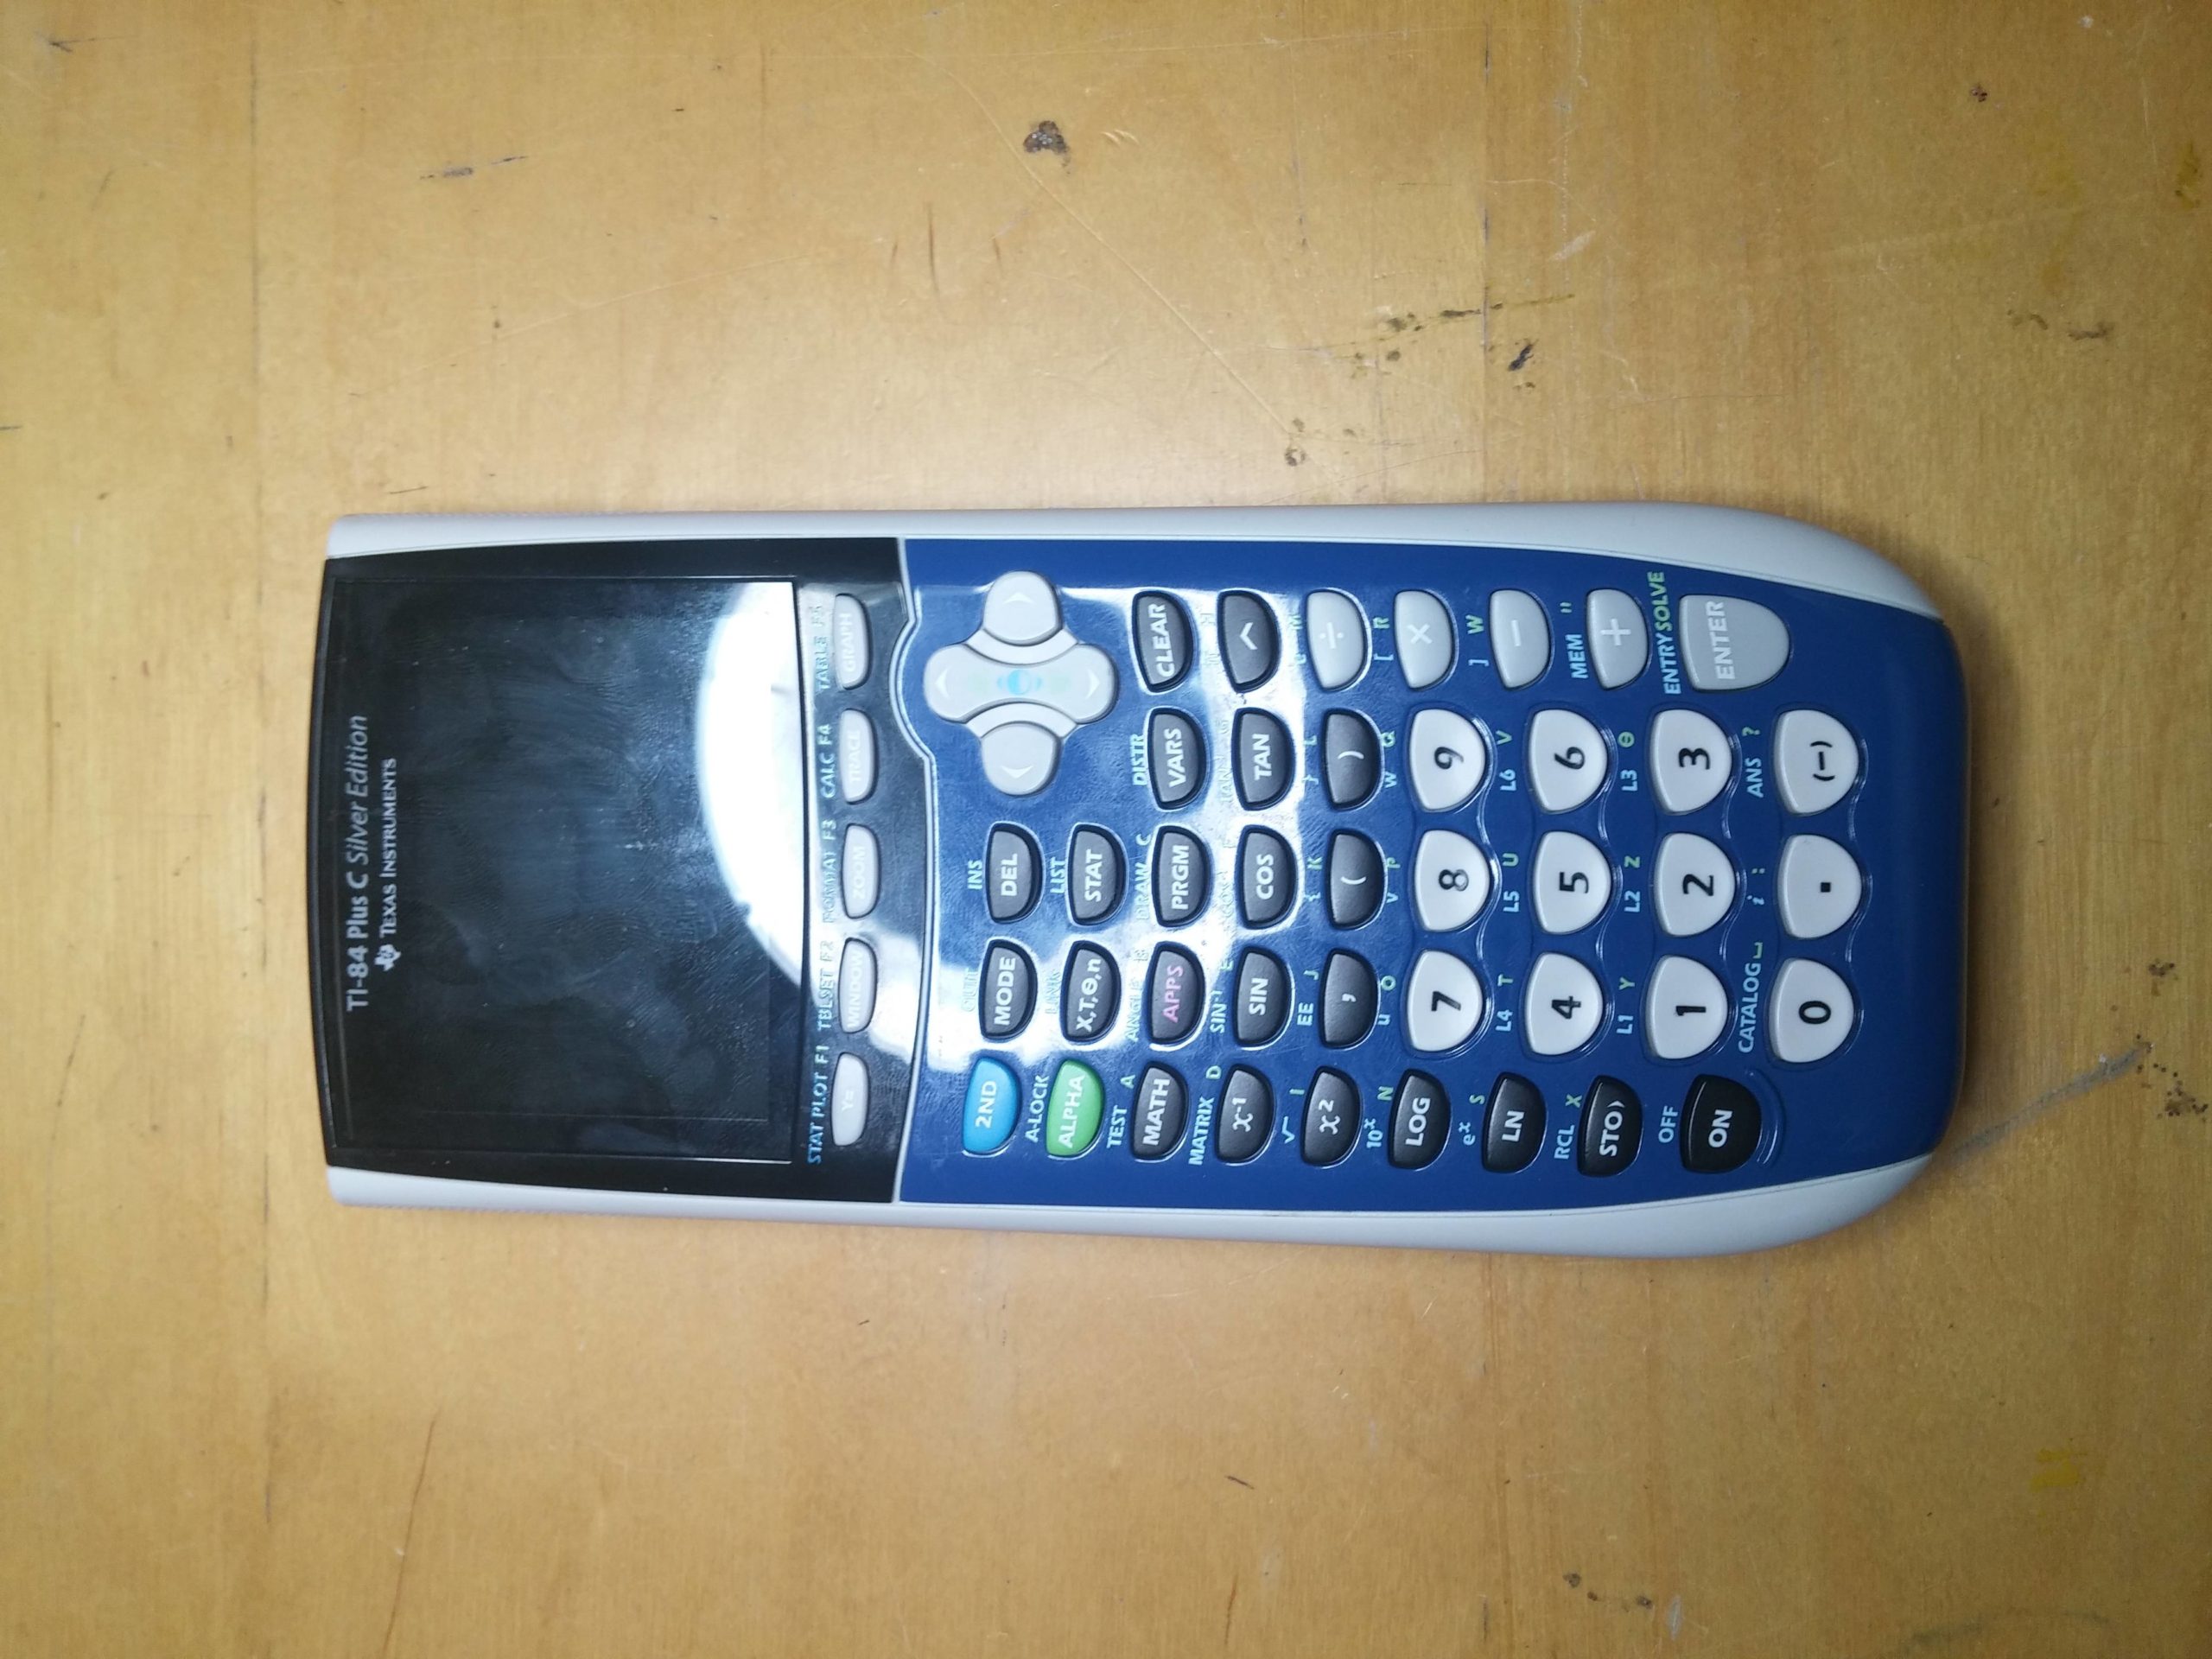
The other day I decided to take apart my graphing calculator (TI 84 plus C Silver Edition) to see what the insides looked like. After taking off only the back battery cover I discovered a good amount of dead space inside, and decided to see what all this space could be used for. I found that a standard female USB connector could fit into the space above the battery, and decided to see if I could make a USB wire fit into the battery case so I would never have to worry about the calculator dying on me (provided I had a source for USB power, but who doesn’t in this day and age). Below is how I did it…
Tools:
-Any USB wire with a male connector that you don’t mind sacrificing (ideally one that is power only)
-Torx screw driver (not sure what size)
-Needle nose pliers
-Small, flat head pliers
-Philips head screwdriver
-Soldering Iron and solder
Step by step description of how I did it:
Note: this has been adapted and reformatted from a imgur album I posted to reddit here.
Before Picture:
1. Removing the back case:
There are six torx screws (and some killer clips we will learn about later) that secure the back cover of the calculator to the front.
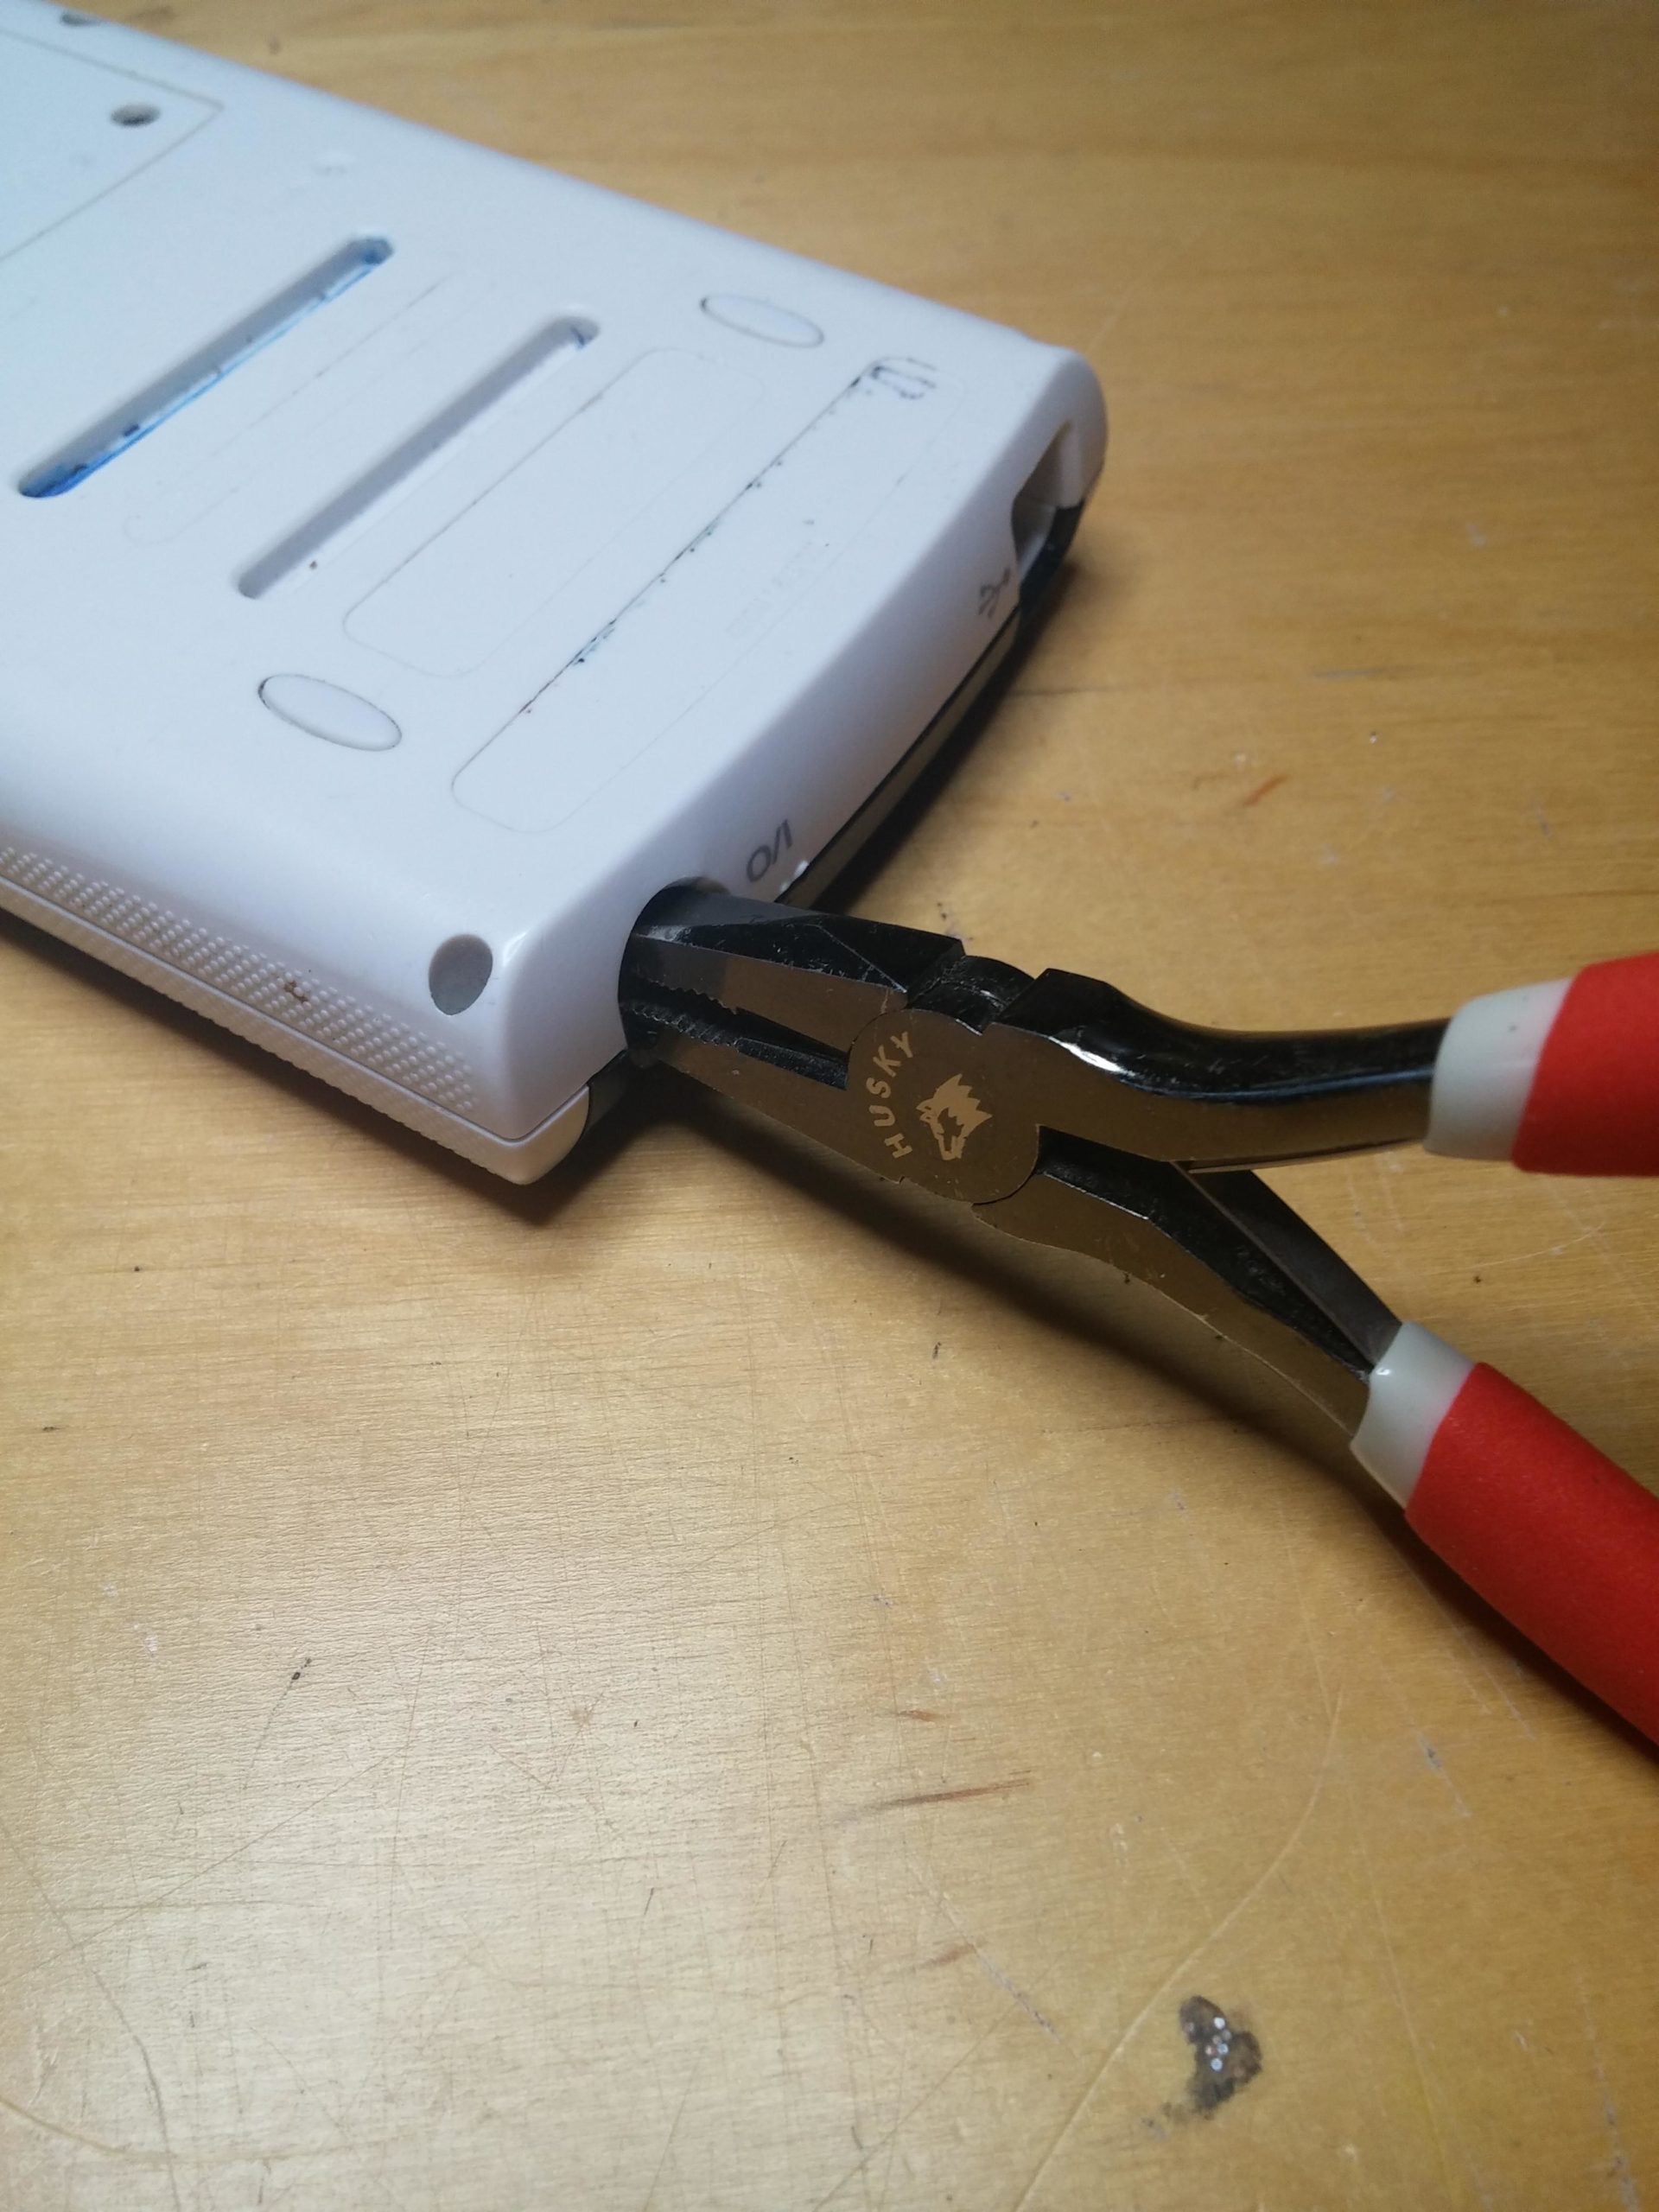
2. Prying open the case:
This is ridiculously difficult the first time. I’ve found the easiest way to pry open the case is to stick a pliers into the mini i/o port or mini USB port and apply back pressure to open it.
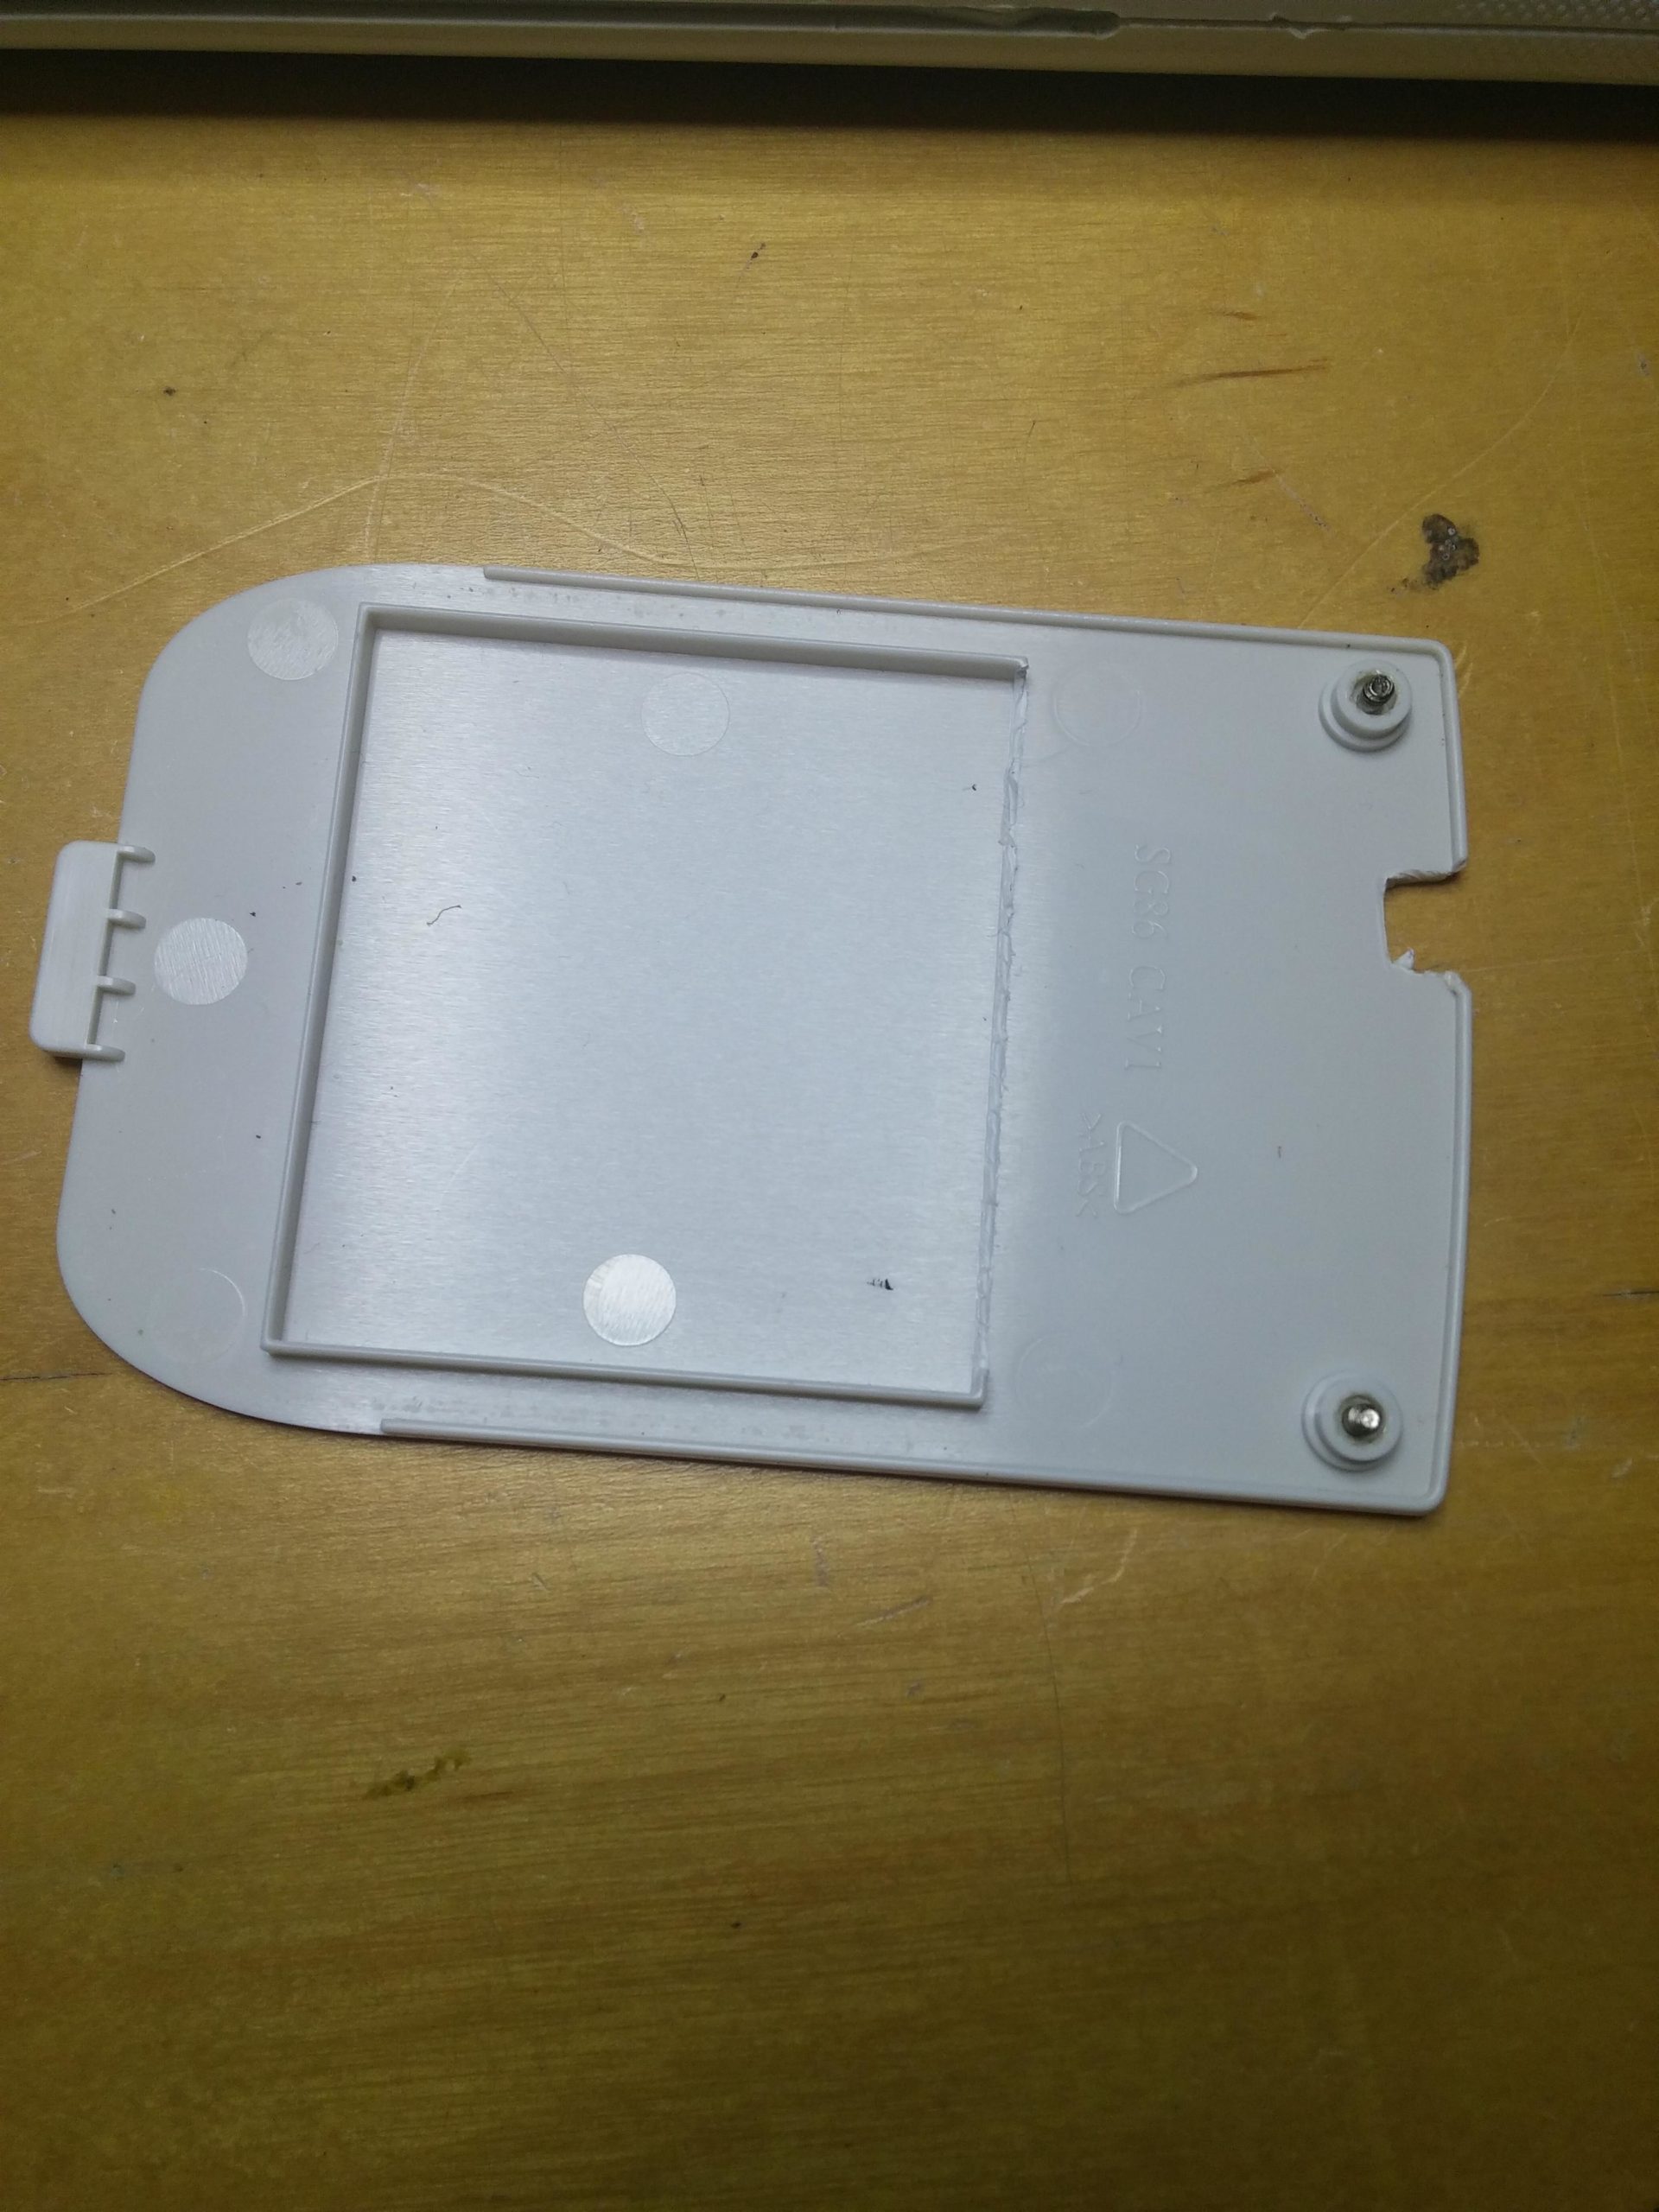
3. Prepping the battery cover:
You are going to need to break off the top-most wall that holds the battery down to make room for the USB wire to coil around.
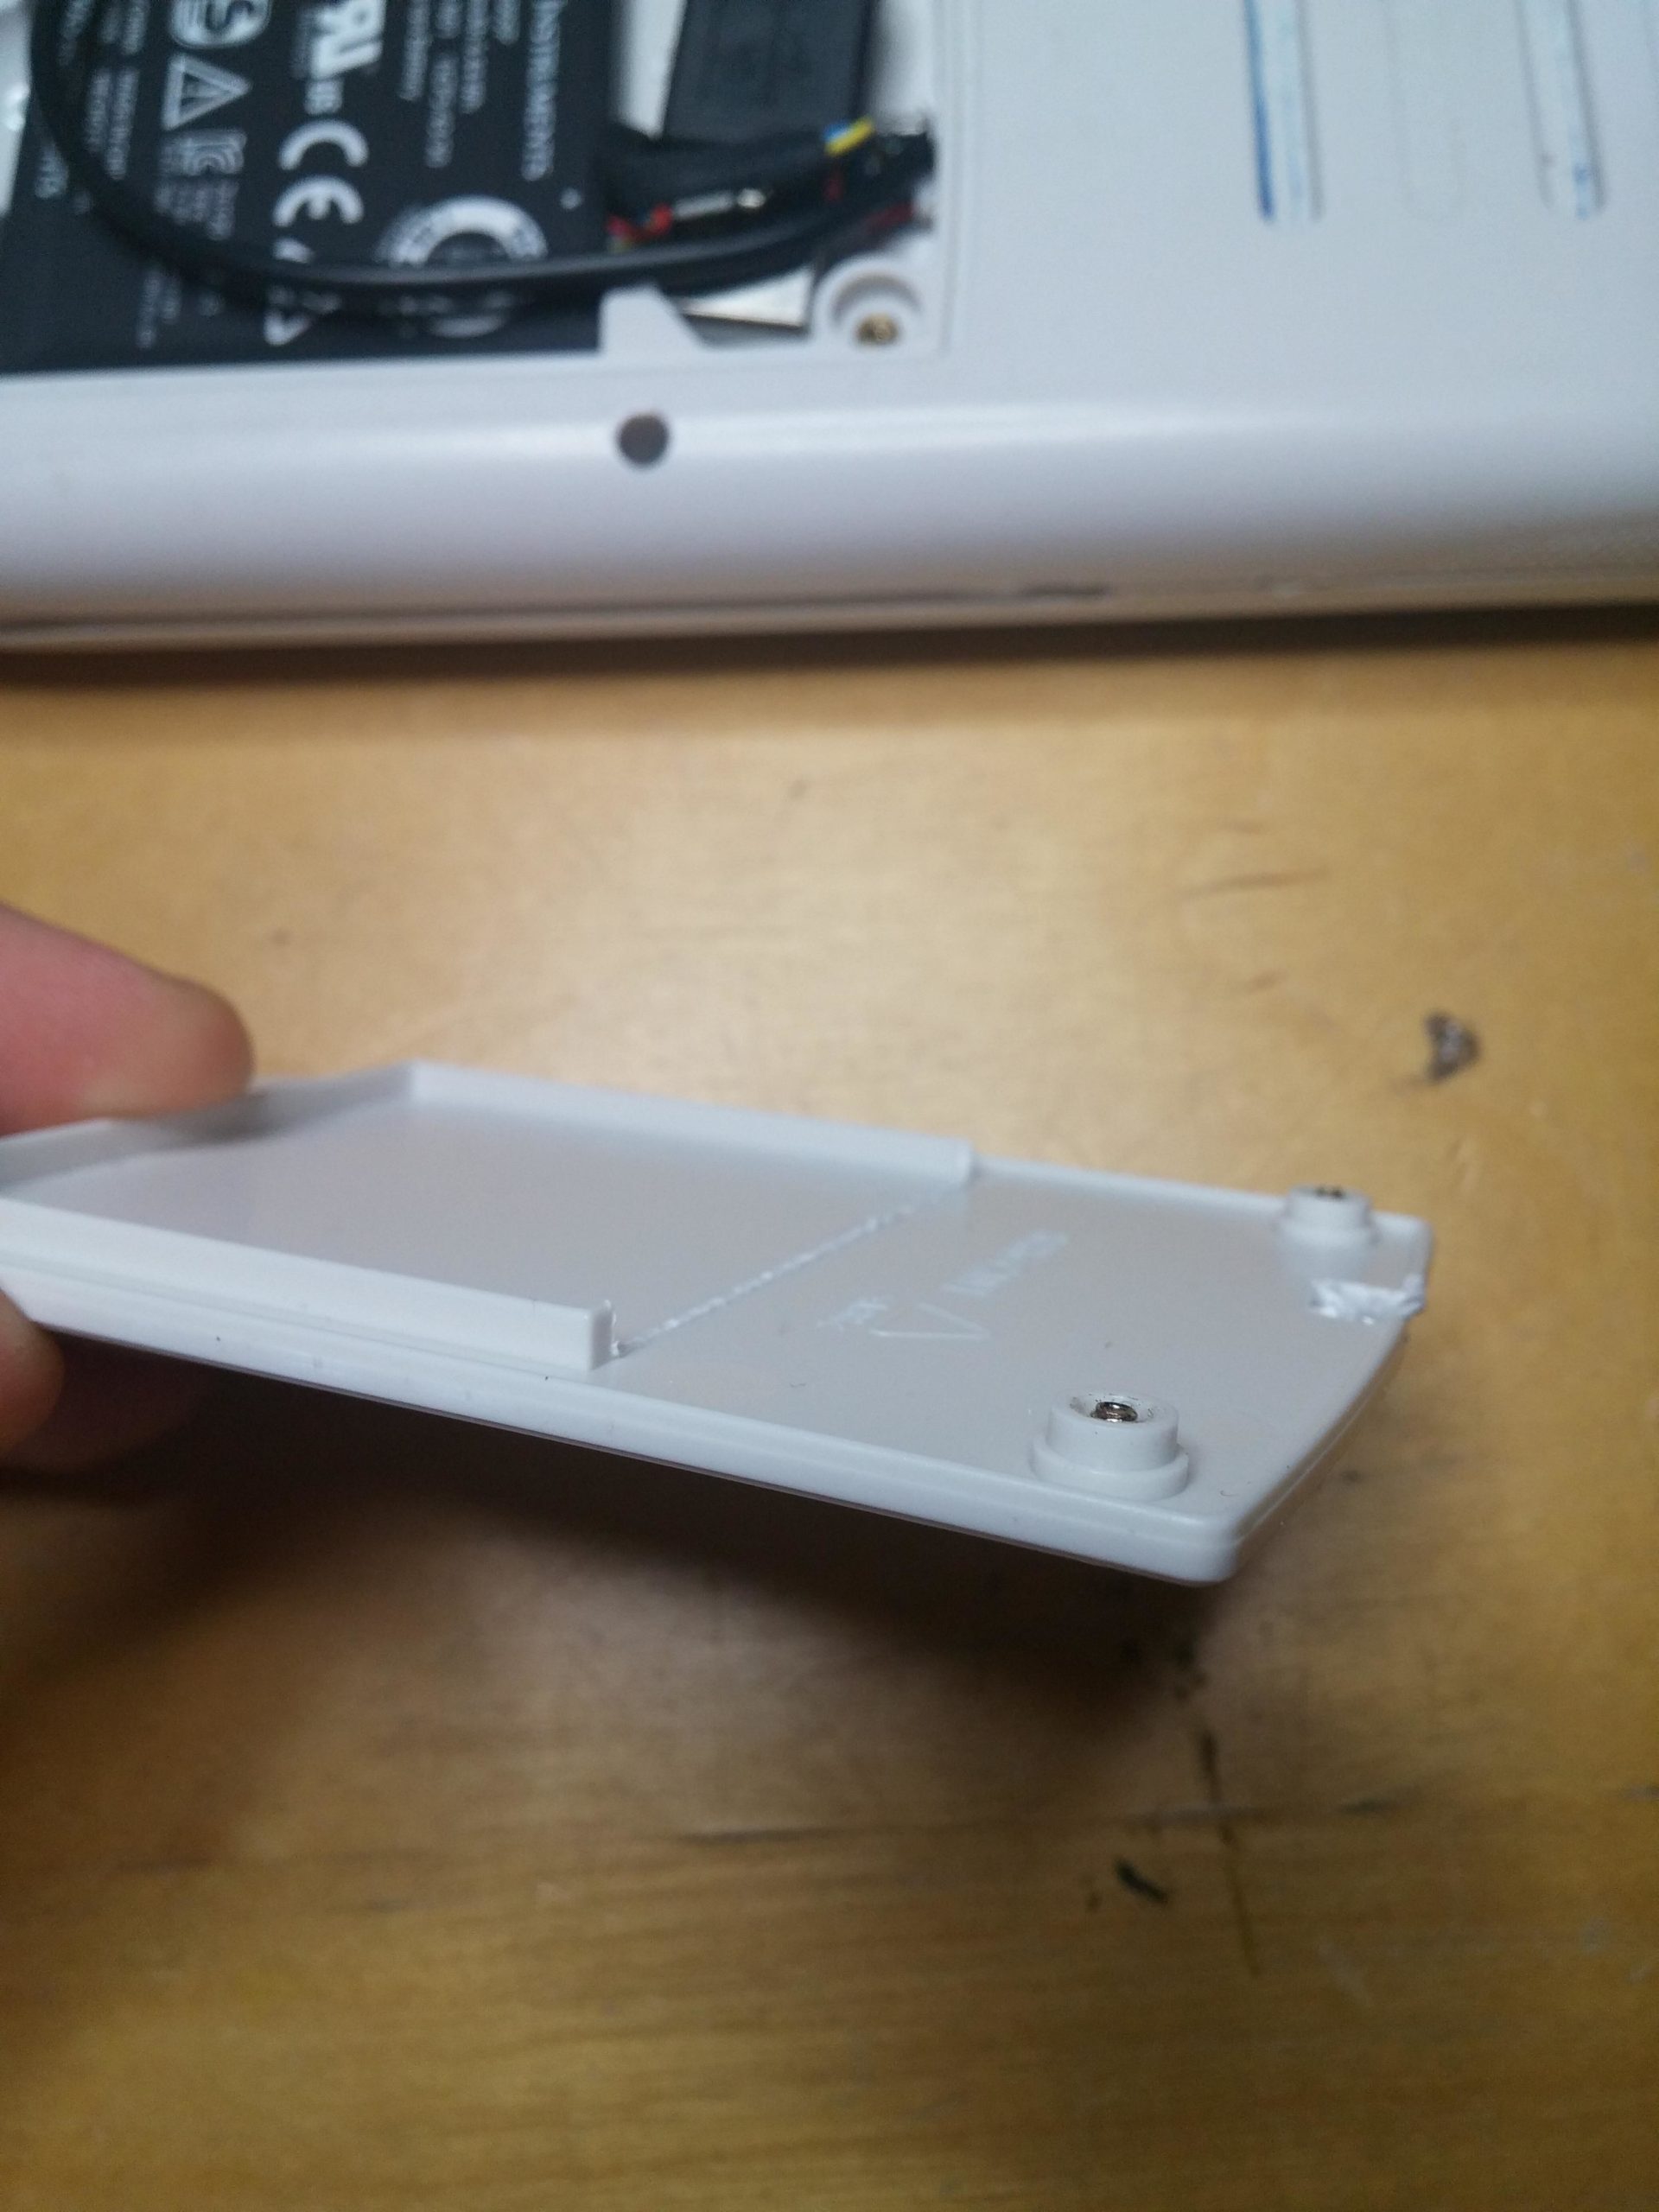
Another shot of the broken off support wall.
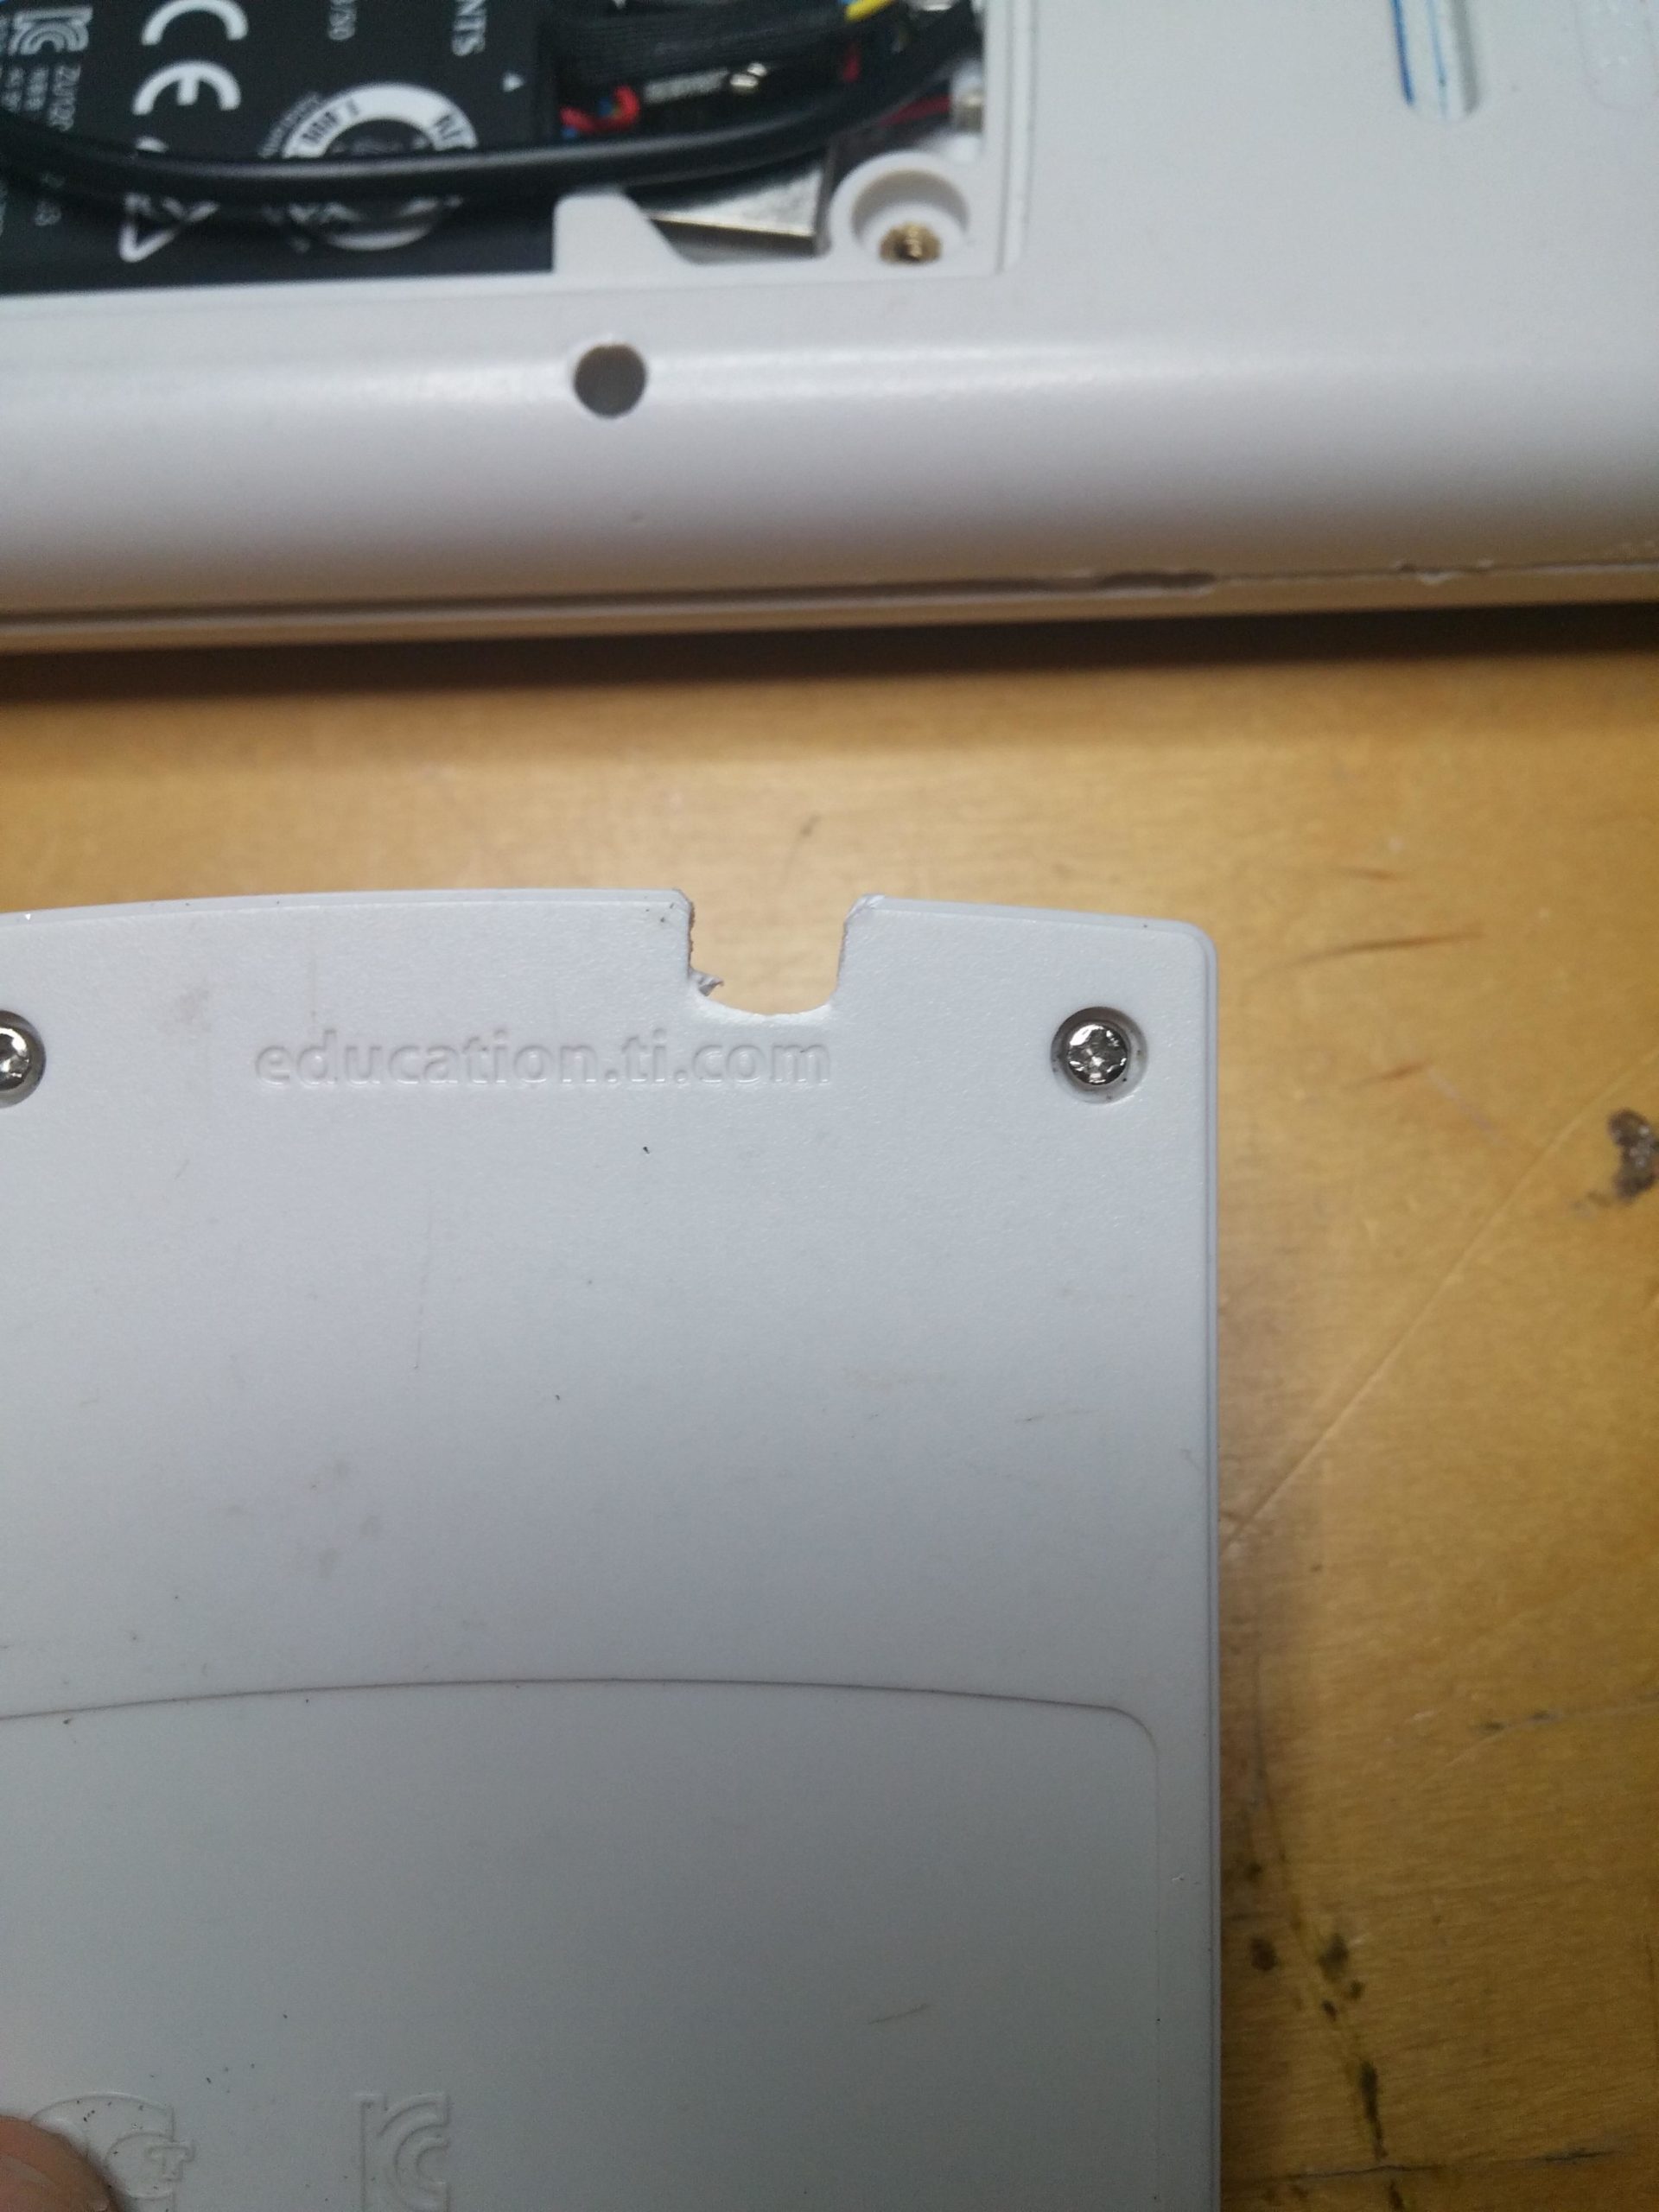
Also, if you want to charge it while the battery cover is closed you are going to need to break off a small portion of the battery cover above the “.com” with a pliers.
4. Other prep things:
Two more things… Break off the clip that holds the battery wire down to make room for the USB plug. Also break off some of the plastic around the battery plug to make room for the USB wire to come out of the inside of the case.
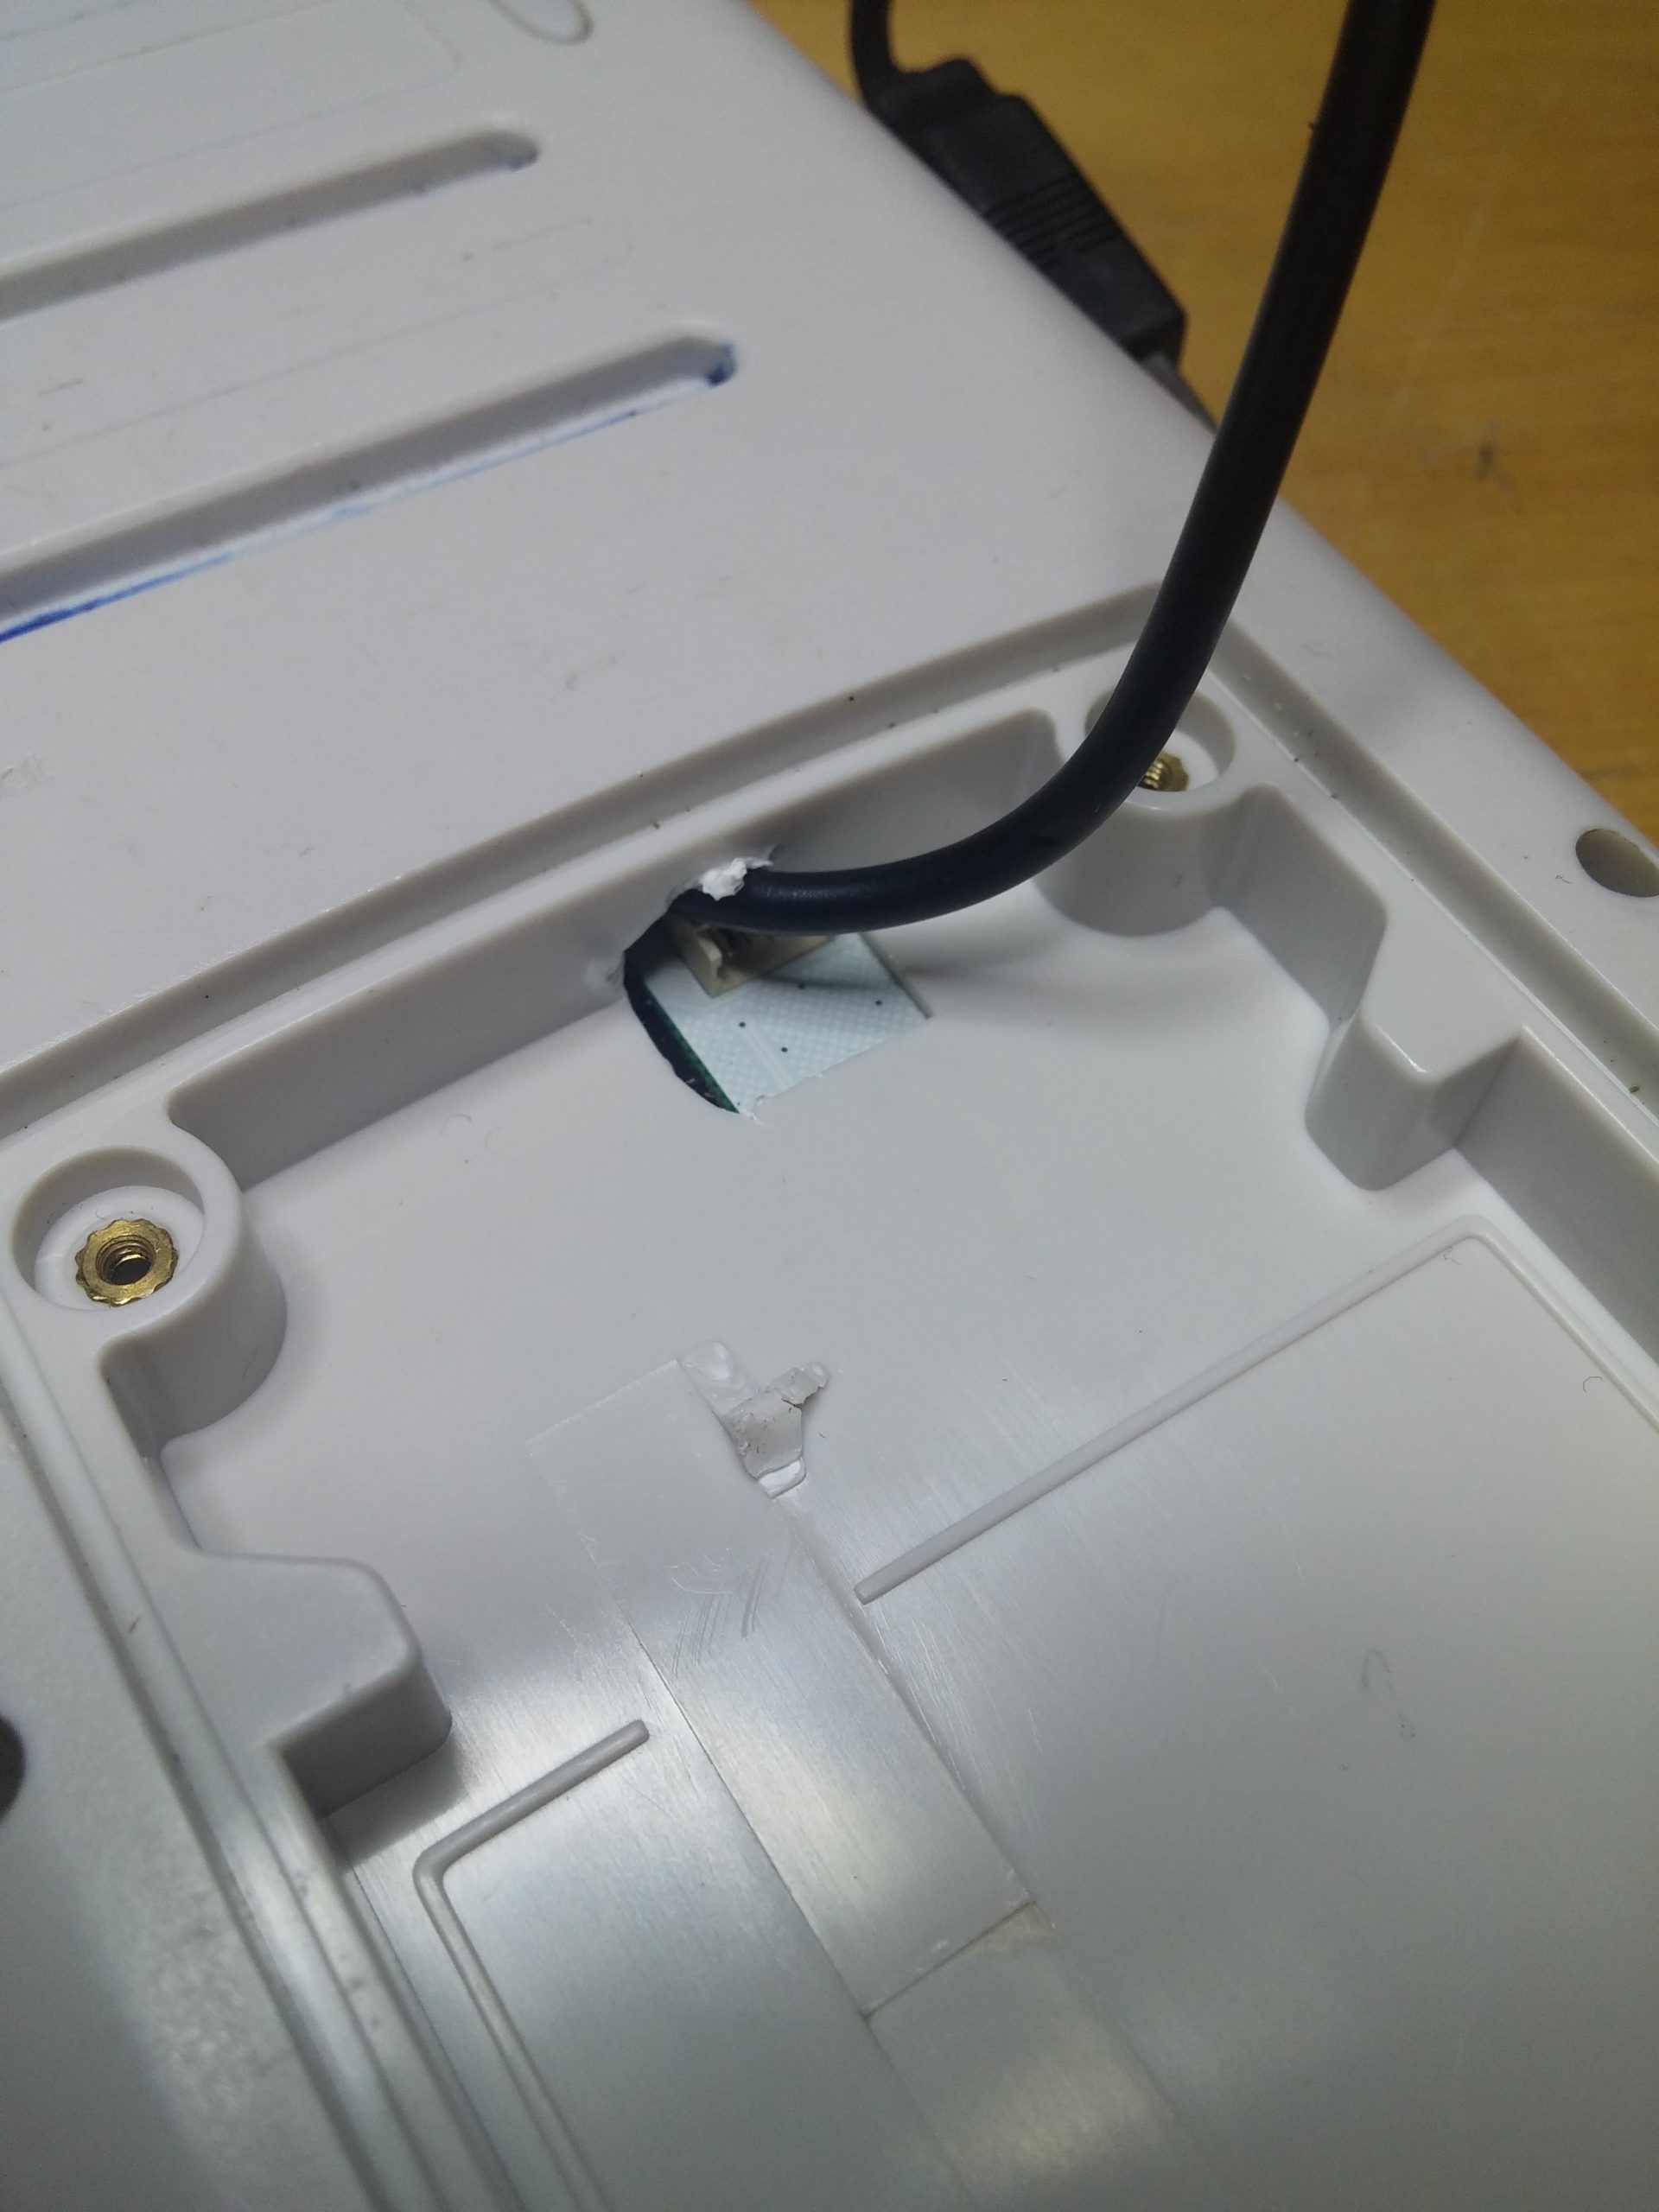
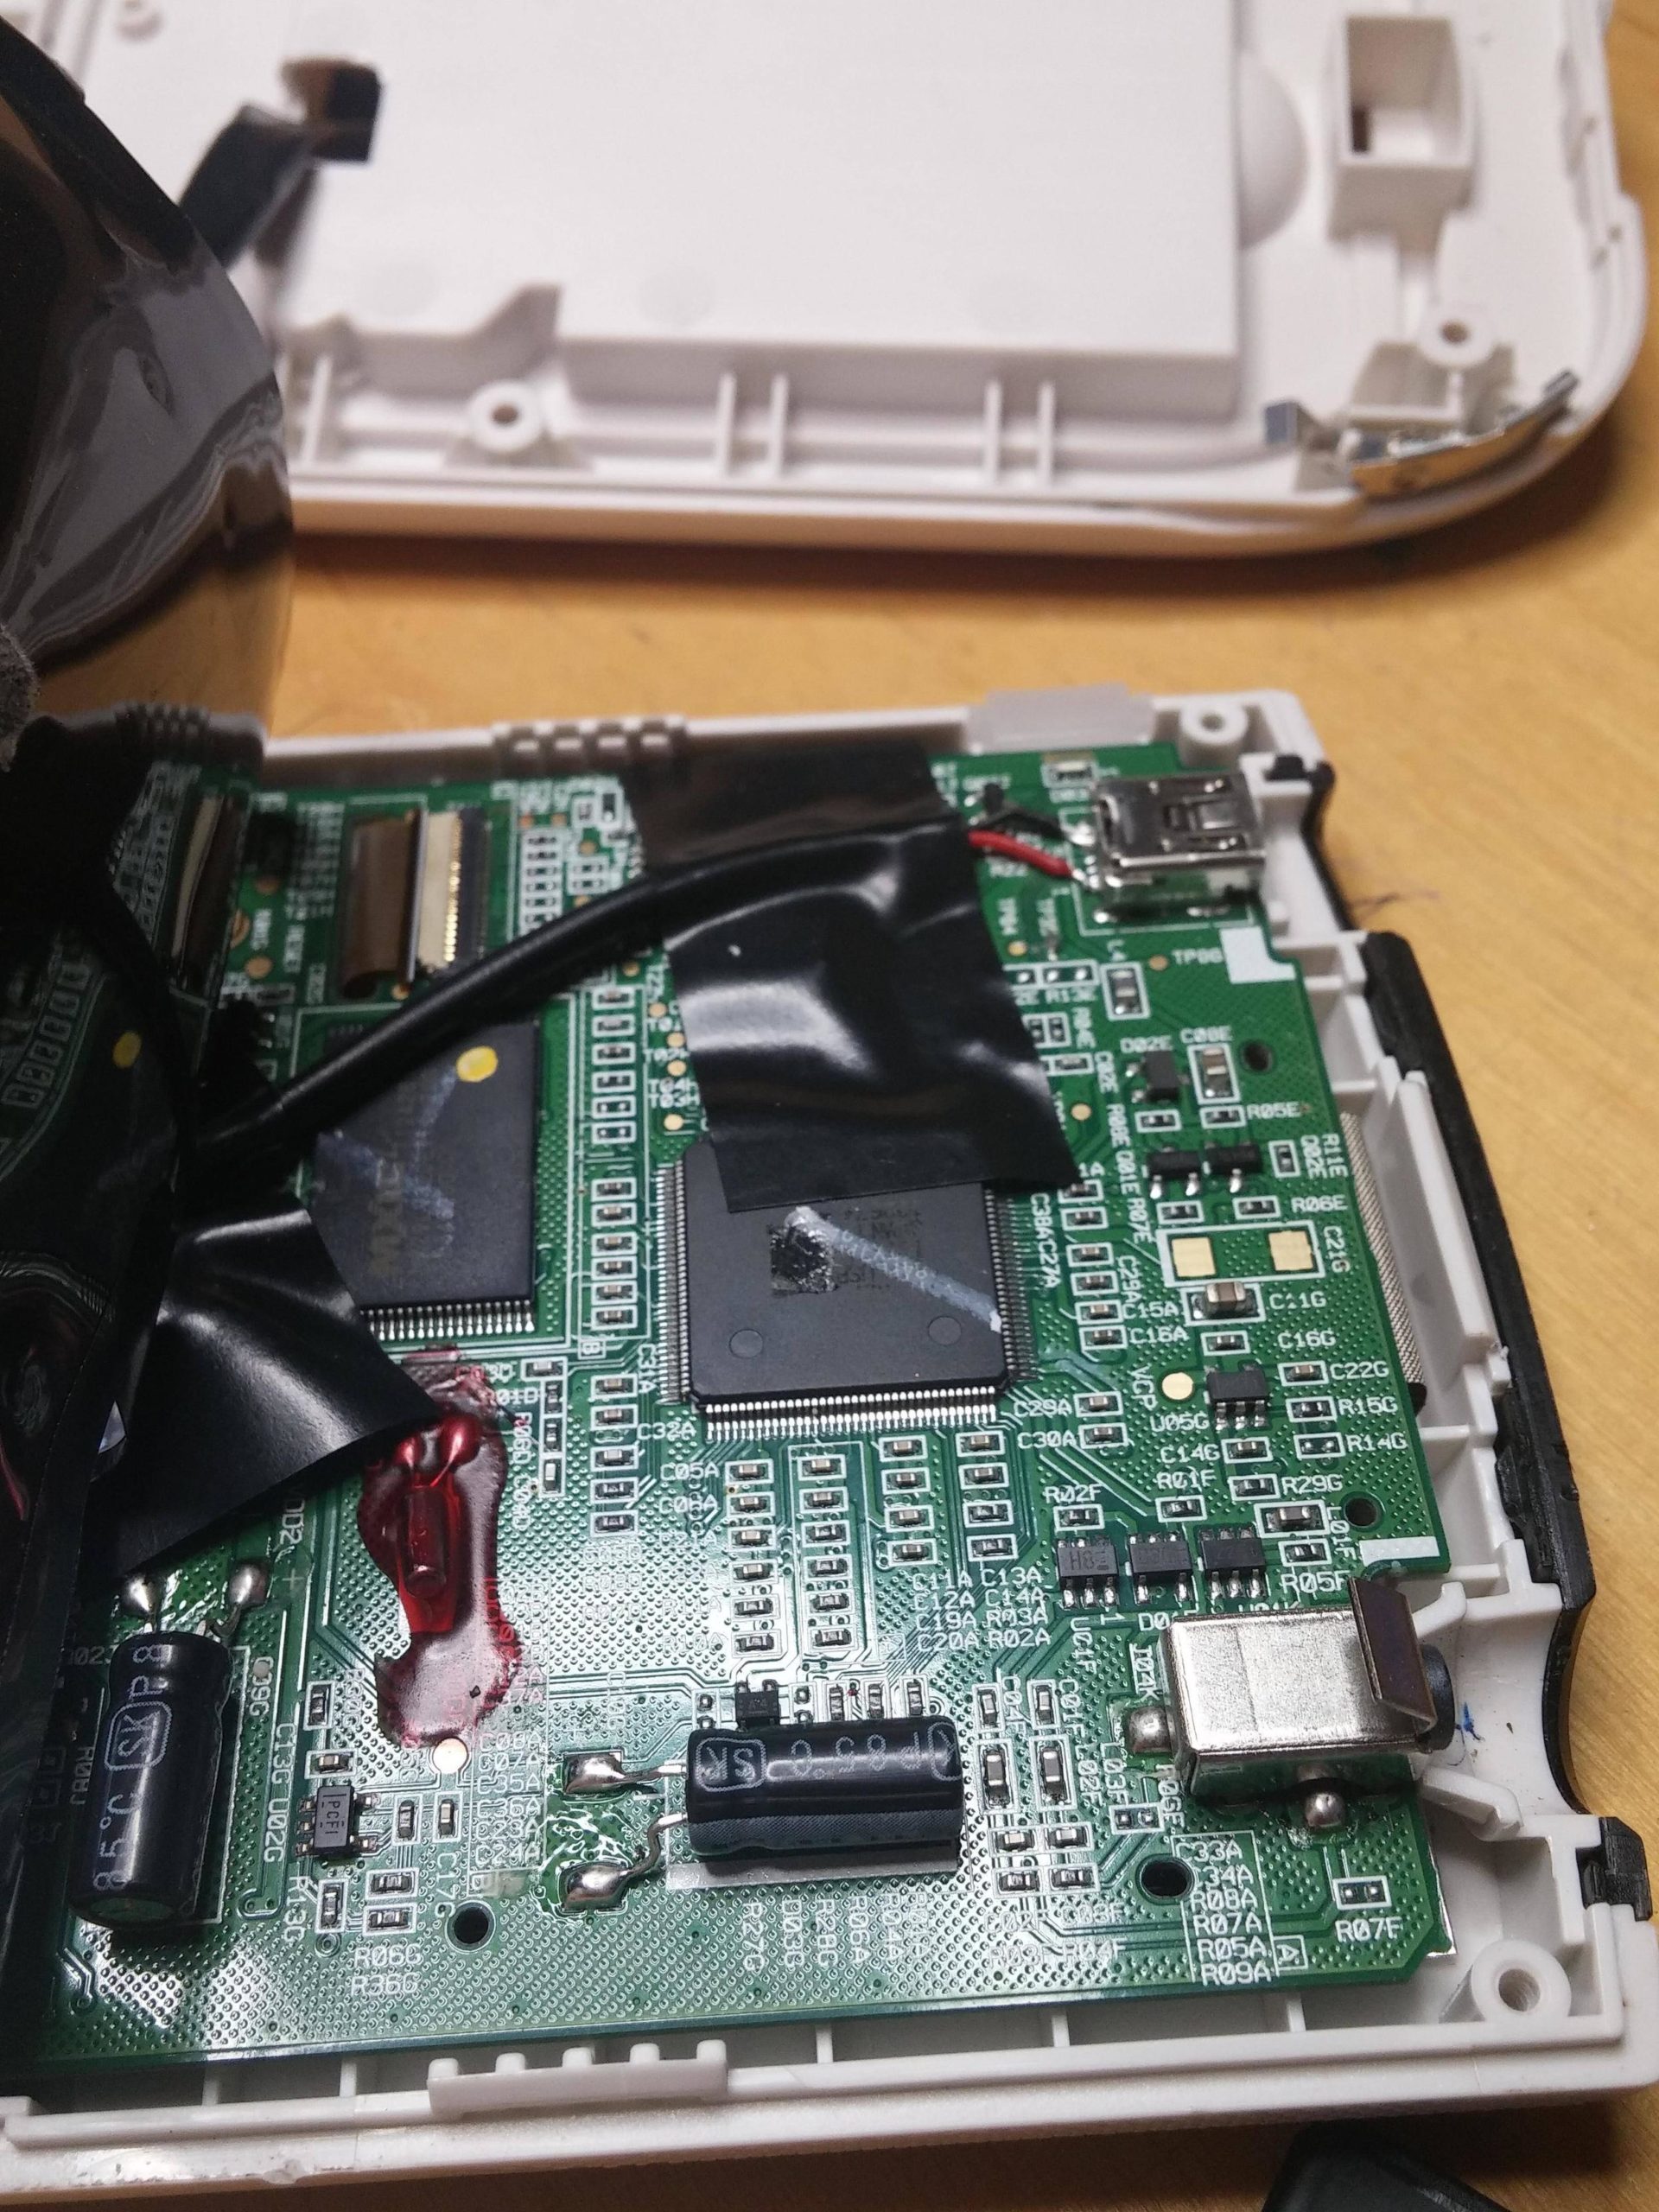
5. Once inside:
All you need to do here is bend back the static shield and cut off some of it to make the hole near the battery plug bigger so the USB wire can fit through. Speaking of which, thread the USB wire through that hole and through the hole in the rear case where the battery plug sits.

6. Soldering:
This is the important part. Solder the negative and positive leads of the USB wire to the first and last contacts on the rear of the USB plug, respectively, as shown. Feel free to nag my cruddy soldering job, but make sure you don’t touch any of the other leads or the case.
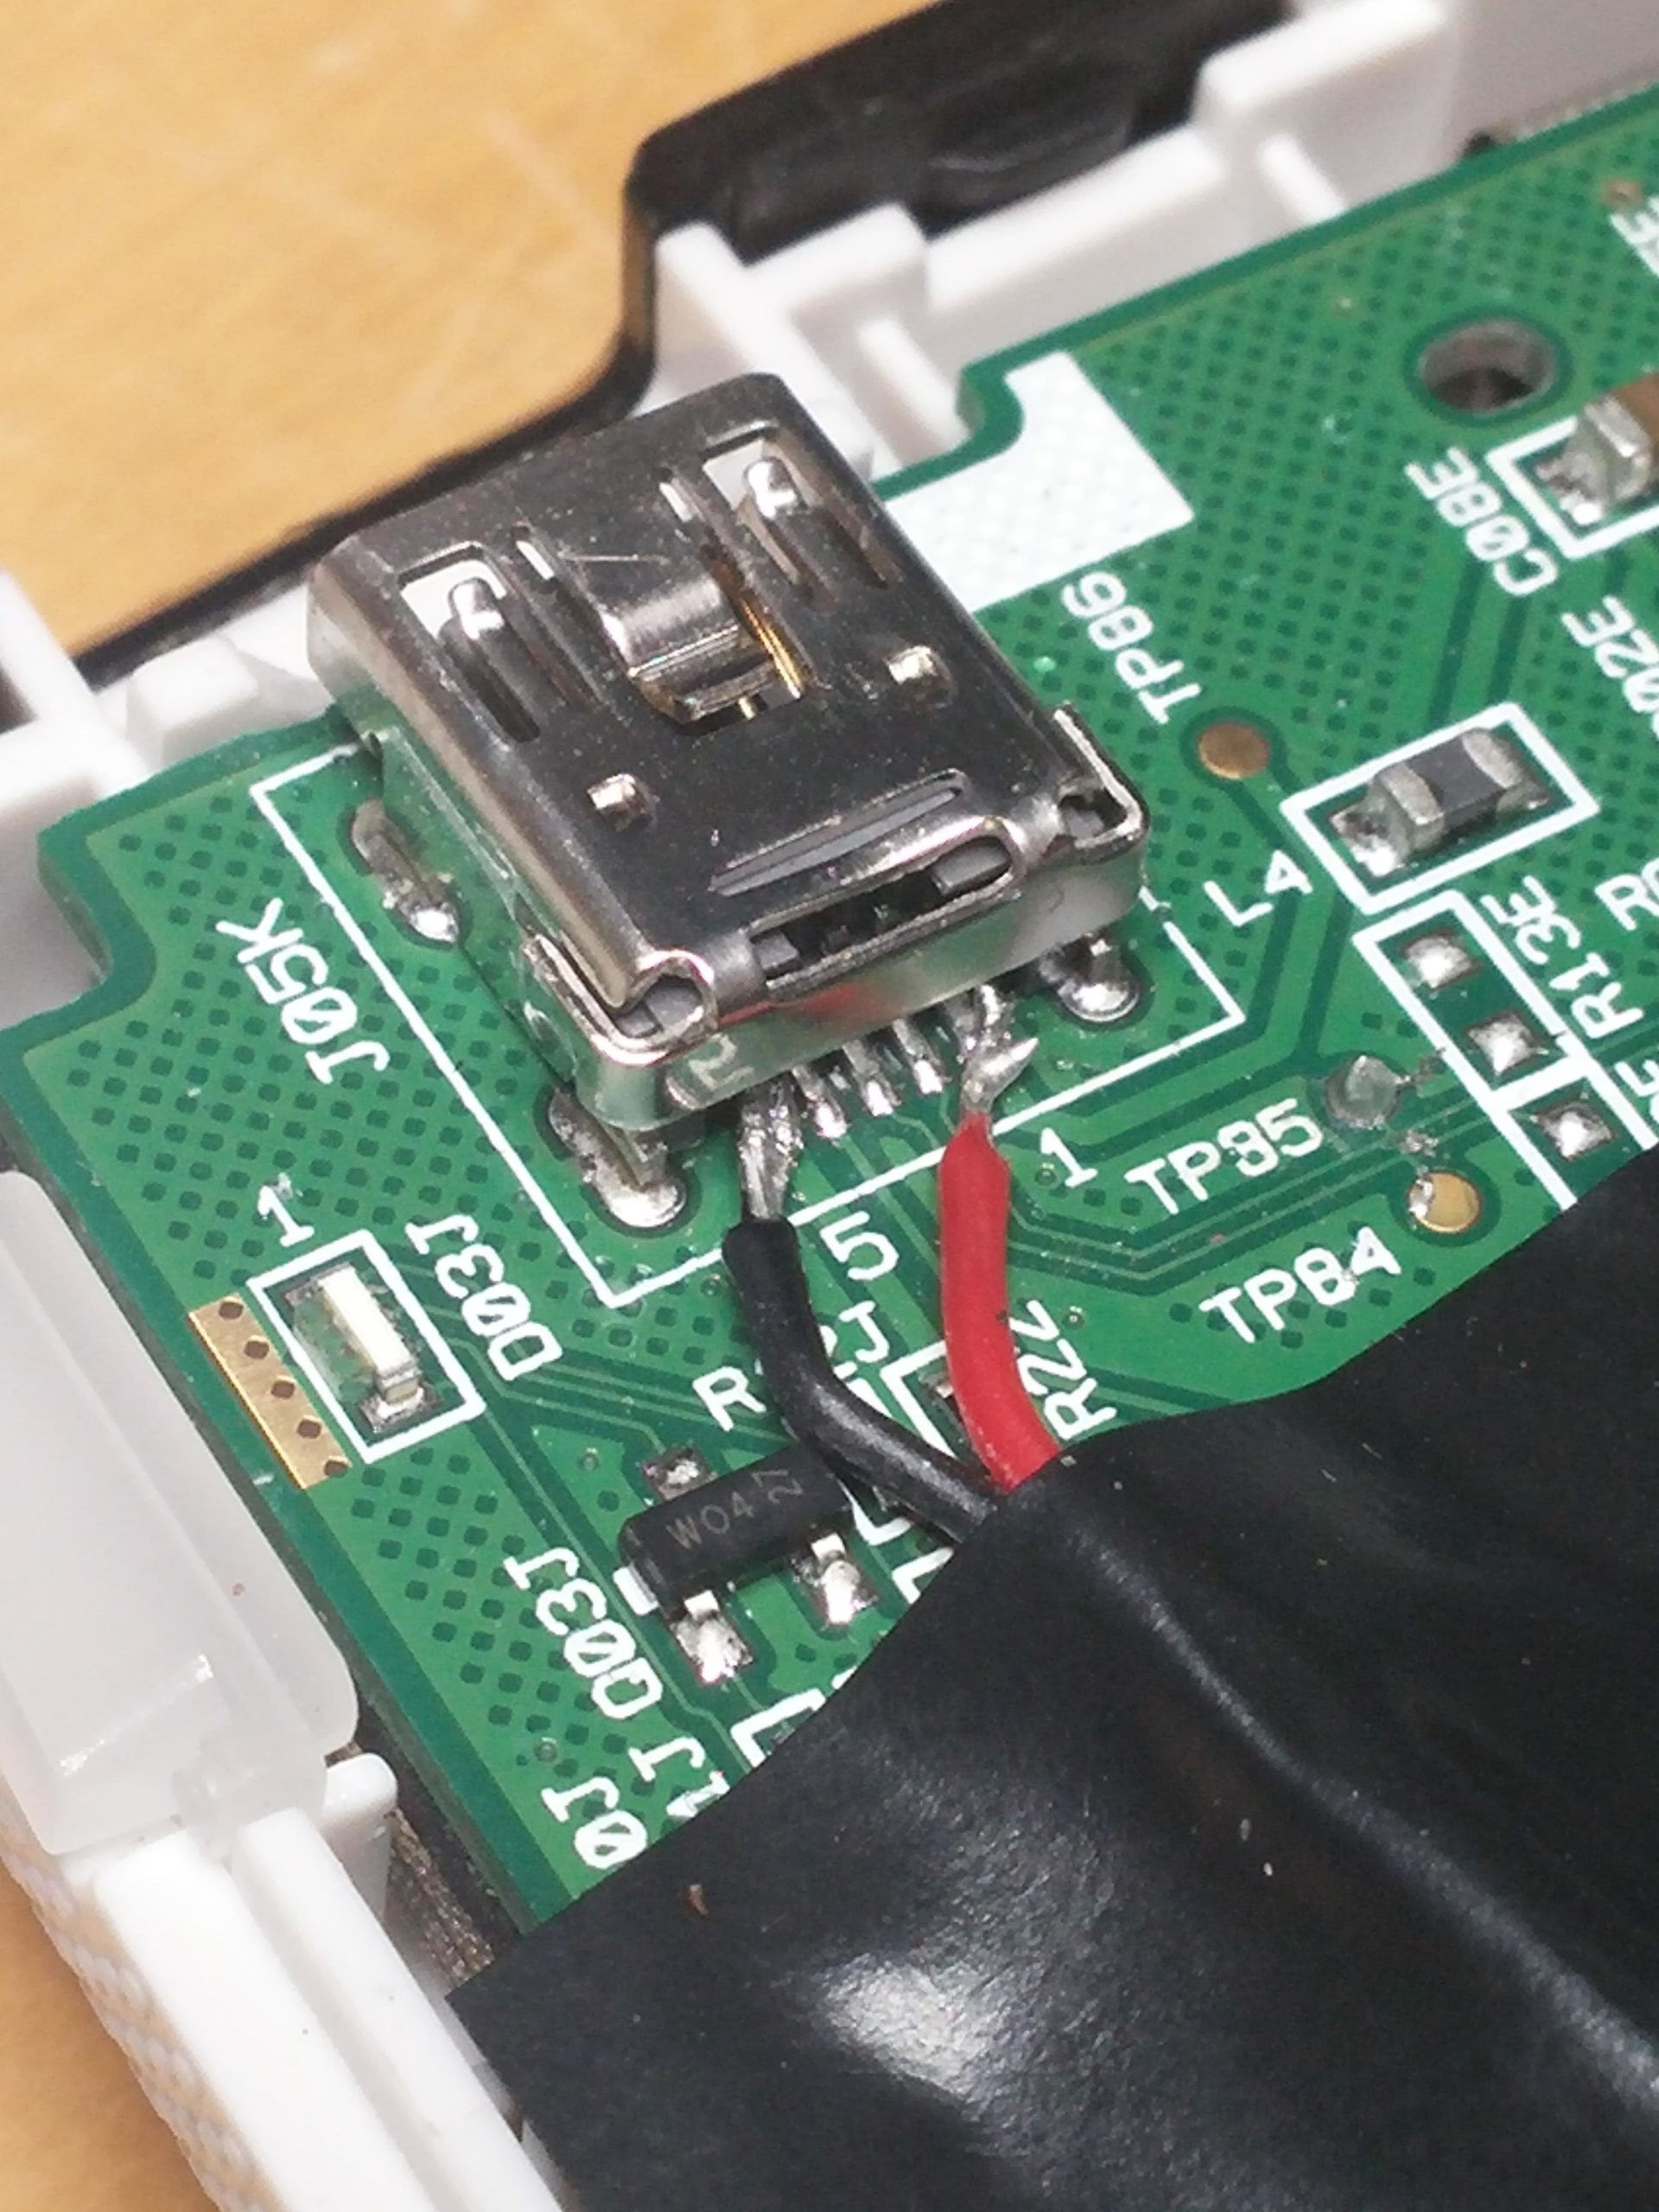
Electrical tape the wire down to prevent the solder from coming off when you charge it.
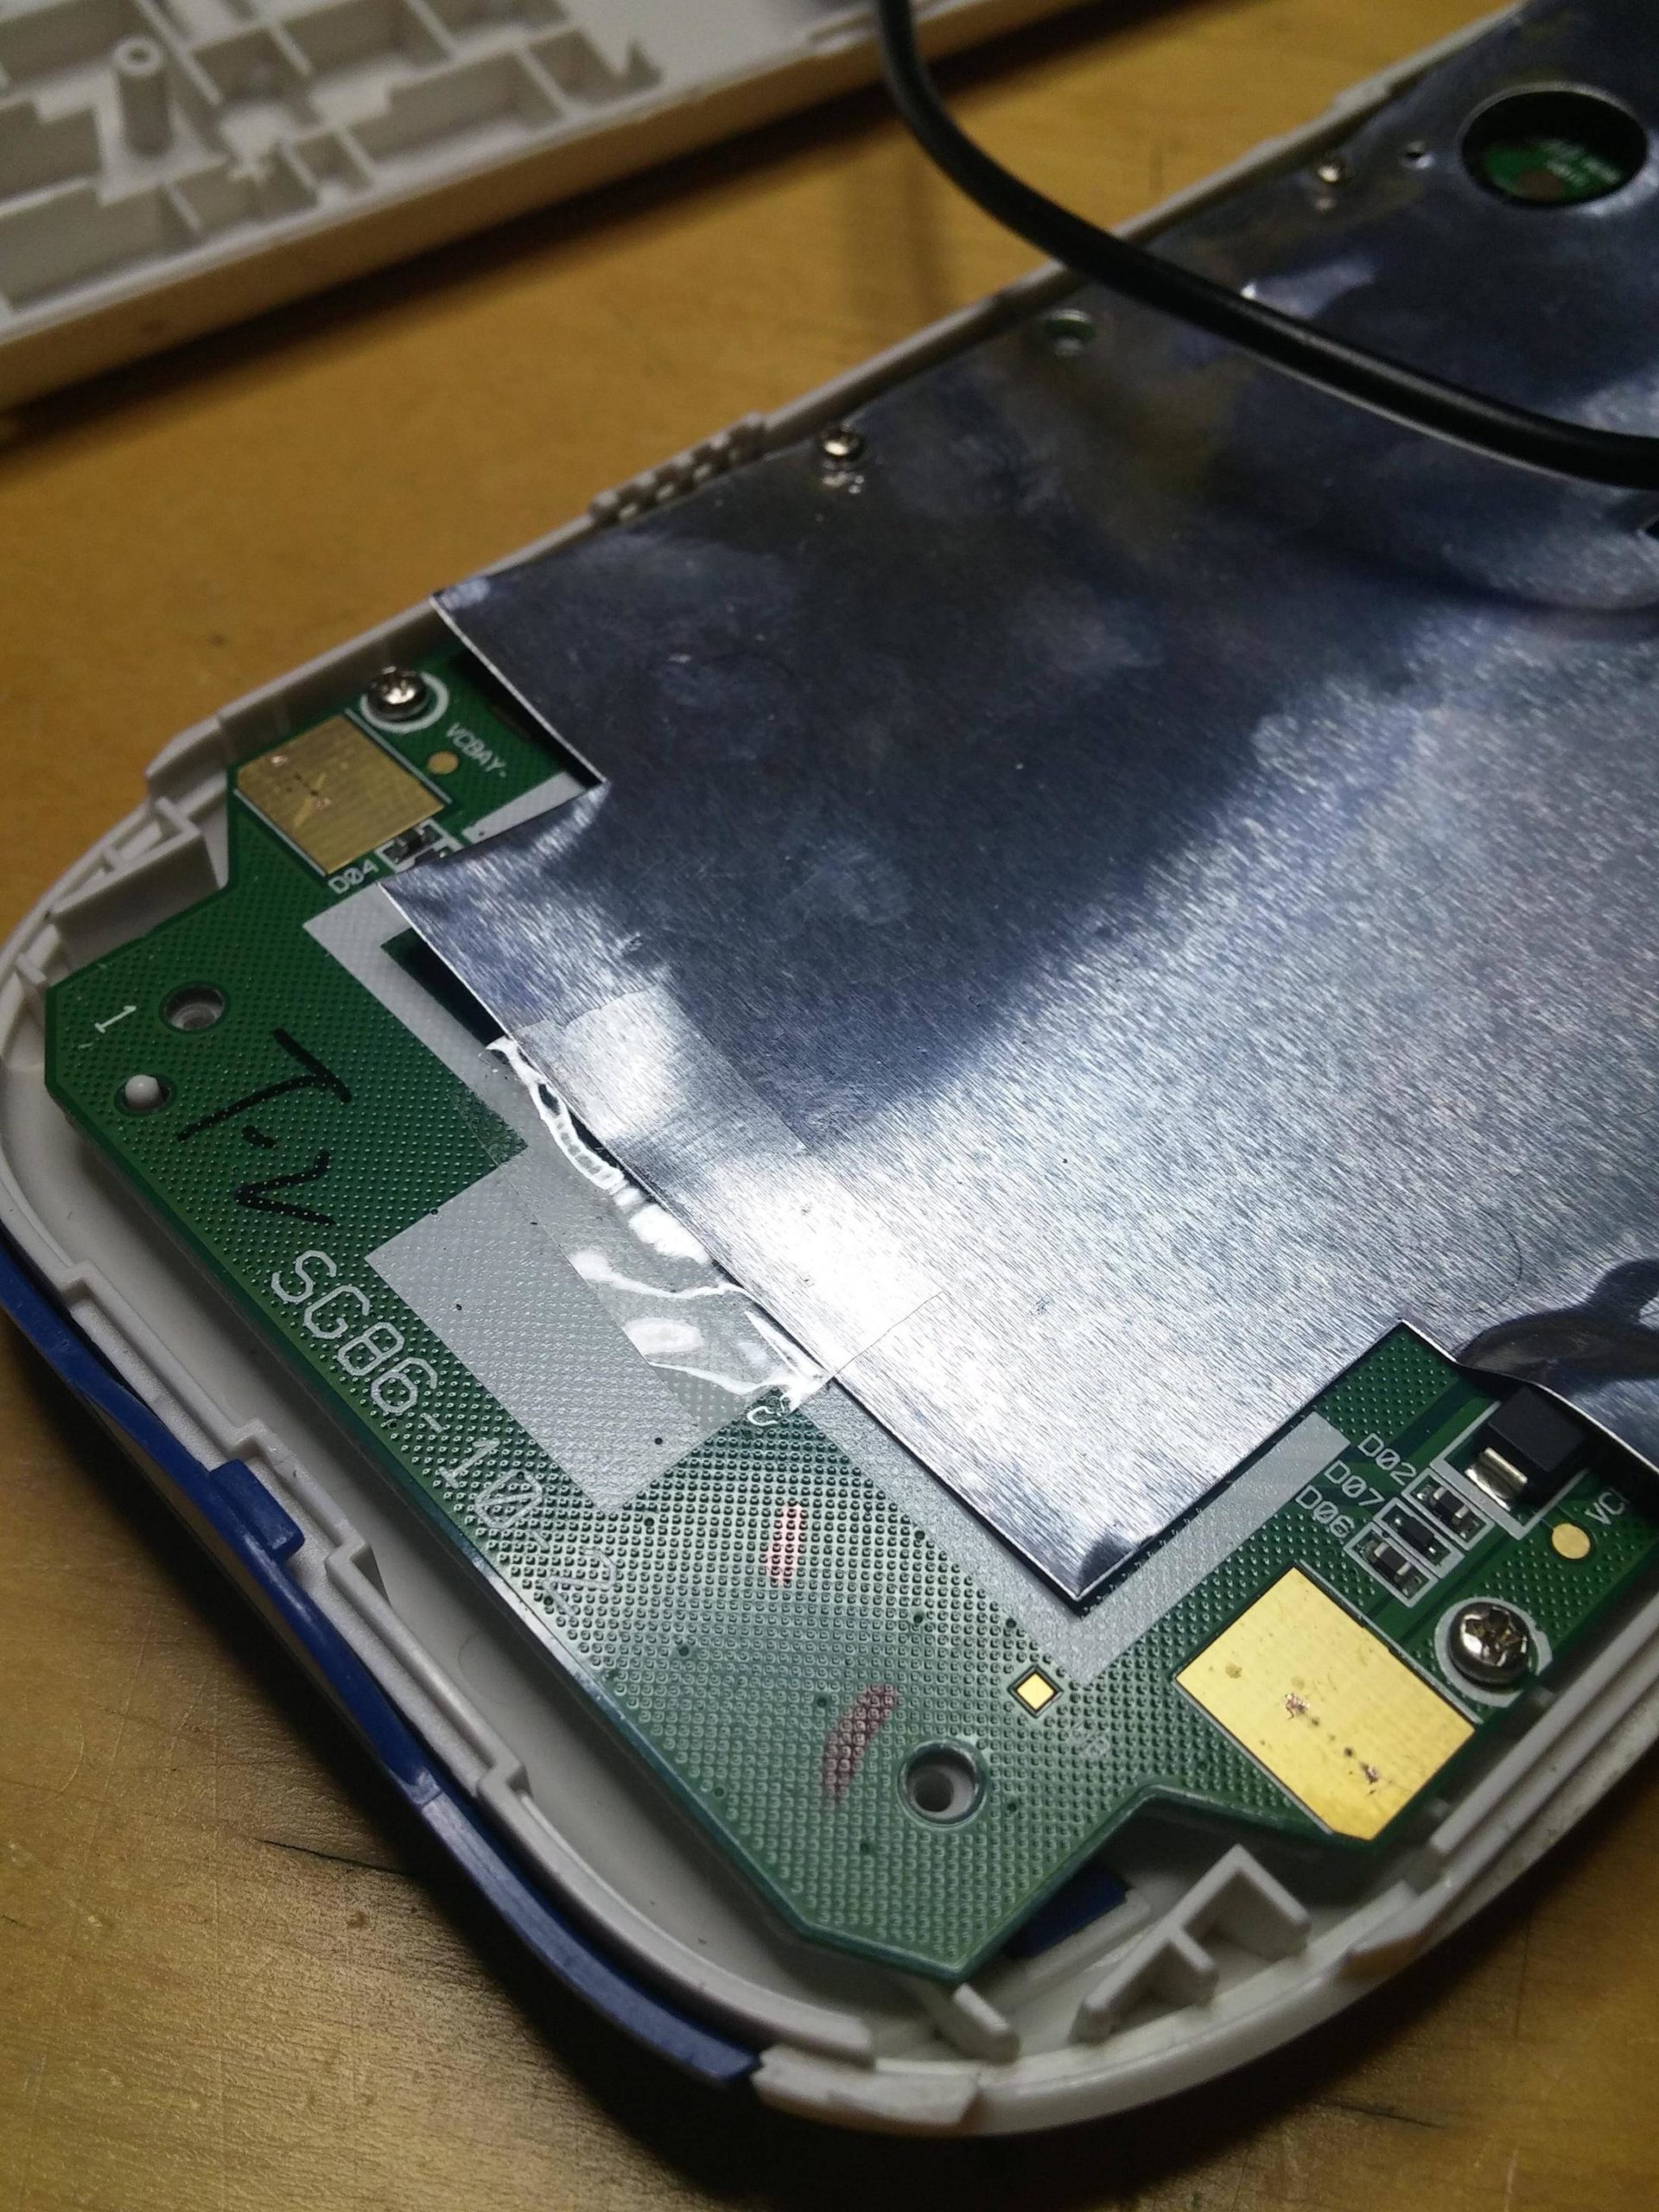
6.1 Alternative power location:
You might be able to solder the USB cable to these two contacts on the bottom of the calculator. These go to the metal contacts on the outside case. I’m curious to see if this will work.
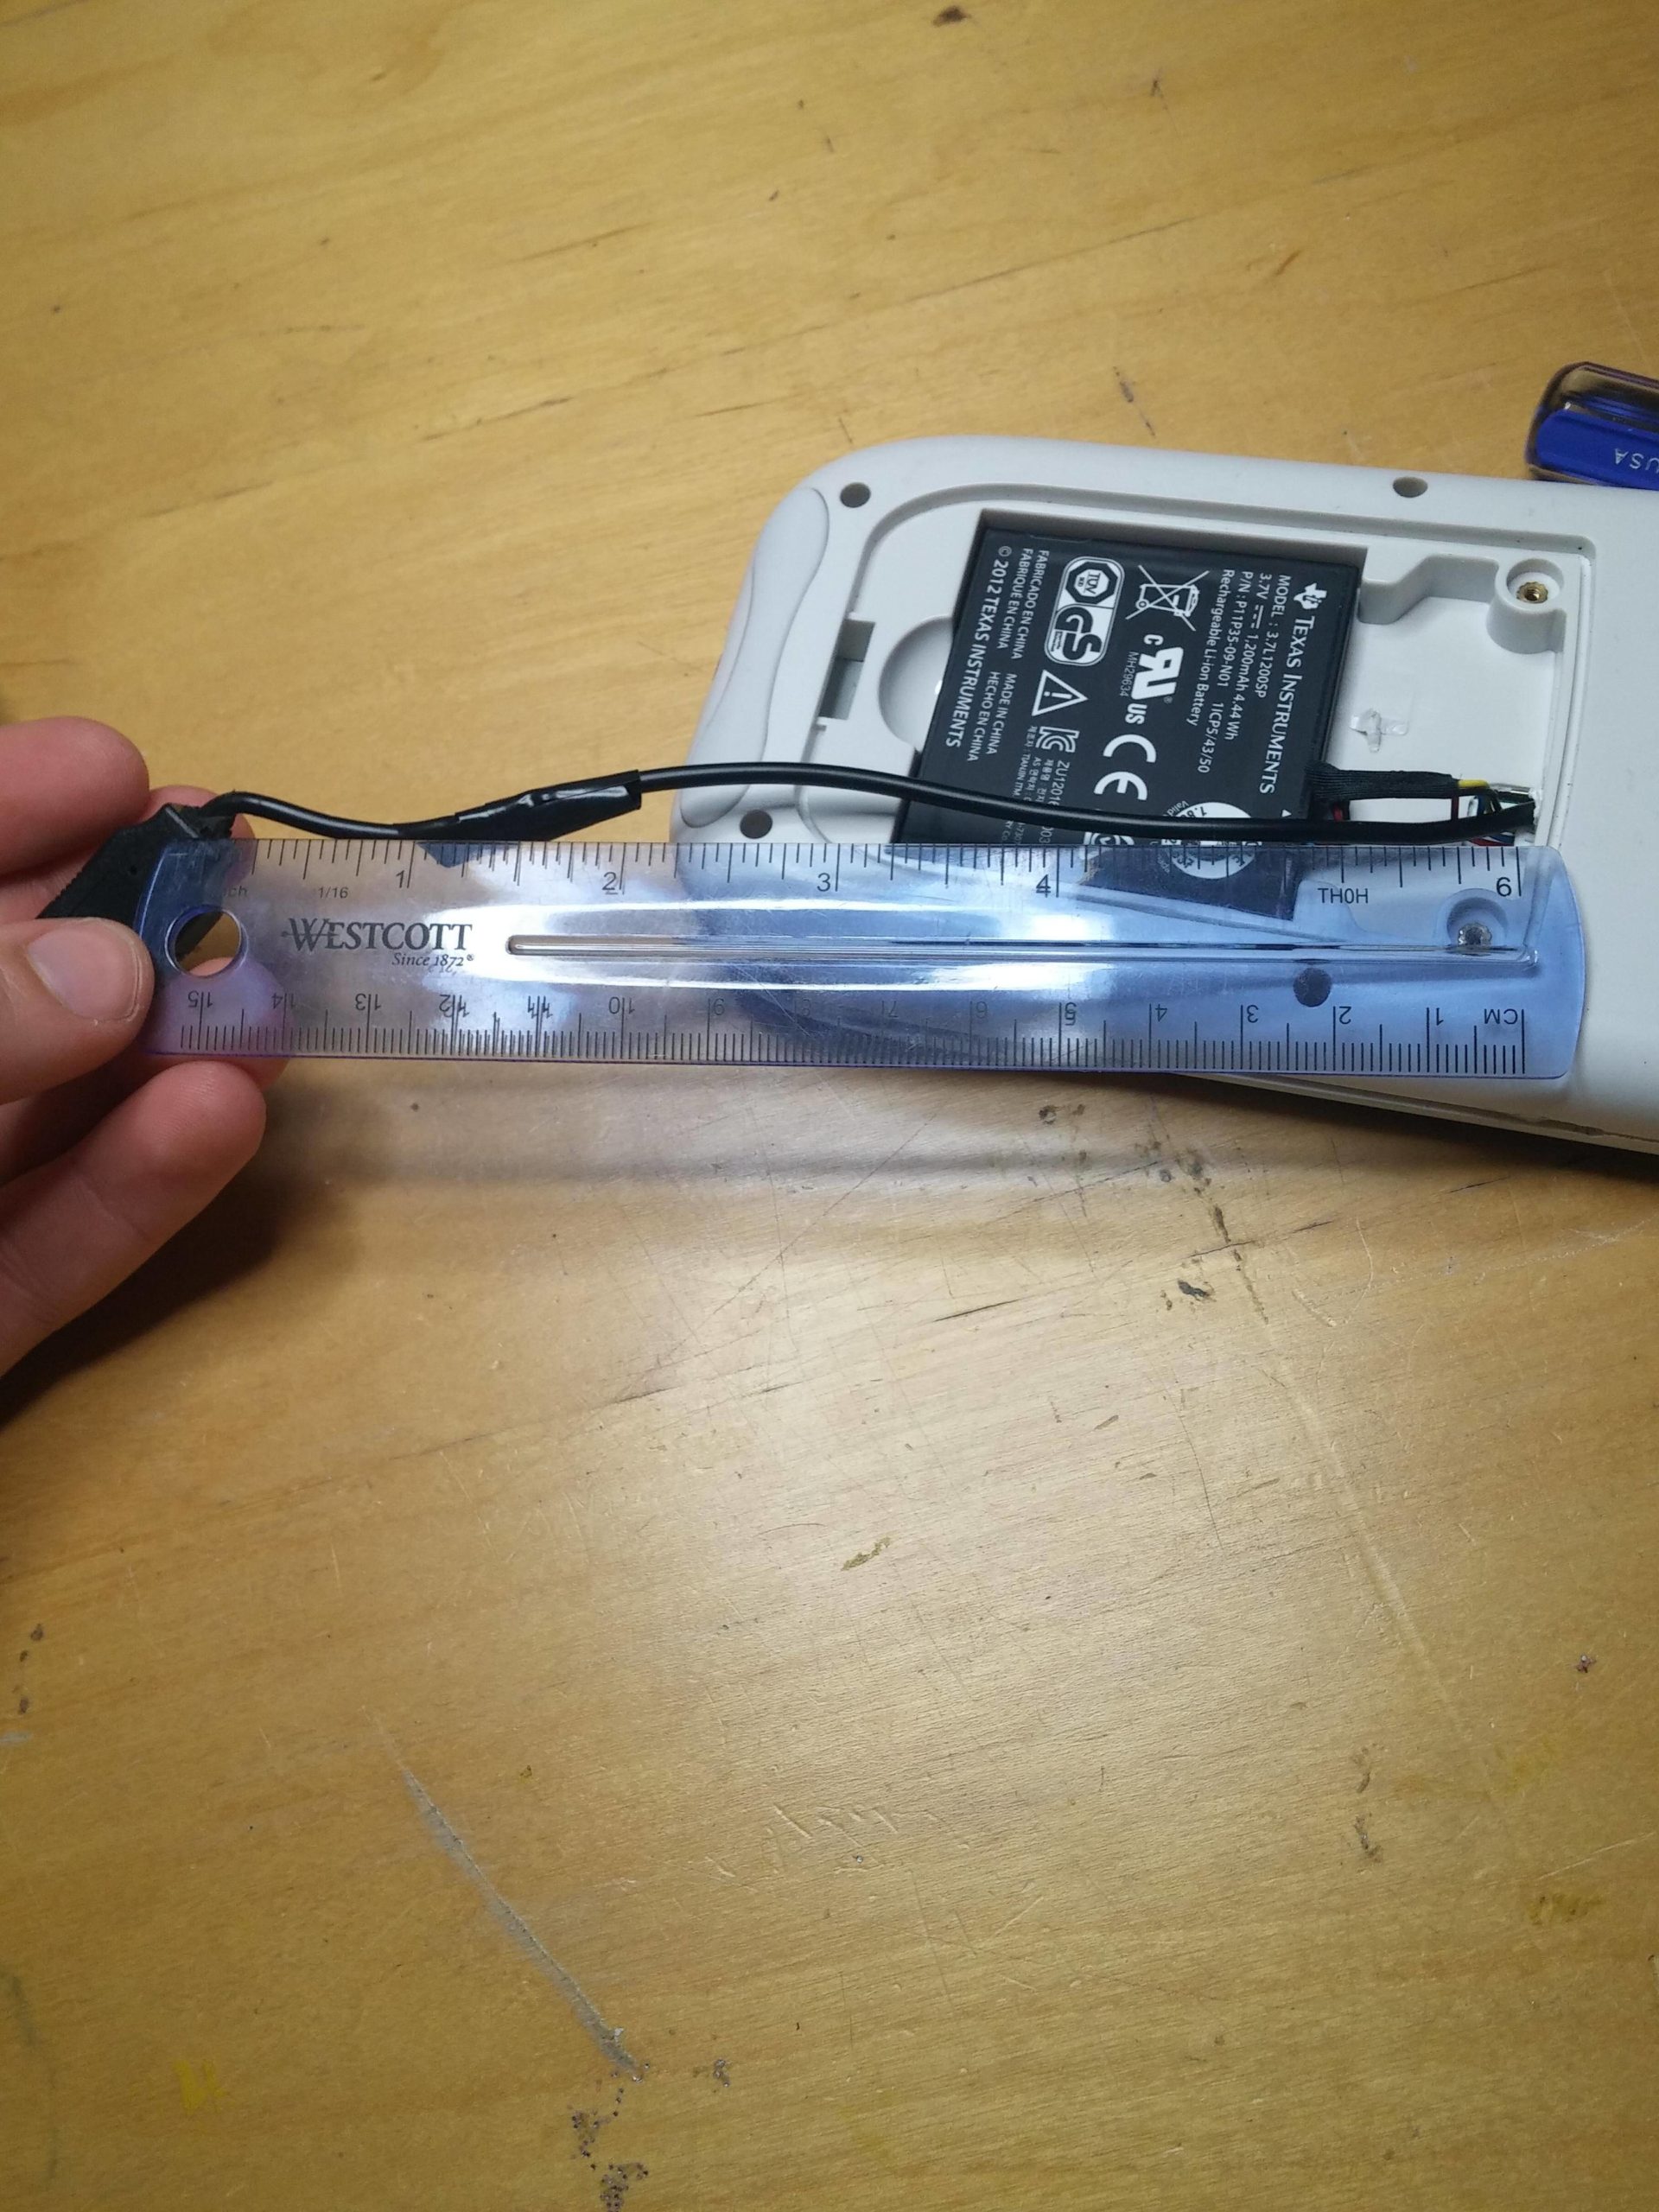
7. USB wire:
Your cord (if you are going to cut it) should be around 6 inches from the outside of the case to the bottom of the connector.Your cord (if you are going to cut it) should be around 6 inches from the outside of the case to the bottom of the connector.
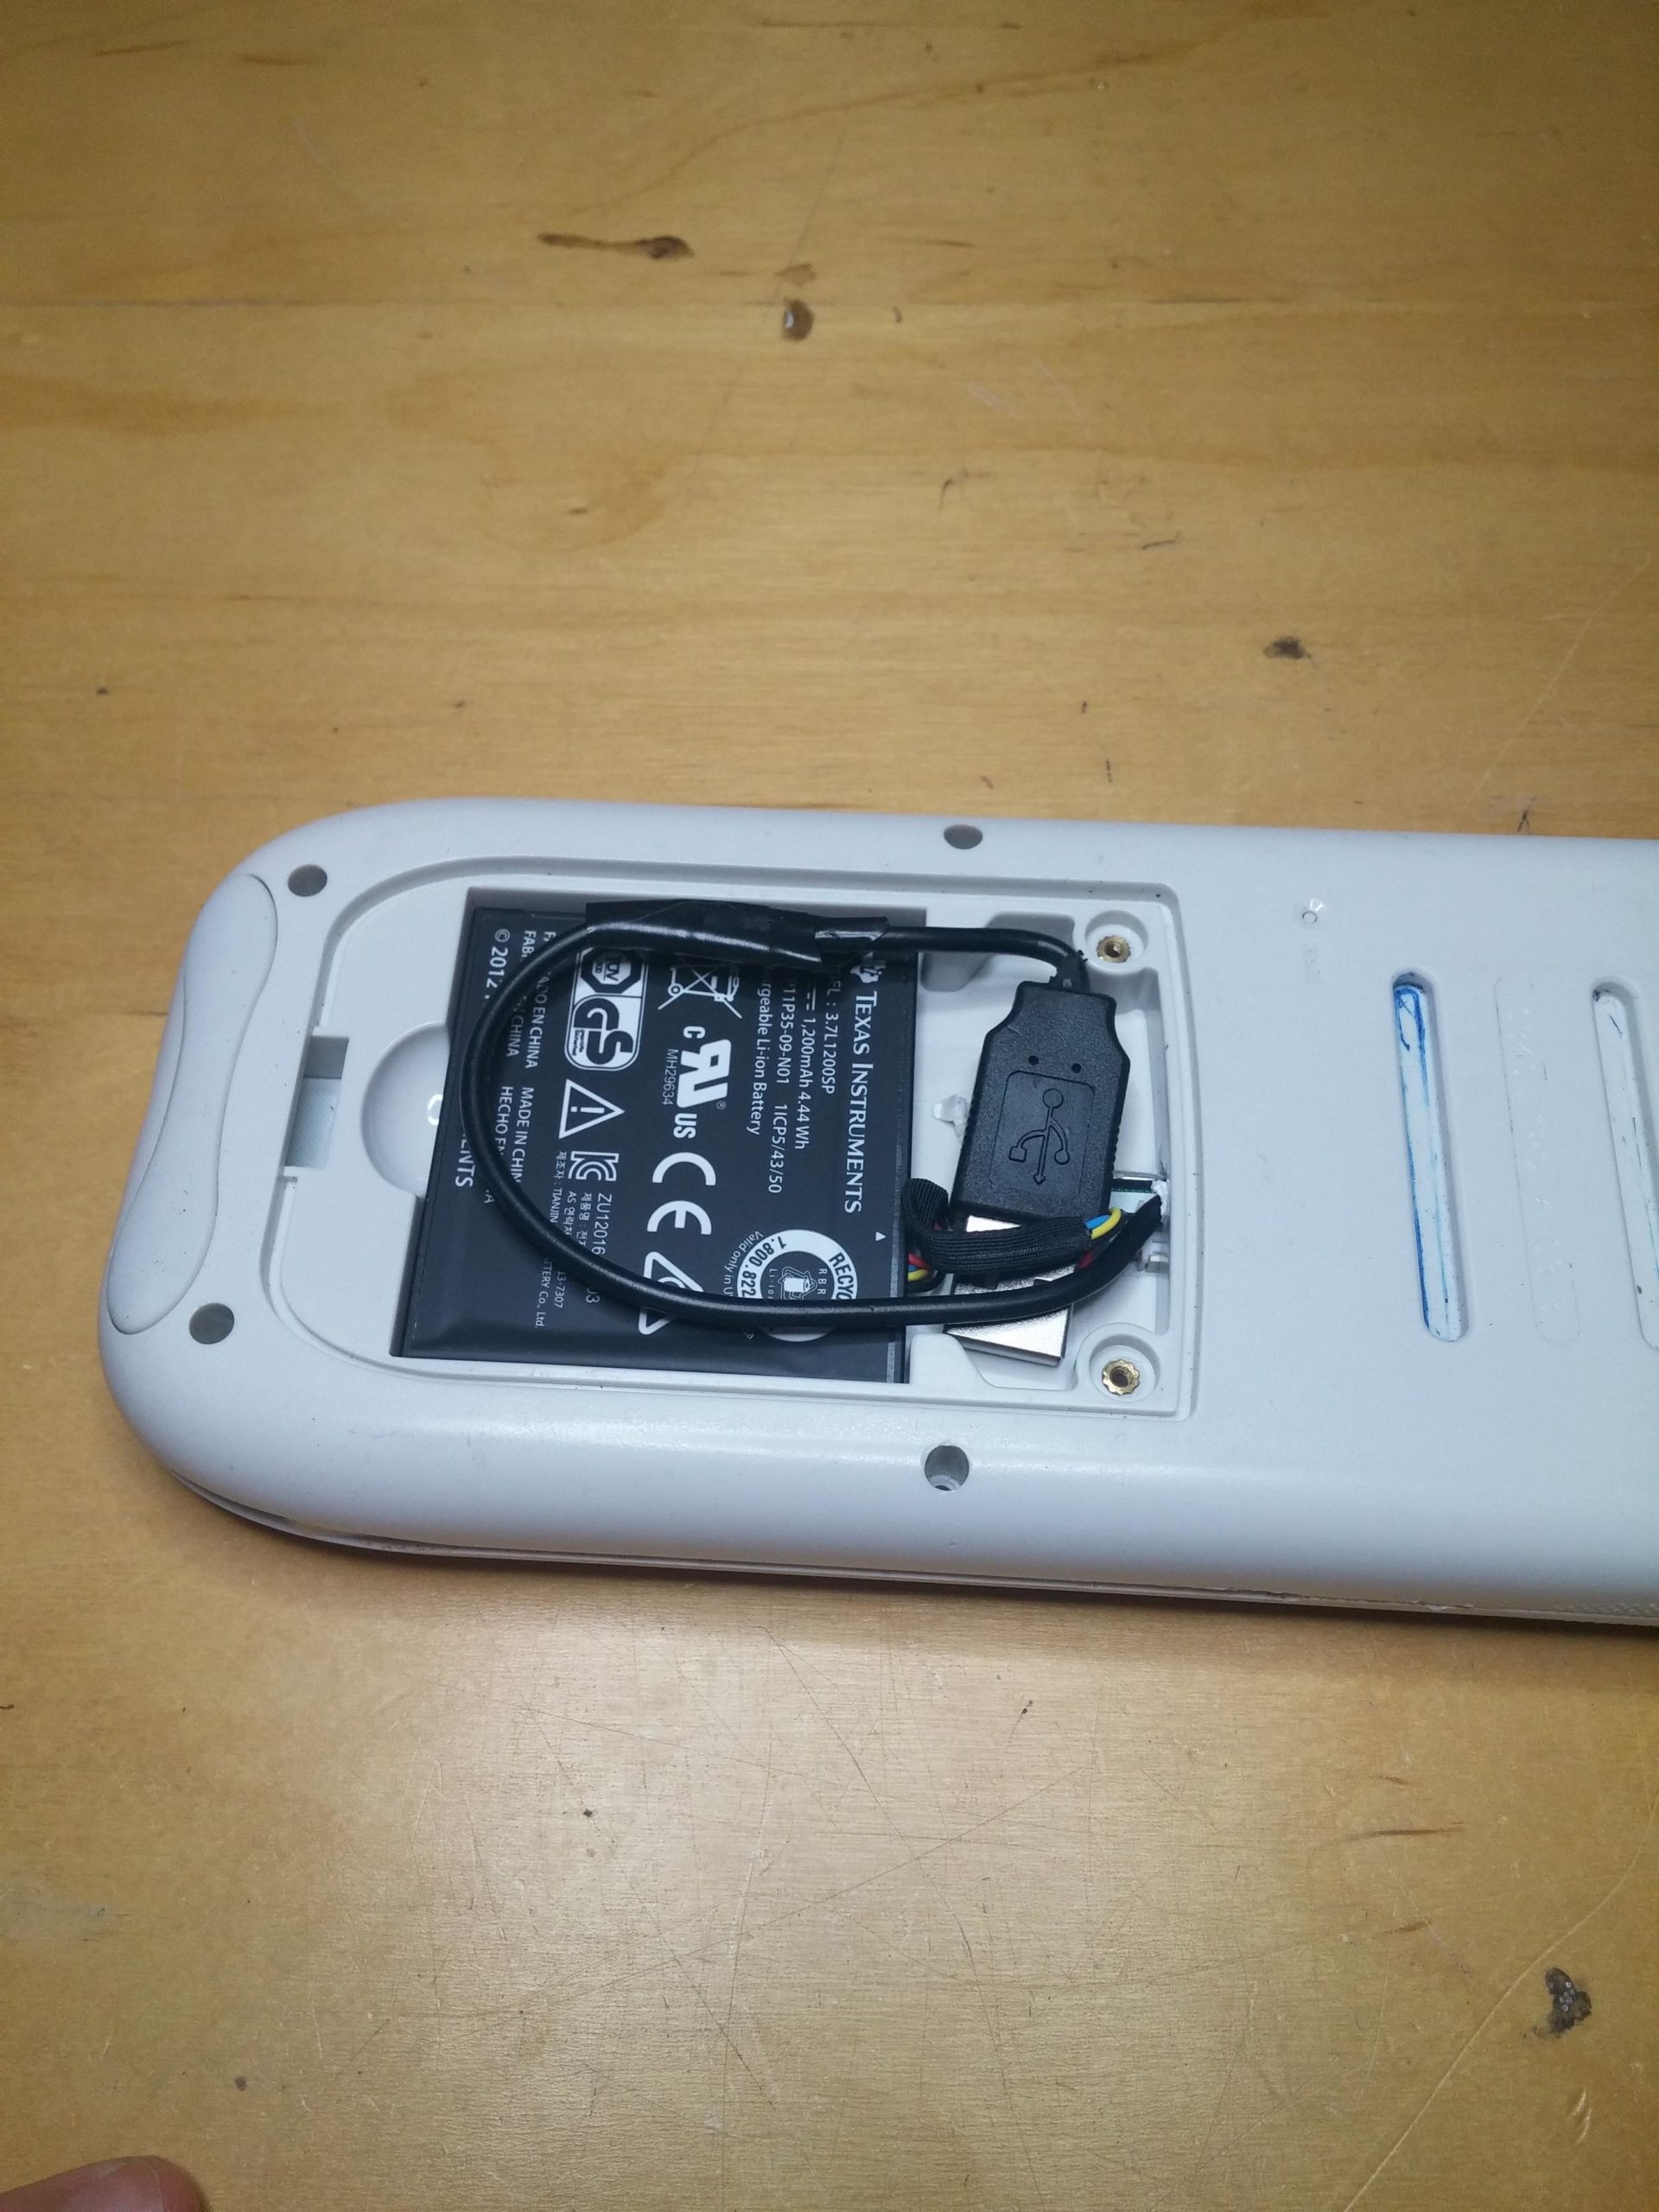
8. What it looks like all coiled up inside:
You can play around with this as needed. I needed to cut off some excess plastic from the end of the USB connector to fit it inside, but depending on what type of connector you get, you may or may not need to. Closing the battery cover can be difficult, but once the wire is in the right spot, there should not be any bulge on the back cover.
9. Finished product: